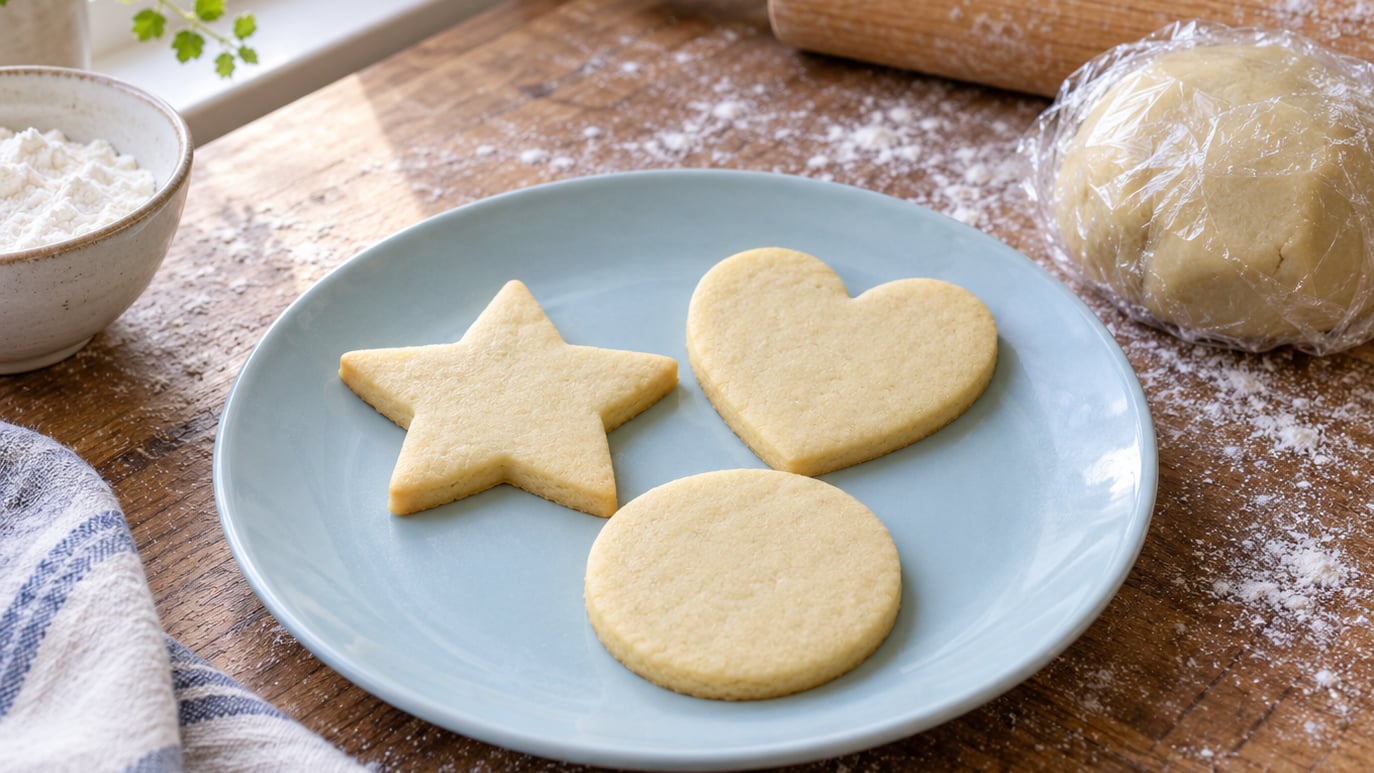
Sugar cookies spread when the butter melts faster than the flour structure can set, so the dough loses its shape and puddles on the pan. The usual suspects are butter that is too soft, flour measured too low, an oven that runs cool, or dough that skipped its chill. The good news: every one of those is fixable with a small change, and most cut-out cookies only need three of them to come out sharp-edged and thick.
I have pulled together the seven causes I see most often in my own kitchen and on the baking forums where home bakers ask the same question every holiday season. If you have ever pulled a tray out of the oven and watched your stars turn into blobs, this guide is for you.
Table of Contents
- What Makes Sugar Cookies Spread in the First Place
- Too Much Butter or Butter That Is Too Soft
- Not Enough Flour (or the Wrong Flour)
- Sugar Choice and How Creaming Affects Spread
- Warm Dough That Was Not Chilled
- Oven Temperature, Pan Type and Hot Spots
- Too Much Leavening (or Leavening That Is Too Fresh)
- Other Common Traps: Crowding, Greasing, Humidity and Egg Size
- Quick Troubleshooting: Match Your Cookie to the Cause
- Frequently Asked Questions
- Do I really have to chill sugar cookie dough?
- Can I fix sugar cookie dough that is already too soft?
- Why do my sugar cookies spread only on one side?
- Does using salted vs unsalted butter change how cookies spread?
- How do I keep cut-out cookies sharp without losing flavor?
- Why do my sugar cookies spread in the middle but stay pale on the edges?
What Makes Sugar Cookies Spread in the First Place
Every cookie starts as a fat-flour-sugar suspension held together by a little protein network. In the oven, the fat liquefies, the sugar dissolves into that liquid, and the gluten relaxes. The cookie wants to flow.
The trick is balance: the outside of the cookie should set fast enough that the melted middle has nowhere to go. When butter melts too soon, flour is too scarce, or the oven is too cool, that balance tips and the dough wins. Each cause below attacks a different piece of that balance, and each one has a specific, testable fix.
Too Much Butter or Butter That Is Too Soft
Butter is the biggest spreader in the dough. The fat melts in the oven and the cookie slides outward, so the butter-to-flour ratio is the single most important number in your recipe. Too much fat and the cookie pancakes; too little and it bakes up dry and cakey.
Temperature matters as much as quantity. Softened means cool but pliable, around 65 to 70°F, with a slight give when you press a finger into it. If your finger sinks straight through, the butter is too warm. If it leaves no mark at all, the butter is still too cold to cream properly.
Three common mistakes push butter into the danger zone: leaving it on the counter all afternoon, microwaving it to “speed things up,” and creaming it for five minutes on high. All three give you a dough that flows like pancake batter in the oven. Cream the butter and sugar just until combined, usually one to two minutes on medium, and your cookies will hold their shape far better.
Not Enough Flour (or the Wrong Flour)
Flour is the structure. Every tablespoon you are short on is one less spoonful of scaffolding holding the cookie up. Most home bakers measure flour by dipping the measuring cup straight into the bag, which compacts the flour and gives you a quarter-cup extra per cup measured.
The spoon-and-level method fixes that. Stir the flour, spoon it loosely into the measuring cup, and level the top with the back of a knife. One cup of properly spooned flour weighs about 120 grams; scooped flour can hit 150. That difference is enough to flatten your cookies.
If you bake at high altitude or just want a stiffer dough for cut-outs, swap one tablespoon of flour per cup for cornstarch. Cornstarch interferes with gluten development and gives you a tender cookie that still holds its corners. A swap of a quarter of the flour for bread flour has the opposite effect, more structure, and works well if you live somewhere humid and your cookies always feel slack.
Sugar Choice and How Creaming Affects Spread
Granulated sugar is the standard, and it works fine for most cut-out cookies. Superfine sugar dissolves faster and gives a cookie with a slightly more tender, puffy top. Powdered sugar carries a small amount of cornstarch and produces a softer, less spready cookie, which is why many no-spread recipes lean on it.
The bigger sugar variable is how long you cream it with the butter. Creaming whips air into the fat, and that air expands in the oven. The cookie puffs up, the structure gives way, and the cookie collapses sideways. Two to three minutes on medium is plenty. If you are beating on high for five minutes because the mixture “didn’t look fluffy enough,” you are priming the dough to spread.
A simple test: the butter and sugar should look pale yellow and slightly fluffy, not white and billowy. If it looks like meringue, you have gone too far. Stop there, scrape the bowl, and move on.
Warm Dough That Was Not Chilled
Chilling is the single most reliable fix for cut-out cookies that lose their shape. Cold dough means cold butter, and cold butter takes longer to melt in the oven, which gives the flour network time to set before the fat releases. Warm dough goes straight to puddle.
One to two hours in the fridge is the minimum. Overnight is better, especially if you are working in a warm kitchen or your dough feels tacky after mixing. You can also chill the shaped cut-outs on the sheet pan for 10 to 15 minutes before baking, which is enough to firm them up without slowing the workflow.
Freezer chill works in a pinch. Ten minutes in the freezer, just until the dough feels firm to a light touch, is plenty for cut-outs. Longer than that and you may need to add a minute or two to the bake time, since the dough goes in colder than usual.
Oven Temperature, Pan Type and Hot Spots
A too-cool oven is one of the most common spread culprits. If the oven runs 25°F below the set temperature, the butter melts for several extra minutes before the cookie sets, and the cookies spread wide and thin. The fix is an oven thermometer, which costs about the same as a cookie’s worth of butter and lasts for years.
Most sugar cookies do well at 350 to 375°F on a light aluminum sheet pan. Dark pans absorb more heat and bake the edges faster, which can cause aggressive spread in the first two minutes. Insulated sheets have the opposite problem, they run cooler and can leave cookies pale and underdone. If you only have dark or insulated pans, drop the oven temperature by 25°F and watch the bottoms closely.
Hot spots are real. Most home ovens heat unevenly, which is why some bakers rotate the pan halfway through. If your cookies always brown on one side, that is the back of the oven talking to you. Convection mode helps if your oven has it, since the fan evens out the temperature. Just remember to drop the temperature by 25°F when using convection, or the cookies will brown too fast.
Too Much Leavening (or Leavening That Is Too Fresh)
Baking powder and baking soda create gas, and that gas puffs cookies up before they have a chance to set. For thick, sharp-edged cut-outs, less is more. A quarter-teaspoon of baking powder per batch is usually plenty, and many royal-icing-style recipes use no leavening at all.
Old leavener is its own problem. Baking powder loses potency after about six months once opened, and expired leavener gives unpredictable rise. If you cannot remember when you opened the can, replace it. The two-bowl test is simple: a teaspoon of fresh baking powder in hot water should fizz vigorously. Anything less, toss it.
If your cookies puff up tall in the oven and then collapse into wrinkled puddles, the leavening is too much or too fresh. Cut the amount in half for your next batch and see if the shape holds.
Other Common Traps: Crowding, Greasing, Humidity and Egg Size
Four smaller causes catch a lot of bakers off guard. Each one is small on its own, but together they can undo an otherwise perfect dough.
Crowding the pan. Cookies need at least 1.5 inches between them, ideally 2, so they have room to spread without merging. If your dough balls are touching when they go in, they will come out as one giant cookie.
Greasing a nonstick sheet. Parchment paper or a silicone mat is the standard for sugar cookies. Greased pans add a thin film of fat to the bottom of the cookie, which lets it slide and spread. Skip the grease and line the pan instead.
Humid days. Flour absorbs moisture from the air, so a humid kitchen can leave your dough soft even after a chill. If the forecast calls for rain, add an extra tablespoon of flour and chill the dough a little longer than usual.
Egg size. A jumbo egg adds about a tablespoon of liquid over a large egg, which softens the dough. Most recipes are written for large eggs. If you are baking with the giants from a farm carton, scale up the flour by a tablespoon to compensate.
Quick Troubleshooting: Match Your Cookie to the Cause
When something goes wrong on the tray, run through this list. Match the symptom to the most likely cause, try the first fix, and bake one test cookie before committing the whole batch.
- Thin, lacy edges with a soft middle: butter was too warm or too plentiful. Use cooler butter at 65 to 70°F, and cream only until combined.
- Puddled cookies with no defined shape: the dough was not chilled, or the chill was too short. Chill for at least 2 hours, or 10 minutes in the freezer as a shortcut.
- Wrinkled or cracked tops: too much leavening or over-creamed butter. Cut baking powder in half and stop creaming at 2 minutes.
- Spreads on one side only: hot spot in the oven or an uneven rack. Rotate the pan halfway through, and verify the oven temperature with a thermometer.
- Browns fast on the bottom, raw in the middle: dark or insulated pan. Drop the oven by 25°F, switch to light aluminum, or double up pans.
- Crisp, flat, no rise at all: too much flour or scooped flour. Switch to spoon-and-level, and reduce flour by 1 to 2 tablespoons.
- Cookies merge into one sheet: pan was crowded. Leave 1.5 to 2 inches between dough portions.
If you only have time to change one thing, change the chill. Most spread problems get at least 70% better with a proper cold rest, and you can do it tonight.
Frequently Asked Questions
Do I really have to chill sugar cookie dough?
Yes, for cut-out cookies, chilling is the single most reliable fix for spreading. Cold butter melts more slowly in the oven, which gives the flour structure time to set before the fat releases. One to two hours in the fridge is the minimum, and an overnight chill is even better. If you skip the chill entirely, expect at least a quarter inch of extra spread in every direction.
Can I fix sugar cookie dough that is already too soft?
Yes. Wrap the dough in plastic, press it into a disc, and chill it for one to two hours, or 15 to 20 minutes in the freezer if you are in a hurry. The cold re-firms the butter and tightens the dough. You can also dust the work surface and rolling pin with a little extra flour, but chilling is more reliable and avoids changing the recipe.
Why do my sugar cookies spread only on one side?
A one-sided spread almost always points to an oven hot spot. Most home ovens heat unevenly, and the back or one corner tends to run hotter than the rest. Rotate the pan halfway through baking, and check your oven’s true temperature with an inexpensive oven thermometer. If the thermometer reads more than 10 degrees off the dial, have the oven recalibrated or adjust the set temperature to compensate.
Does using salted vs unsalted butter change how cookies spread?
Salt does not change how a cookie spreads, but butter brand and fat content can. European-style butters run higher in fat (82 to 86 percent) than standard American butter (80 percent), so a recipe written for one will behave slightly differently with the other. Stick with the type the recipe calls for, and if you swap, expect a small change in spread and texture.
How do I keep cut-out cookies sharp without losing flavor?
Chill the cut-outs on the sheet pan for 10 to 15 minutes before baking, and bake at 350 to 375°F on parchment. The chill firms the edges and the parchment prevents the bottoms from spreading before the tops set. For flavor, do not cut the sugar or vanilla; those are easy wins for taste that do not affect shape. The trade-off is butter: a touch less butter gives sharper edges, but you lose tenderness.
Why do my sugar cookies spread in the middle but stay pale on the edges?
A pale edge with a spreading middle usually means the oven is too cool or the pan is too dark. The cookie spreads in the center before the edges can set and brown, so it bakes unevenly. Move to a light aluminum sheet, check the oven with a thermometer, and consider raising the temperature by 25 degrees for a shorter bake.
If your sugar cookies have been spreading on you, start with the three changes that fix the most batches: cool the butter to 65 to 70°F, measure the flour by spooning and leveling, and chill the dough for at least an hour before baking. Those three alone will tighten up the edges and bring back the sharp cut-outs you want for decorating. Once those are dialed in, check your oven with a thermometer and adjust the leavening if the cookies still puff and collapse. Baking is mostly a small-batches sport, so change one thing at a time and you will find your perfect cookie in two or three tries.