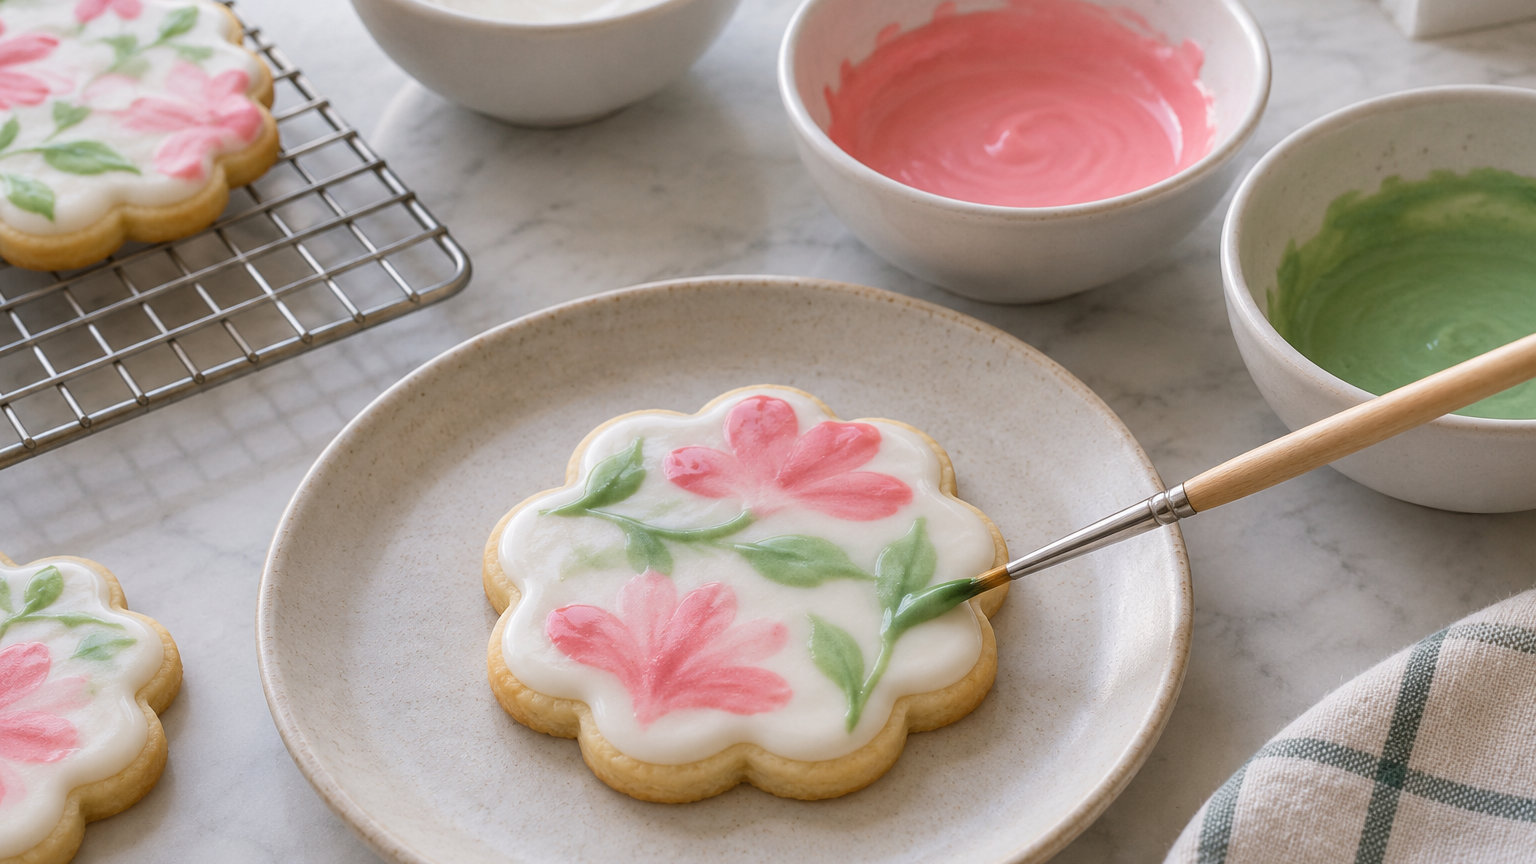
Wet on wet royal icing is a cookie decorating technique where you pipe colored icing onto a base layer of royal icing while the base is still wet, so the colors melt together into one smooth, seamless design. You flood the cookie first, then drop, drag, or swirl accent colors into that wet surface within a minute or two. The finished cookies look polished and almost painted, with no raised edges between the colors. If you’ve ever wondered how decorated sugar cookies get that soft marbled look, this is the technique behind it.
Table of Contents
- What Is the Wet on Wet Royal Icing Technique?
- What You Need
- Getting the Icing Consistency Right
- Step-by-Step: How to Do the Wet on Wet Royal Icing Technique
- Wet on Wet Design Ideas for Cookies
- Common Mistakes and How to Fix Them
- Drying, Storing and Shipping Wet on Wet Cookies
- Frequently Asked Questions
- What consistency should royal icing be for the wet on wet technique?
- How long does it take for wet on wet royal icing to dry on cookies?
- Can you do wet on wet royal icing with meringue powder instead of egg whites?
- Why are my wet on wet colors bleeding into each other?
- Do you have to let the base layer dry before adding accents in wet on wet icing?
- Can you use the wet on wet royal icing technique on sugar cookies and gingerbread?
- Final Thoughts
What Is the Wet on Wet Royal Icing Technique?
The wet on wet royal icing technique is exactly what its name suggests: you work with icing while it is still wet. After you flood a cookie with a smooth base layer, you add dots, lines, or shapes of a second color right onto that surface before it dries. A scribe tool, toothpick, or thin skewer then drags through the wet icing to pull the colors into hearts, flowers, swirls, or marbled patterns.
What makes it different from other cookie decorating methods is the timing. In a piped-and-dried design, every color goes down separately, and each layer has to harden before the next one is added. That can take hours. With wet on wet, you flood once and finish the design in minutes because every element bonds while the icing is still soft.
The result looks like watercolor on a sugar cookie: smooth transitions, soft blends, and a single flat surface when it dries. No thick outlines. No chunky layered edges. Just a clean, professional-looking cookie.
What You Need
You do not need a long list of specialty equipment to try the wet on wet royal icing technique. Most of these items are probably already in a home baker’s kitchen or one quick trip away.
- Royal icing base: meringue powder (or pasteurized egg whites), powdered sugar, a small amount of water, and a pinch of salt. Meringue powder is easier and shelf-stable.
- Gel food coloring: gel colors give you vivid hues without thinning the icing the way liquid colors do. You want a base color plus one or two accent colors.
- Piping bags and couplers: at least two bags so you can switch between outline and flood tips without washing a bag mid-project.
- Piping tips: a small round tip (Wilton 1.5 or 2) for outlines and details, and a slightly larger round tip (Wilton 3 or 4) for flooding.
- Scribe tool or toothpick: a metal scribe, a needle tool, or even a plain toothpick for dragging designs through the wet icing.
- Cookie turntable (optional): a small turntable makes it much easier to rotate the cookie while you drag the scribe.
- Squeeze bottles (optional): useful for flooding large base layers with minimal effort.
- Drying rack or parchment paper: a flat surface where cookies can sit untouched for 8 to 12 hours.
- Cool oven or fan: a spot with gentle airflow, like a turned-off oven with the door cracked or a small fan on low, helps cookies dry evenly.
- Baked and fully cooled cookies: sugar cookies, gingerbread, or any sturdy cut-out that has cooled completely to room temperature.
Getting the Icing Consistency Right
Icing consistency is the single biggest factor in whether your wet on wet royal icing technique works or falls apart. Too thick and your colors sit on top of the base like little bumps. Too thin and everything bleeds together into a muddy puddle. Three consistencies matter here.
Outline Consistency (Stiff)
Outline icing is what you use to pipe the border that holds the flood icing inside the cookie. It should be thick enough to hold a soft peak when you lift the spoon out, then settle back into the bowl within a few seconds. Test it with the spoon test. Drizzle a ribbon of icing back into the rest of the batch and count how long the ribbon takes to disappear. You want about 15 to 20 seconds for outline icing.
Flood Consistency (Loose)
Flood icing is the base layer. The count-to-10 (or count-to-15) test is the most reliable way to check. Drizzle a ribbon of icing back into the bowl and count the seconds until the ribbon fully melts into the surface. For wet on wet, aim for 10 to 15 seconds. At 10 seconds, the icing is loose enough to settle into a smooth, glassy surface in under a minute. At 15 seconds, it is slightly thicker and gives you a few more seconds of working time before it sets. Beginners do well starting at 15.
Detail Consistency (Medium)
Detail icing sits between outline and flood. It is what you pipe dots, lines, and accent shapes with onto the wet base. You want it thick enough to hold a soft line without disappearing into the flood layer, but thin enough that you can pipe it smoothly. About 8 to 12 seconds on the count test works for most designs.
A small note on humidity: in a humid kitchen your icing will run thinner than the same recipe does on a dry winter day. Mix a little thicker than you think you need, then add water a few drops at a time to fine-tune. In dry climates you may have to add slightly more water than the recipe states to keep it from crusting over before you finish the swoop.
Step-by-Step: How to Do the Wet on Wet Royal Icing Technique
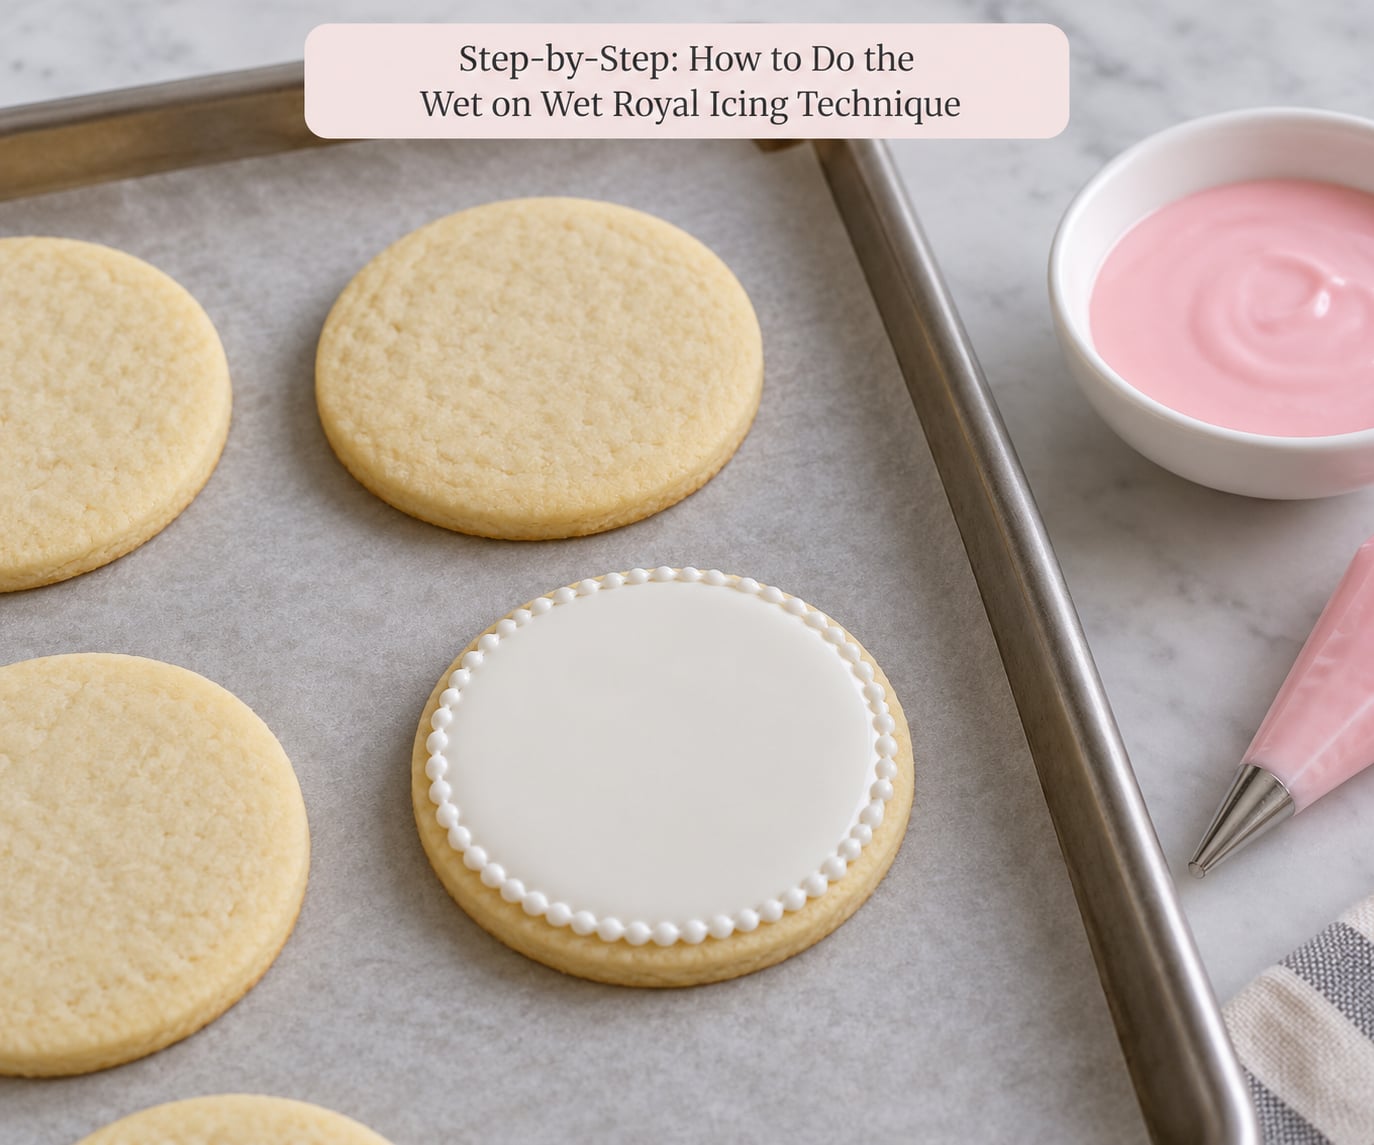
The wet on wet royal icing technique feels fast once you have done it a few times. The first cookie always takes the longest. Plan on about 3 to 5 minutes per cookie once you find your rhythm.
Step 1: Bake and Cool the Cookies Completely
Roll, cut, and bake your cookies the day before if possible. They should be fully cooled to room temperature, with no warmth coming off them, before any icing touches them. Warmth softens the icing and causes colors to bleed.
Step 2: Mix Three Bowls of Icing
Mix a batch of royal icing, then split it into three bowls: outline, flood, and detail. Tint the flood bowl your base color and the detail bowl your accent color. Keep the outline bowl white, or tint it the same color as the flood bowl. Cover each bowl with a damp paper towel or plastic wrap touching the surface so the icing does not crust over while you work.
Step 3: Pipe the Border
Fit a piping bag with a small round tip and fill it with outline icing. Pipe a smooth, even border around the edge of each cookie, staying a touch inside the edge so the icing does not drip off. A border that is too thin will break under the weight of the flood icing. A border that is too thick looks like a frame.
Step 4: Flood the Base
Switch to the flood-consistency icing. Use a squeeze bottle or piping bag with a slightly larger tip. Fill the inside of the border, then gently shake or tap the cookie on the counter to settle the icing and pop any air pockets. Use the scribe tool to nudge the icing into corners. The surface should look glassy and smooth within 30 to 60 seconds.
Step 5: Add Accent Colors While the Base Is Still Wet
This is the heart of the wet on wet royal icing technique. Within 1 to 2 minutes of flooding, while the base is still shiny and wet, pipe dots, lines, or small shapes of detail icing onto the surface. Drop three dots in a triangle for a heart pull. Drop five dots in a circle for a flower. Pipe wavy lines across the surface for a marble effect.
Step 6: Drag the Scribe Through the Icing
Wipe the scribe tip on a damp paper towel between drags so wet icing does not build up. Pull the scribe through the dots in one smooth motion to draw a heart. Drag from the outer edge of a flower dot through the center to make petals. Wavy lines become marble when you drag the scribe perpendicular to them. Work quickly but gently. Dragging too late leaves dents in icing that is starting to set.
Step 7: Let the Cookie Dry Untouched
Set the finished cookie on a flat surface or drying rack. Do not move it for at least 8 hours. Overnight is safest. Cookies dry from the outside in, so the surface may feel dry long before the icing underneath has set. Stacking or packaging too soon is the fastest way to dent a finished cookie.
Wet on Wet Design Ideas for Cookies

Once you have the basics down, the same wet on wet royal icing technique can make dozens of different looks with just a few changes. Five beginner-friendly designs to try on your first batch:
- Heart pulls: drop three small dots of accent color in a triangle. Drag the scribe from the top dot down through the bottom two dots in one motion. Each pull makes one heart. Repeat to fill the cookie.
- Petal flowers: drop five dots of accent color in a circle, one in the center. Drag the scribe from the outside edge of each outer dot through the center dot, one at a time. Each drag makes a petal.
- Marbled swirls: flood the base, then pipe thin wavy lines of two or three accent colors across the surface. Drag the scribe perpendicular to the lines in one continuous motion to break them into soft marbled swirls.
- Polka dots: pipe evenly spaced dots of accent color onto the wet base. Do not drag the scribe. Just let them dry as raised dots for a clean, simple look.
- Plaid ribbons: pipe straight horizontal lines of accent color, then straight vertical lines crossing them. Drag the scribe once through each intersection to soften the corners. The result looks like soft plaid.
Common Mistakes and How to Fix Them
Even experienced cookie decorators run into these problems on a wet on wet royal icing project. Most have a quick fix once you know what is causing them.
Icing too thin. Colors bleed and the base runs over the border. Fix it by adding more powdered sugar, one tablespoon at a time, until the count-to-10 test reads 12 to 15 seconds. In humid weather, expect to add a little extra.
Icing too thick. Accent colors sit on top of the base as little bumps instead of melting in. Fix it by adding water, one-quarter teaspoon at a time, mixing fully between additions, until the count-to-10 test reads 8 to 12 seconds for detail icing.
Colors bleeding into the base. The accent color disappears into the flood layer instead of holding its shape. This usually means the base was too thin, the accent was too runny, or you waited too long and the base started to crust over. Fix it by mixing the accent icing one step thicker than the base, and pipe accents within 60 to 90 seconds of flooding.
Dents in the finished design. You dragged the scribe too late, after the icing had started to set. Fix it next time by working faster, and resist the urge to fix small imperfections once the icing loses its shine. If a dent happens, gently smooth it with a barely damp scribe while the icing is still soft.
Craters from air bubbles. Small holes appear in the dried icing. They come from air trapped during mixing or piping. Fix it by tapping the flooded cookie firmly on the counter twice right after flooding. The bubbles rise and pop before the icing sets.
Chalky finish. The dried icing looks dull instead of smooth. It usually means the icing crusted over before you finished dragging, or the drying area was too cold. Work in a slightly warmer room (around 68 to 72°F) and avoid drafts while the icing is still wet.
Drying, Storing and Shipping Wet on Wet Cookies
Wet on wet royal icing looks dry on the surface within an hour or two, but the layer underneath stays soft for much longer. Plan on 8 to 12 hours of drying time before you even think about stacking. In humid weather, double that. A small fan on low or a dehumidifier in the room speeds things up. A turned-off oven with the door cracked open works in a pinch.
Once dry, store finished cookies in a single layer in an airtight container at room temperature. Do not refrigerate them. The condensation that forms when cold cookies come back to room temperature makes the surface sticky and ruins the finish. Properly dried and stored, wet on wet cookies keep for about two weeks.
For shipping, let the cookies dry a full 24 hours, then wrap each one individually in plastic wrap. Nestle them in a single layer inside a rigid box (a cake box or a cookie shipping box works), separated by parchment or cupcake liners so they cannot touch. Fill any empty space with tissue paper so nothing shifts in transit. Ship fast and avoid shipping during heat waves.
Frequently Asked Questions
What consistency should royal icing be for the wet on wet technique?
Use a flood consistency of about 10 to 15 seconds on the count test, where a ribbon of icing drizzled back into the bowl takes that long to disappear. The accent icing you pipe onto the wet base should be slightly thicker, around 8 to 12 seconds, so the colors do not bleed into each other.
How long does it take for wet on wet royal icing to dry on cookies?
Wet on wet royal icing feels dry on the surface within 1 to 2 hours, but the full layer underneath takes about 8 to 12 hours to harden at room temperature. In humid kitchens, allow closer to 18 to 24 hours before stacking or packaging the finished cookies.
Can you do wet on wet royal icing with meringue powder instead of egg whites?
Yes. Meringue powder royal icing works beautifully for the wet on wet technique and is the most common choice because it is shelf-stable and pasteurized. Mix the meringue powder with water first to dissolve it, then add powdered sugar, then adjust the consistency with small amounts of water.
Why are my wet on wet colors bleeding into each other?
Colors usually bleed because the accent icing is too thin, the base was flooded too early, or the kitchen is too humid and the icing stays loose for a long time. Mix the accent icing one step thicker than the base, pipe accents within 60 to 90 seconds of flooding, and try working in a cooler, less humid room.
Do you have to let the base layer dry before adding accents in wet on wet icing?
No. The whole point of the wet on wet royal icing technique is to add accents while the base is still wet so the colors melt together seamlessly. If the base dries first, the accents sit on top and do not blend, which is the piped-and-dried look instead of wet on wet.
Can you use the wet on wet royal icing technique on sugar cookies and gingerbread?
Yes. The technique works on any sturdy, fully cooled baked cookie with a smooth surface, including sugar cookies and gingerbread. Make sure the cookies are completely cool to room temperature before flooding, and avoid very soft or crumbly cookies that might break under the weight of the icing.
Final Thoughts
The wet on wet royal icing technique is one of those decorating skills that looks complicated until you do it once, then feels almost too easy. The trick is icing consistency and timing. Start with a small batch of icing, run the count-to-10 test until your flood icing reads 12 to 15 seconds, and try one heart pull on a single round cookie before committing to a full dozen. After that, the same steps scale up to flower pulls, marble swirls, and the more advanced designs you see on bakery cookies.