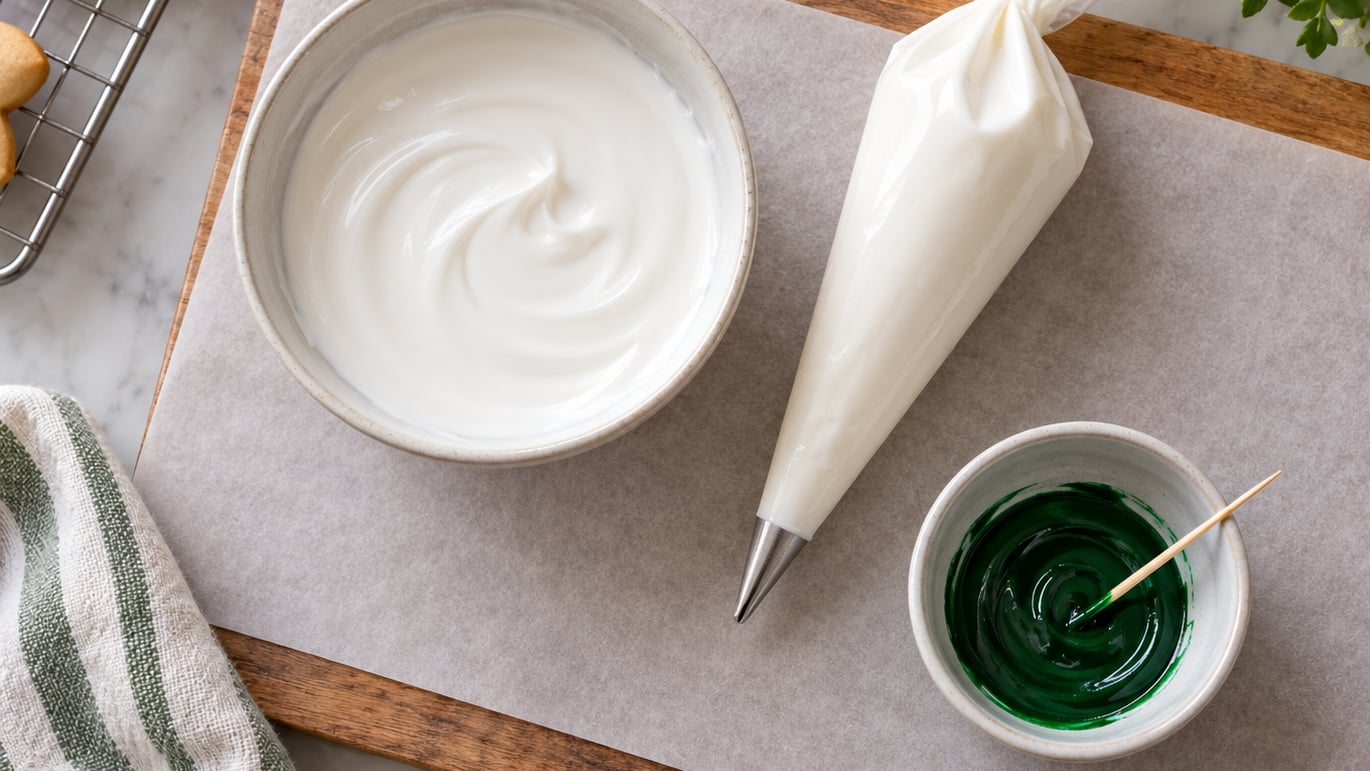
If you’ve ever tried to pipe a perfectly centered snowflake onto a moving sugar cookie, you already know the answer to why so many bakers learn how to make royal icing transfers instead. A transfer is just a design piped onto a flat surface, dried, peeled off, and stuck to a cookie or cake later. Done well, it looks like you piped directly onto the cookie — only you piped it three days ago in a calm kitchen, not a frantic one.
Royal icing transfers are also the secret to consistent results. Holiday sets stop looking like six cousins of the same shape and start looking like six copies. Cupcake toppers match the cake. Numbers on a birthday batch all line up. This guide walks you through the whole process, from mixing two consistencies to lifting a clean transfer off the paper without cracking it. Plan on your first batch taking about 90 minutes of hands-on time, plus overnight drying.
Table of Contents
- What Royal Icing Transfers Are and When to Use Them
- What You Need
- Step-by-Step: How to Make Royal Icing Transfers
- Common Mistakes and How to Fix Them
- Tips for Flawless Transfers Every Time
- Frequently Asked Questions
- How long do royal icing transfers take to dry?
- Can I make royal icing transfers without meringue powder or eggs?
- What is the best surface to pipe royal icing transfers on?
- Why do my royal icing transfers crack or break when I lift them?
- How do you store royal icing transfers and how long do they last?
- Can you freeze royal icing transfers?
What Royal Icing Transfers Are and When to Use Them
A royal icing transfer is a piped design that’s dried flat on a piece of parchment, acetate or a lace mat, then peeled off and attached to a cookie, cupcake or cake. The icing hardens into a thin, sturdy disc, so it survives being moved, stacked in a tin, and stuck onto a curved surface that would be impossible to pipe on directly.
Transfers fit the moments when precision matters more than speed: holiday sugar cookies that all need to match, wedding favors, baby shower sets, cake toppers that have to look identical from every seat at the table. They also work when the design itself is just hard to pipe in place — fine lace, monograms, faces of cartoon characters, or a Deathly Hallows symbol that nobody wants to freehand 36 times in a row.
For decorators who sell cookies, transfers are a real time-saver. You can mass-produce 50 little roses on a Sunday, store them in a flat container, and grab as many as you need on the morning of a market. Reviewers also point out that transfers let you practice a new design without wasting a single baked cookie — pipe ten, keep the two best, throw the rest away.
What You Need
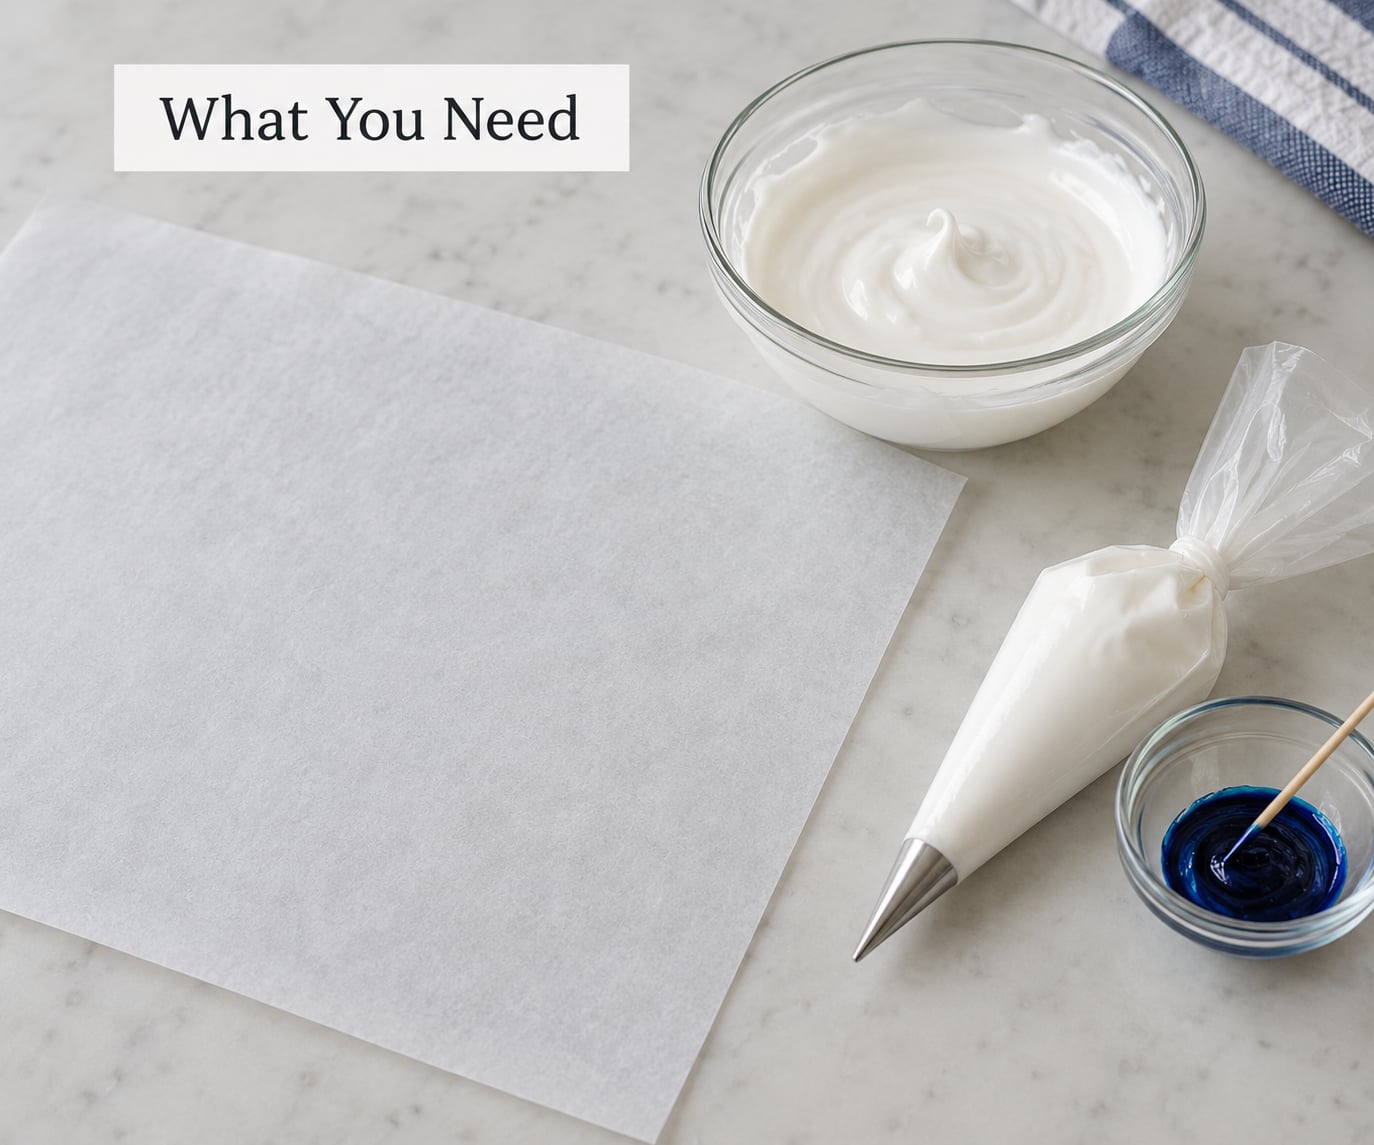
Most of this is probably already in your kitchen. The one thing you can’t skip is a truly grease-free surface — even a fingerprint of butter on your parchment is enough to make a transfer stick and tear when you try to peel it.
Ingredients:
- 4 cups (about 454 g) confectioners’ sugar, sifted
- 2 tablespoons meringue powder (look for an oil-free brand) or 2 large pasteurized egg whites
- 5 to 6 tablespoons warm water, plus more as needed
- 1 teaspoon clear vanilla extract or almond extract (clear keeps white icing bright)
- Gel food coloring in your chosen colors — gel, not liquid, so it doesn’t throw off the consistency
Tools:
- Stand mixer with whisk attachment, or a hand mixer
- Piping bags, both 12-inch and small disposable
- Round piping tips: a #1.5 or #2 for fine outlines, a #3 or #4 for flooding
- Scribe tool or a clean, fine paintbrush for popping air bubbles
- Small offset spatula
- Grease-free parchment paper, clear acetate sheets, food-safe sheet protectors, or silicone lace mats
- Tape (painter’s tape works) to hold the template underneath the parchment
- Cookie sheet or flat board to carry transfers to a safe drying spot
- Airtight container and extra parchment for storage
About the surface: greaseproof parchment is the easiest starting point, but clear acetate or a clean sheet protector gives you the flattest, shiniest bottom — which matters if your design will be viewed from underneath, like a cupcake topper. Either works for a first batch.
Step-by-Step: How to Make Royal Icing Transfers
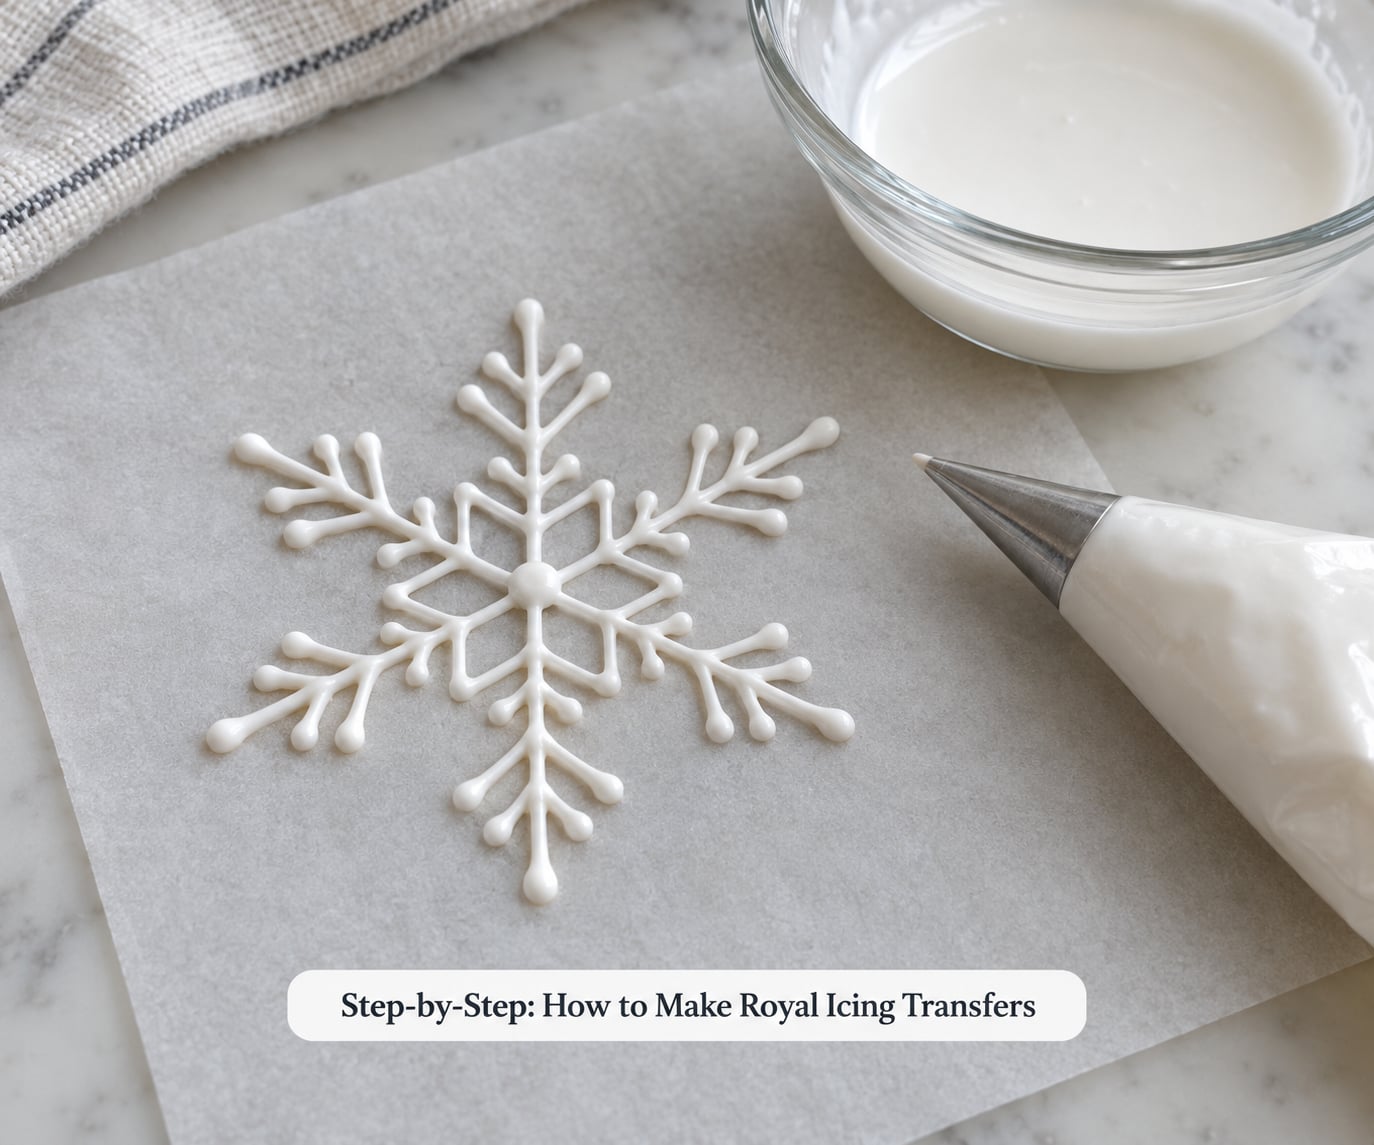
Work in a cool, dry room if you can. Humidity is the enemy of clean drying, and a hot kitchen makes your icing crust over before you’ve finished piping. Set up your surface, your templates and your tools before you even turn on the mixer.
Step 1: Mix the icing
Combine the sifted confectioners’ sugar and meringue powder in the mixer bowl. Add 5 tablespoons of warm water and the extract. Whisk on low until combined, then bump to medium-high and beat for about 4 to 5 minutes. You’re aiming for a soft-peak icing that holds a peak that gently curls over at the tip — stiff enough to pipe an outline that keeps its shape, soft enough to smooth with a scribe.
Scoop about one-third of the icing into a small bowl and cover it. This is your “stiff” icing for outlines and detail work. To the remaining two-thirds in the mixer bowl, add water a half-teaspoon at a time and beat briefly until you reach flood consistency. The classic test: drag a knife through the icing; the line should fill back in and disappear in about 10 to 15 seconds. That’s the window you want for flooding.
Step 2: Tint, if you’re using color
Add gel color with a toothpick — start with a tiny amount, you can always add more. Stir the stiff icing first to a smooth color, then color the flood icing to match. Cover both bowls with a damp paper towel pressed directly onto the surface so a skin doesn’t form while you work.
Step 3: Prepare your surface and template
Lay your parchment (or acetate) on a flat board. If you’re using a template, slide it underneath and tape the corners down with painter’s tape so nothing shifts. Trace the design lightly with a pencil if you want, but only on the template paper — never on the surface your icing will touch.
Step 4: Pipe the outline
Fit a small piping bag with a #1.5 or #2 tip and fill it with the stiffer icing. Pipe a continuous outline around the shape, keeping the line even — about 1 to 2 mm thick for small designs, slightly thicker for anything bigger than a quarter. Don’t worry about the look of the line yet; the next step covers it.
Step 5: Flood the shape
Switch to a bag fitted with a #3 or #4 tip filled with flood icing. Pipe flood icing right into the center of the outline, working from one side to the other, and let it find the edges on its own. Use a scribe tool to nudge it into corners and to pop any air bubbles you see rising. Tap the board gently on the counter a few times to settle the icing and bring more bubbles to the surface.
Step 6: Add details while it’s still wet (or after it dries)
Anything you want to sit flat on top — sprinkles, dragées, a smaller piped shape — should go on now, while the flood is still wet so it sinks in and bonds. If you want crisp, layered details (a face on a ghost, dots on a strawberry), wait for the flood to dry to the touch — usually 20 to 30 minutes — then pipe those details on top with stiff icing.
Step 7: Dry it completely
This is the step most beginners shortchange. Royal icing transfers need to dry all the way through, not just on the surface. In a cool, dry room, plan on 6 to 8 hours for small, thin designs and 12 to 24 hours for anything with thick areas or multiple colors. A fan pointed across (not at) the surface speeds things up. A dehydrator on its lowest setting works beautifully. Don’t put them in the oven, even on the pilot light — it’s too easy to forget and toasting your hard work is a sad way to end a day.
Step 8: Lift the transfer
Once a transfer is fully dry, it will feel hard and cool to the touch, and the back will release from the surface with barely any resistance. Slide a thin offset spatula or your fingernail under one edge, and the whole piece should lift in one motion. If it sticks or tears, the surface had grease on it, or the icing is still damp inside — see the troubleshooting section below.
Step 9: Attach it to a cookie or cake
Spread a small dollop of fresh royal icing on the back of the transfer, or paint a thin line of corn syrup on the cookie where the transfer will sit. Press the transfer gently into place. The fresh icing acts as glue and dries clear. For a sugar cookie, set the icing on the cookie the moment you pipe the cookie’s base flood — it bonds invisibly to wet icing.
Common Mistakes and How to Fix Them
Every cookie decorator has a transfer that fell apart on the way off the paper. Here are the failures that come up most often, and the one-line fix for each.
The transfer sticks and tears when you peel it. Something greasy touched your work surface. Wipe the counter and any tools you’ll set on it with a cloth and a splash of white vinegar, dry thoroughly, then start over on a fresh piece of parchment. A piece of tape lifted off the counter, then stuck to the back of the parchment, is a classic culprit.
The transfer cracks or shatters as you lift it. It was probably over-dried, or the icing was too stiff. Adding 1 teaspoon of light corn syrup or a tiny amount of glycerin to your stiff batch keeps it a little flexible once it dries. A transfer that’s snapped in two can sometimes be glued back together with a dot of fresh royal icing — barely visible once it’s on a cookie.
Colors bleed into each other. The flood layer wasn’t dry enough before you added the detail. Wait until it’s truly dry to the touch, not just “feels tacky” dry. Thin flood layers and a fan pointed across the surface cut that wait in half.
Air bubbles are stuck in the middle of the design. Pop them with a scribe tool the moment you see them, while the icing is still wet. A few sharp taps of the board on the counter bring most of them up to the surface before they set.
The icing crusts in the bowl before you finish. Your kitchen is too warm, or you’ve been working too slowly. Cover bowls with plastic wrap pressed onto the icing surface, and add a drop or two of water and re-stir if a skin forms. Working in smaller batches helps too.
The tip keeps clogging. Usually the icing has a lump of un-sifted sugar or a dried bit stuck in the tip. Cut the tip off the piping bag, rinse the coupler, re-fill, and run the icing through a fine mesh strainer next time.
Tips for Flawless Transfers Every Time
After a few batches, the small habits matter more than the big decisions. Dry transfers in a cool, low-humidity spot — a spare bedroom with the door closed and a fan on is better than a steamy kitchen. If you live somewhere humid, a dehydrator on its lowest setting is worth the counter space for a single afternoon.
Always make extras. Even experienced decorators break a transfer or two in the lifting step. Pipe at least two of every design you need, and pick the best one for the final cookie.
Store finished transfers flat in an airtight container with a sheet of parchment between every layer. Kept this way at room temperature, most transfers last several weeks; cool and dark, you can stretch that to a couple of months. Avoid the fridge — the moisture cycle fogs the icing and softens the surface.
For attaching, a small dot of fresh royal icing gives a strong, invisible bond. A thin brush of light corn syrup on the cookie is faster and works especially well on cupcakes where the icing is already set. If you’re placing a transfer on a still-wet flood, just lay it on and let it sink in — no glue needed.
Frequently Asked Questions
How long do royal icing transfers take to dry?
Small, thin transfers usually dry in 6 to 8 hours in a cool, low-humidity room. Larger designs with thick areas or multiple colors need 12 to 24 hours to harden all the way through. A fan pointed across the surface or a dehydrator on its lowest setting cuts that time roughly in half. A transfer is ready to lift when it feels hard and cool to the touch, and the back releases from the paper with almost no resistance.
Can I make royal icing transfers without meringue powder or eggs?
Yes. Aquafaba, the liquid from a can of chickpeas, whips up like egg white and works as a vegan substitute. Use about 3 tablespoons of aquafaba in place of 2 egg whites, and beat the icing a little longer to get to soft-peak. Meringue powder is the most consistent option for shelf-stable batches, but pasteurized egg whites also work for anyone comfortable with them.
What is the best surface to pipe royal icing transfers on?
Grease-free parchment is the easiest starting point and is forgiving for beginners. Clear acetate or a food-safe sheet protector gives the flattest, shiniest bottom, which matters for cupcake toppers viewed from underneath. Silicone lace mats produce a textured pattern automatically. Whichever you use, make sure it’s truly grease-free — even a fingerprint of butter can make a transfer tear when you try to lift it.
Why do my royal icing transfers crack or break when I lift them?
Most often the icing was over-dried, or it was mixed too stiff in the first place. Adding 1 teaspoon of light corn syrup or a small amount of glycerin to the stiff batch keeps dried transfers a little flexible. Cracking also happens if the transfer is still damp inside — give it the full drying time and a fan if your room is humid. A snapped transfer can often be glued back together with a dot of fresh royal icing.
How do you store royal icing transfers and how long do they last?
Lay finished transfers flat in an airtight container with a sheet of parchment between every layer so they don’t stick to each other. Stored at room temperature in a cool, dry spot, most transfers stay in good shape for several weeks. Kept in a dark, dry cupboard, they can last a couple of months. Avoid the fridge, since the moisture cycle softens the icing surface and dulls the colors.
Can you freeze royal icing transfers?
You can, but it’s not the best choice. Freezing introduces moisture on the surface as the transfers thaw, which can make colors bleed and edges soften. If you must freeze them, layer them between parchment in a sealed container, thaw them slowly in the fridge overnight, and then bring them to room temperature before lifting. For most bakers, an airtight container in a cool cupboard is more reliable.
Start with one small design — a single heart, a snowflake, a monogram letter — and pipe a few extras. The first batch is really about getting a feel for flood consistency and clean release, and the design itself is almost secondary. Once you lift a perfect transfer off the paper for the first time, the rest of the process clicks into place.