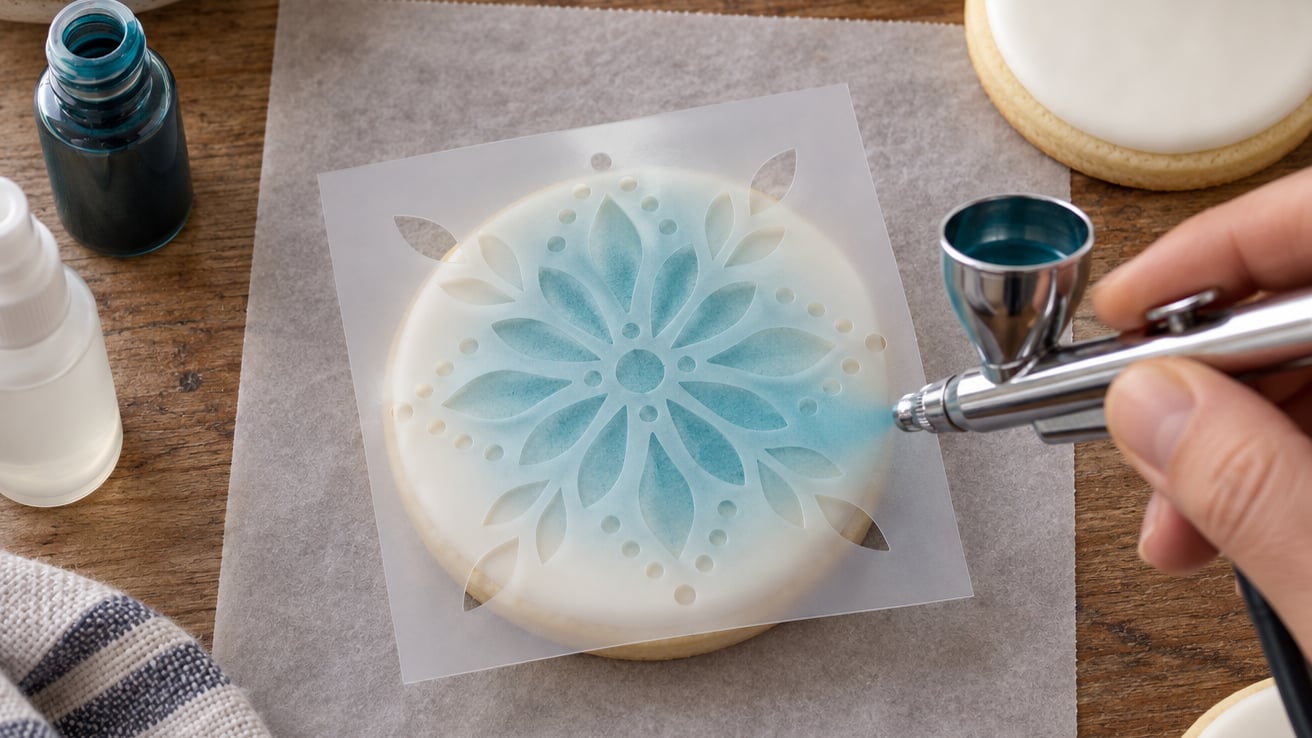
Stenciling cookies with an airbrush is the fastest way I know to get crisp, repeatable designs across a whole batch of sugar cookies. The trick is simple: a fully dried royal icing base, a flexible stencil held flat against the cookie, and light passes of thinned edible color. Set aside 45 to 90 minutes for a dozen cookies, and expect an easy-to-moderate first attempt that sharpens fast with practice.
I picked up airbrushing after a year of piping every background by hand, and I never went back. If you can flood a cookie and pour a stiff royal icing outline, you already have the skills for this.
Table of Contents
- What You Need
- Step-by-Step: How to Stencil Cookies With an Airbrush
- Common Mistakes and How to Fix Them
- Frequently Asked Questions
- Do I need a real airbrush to stencil cookies?
- What kind of food coloring works in an airbrush on cookies?
- How long does royal icing need to dry before airbrushing?
- Why is my airbrush color beading up on the cookie?
- Can I reuse a cookie stencil, and how do I clean it?
- How far should I hold the airbrush from the cookie?
- Conclusion
What You Need
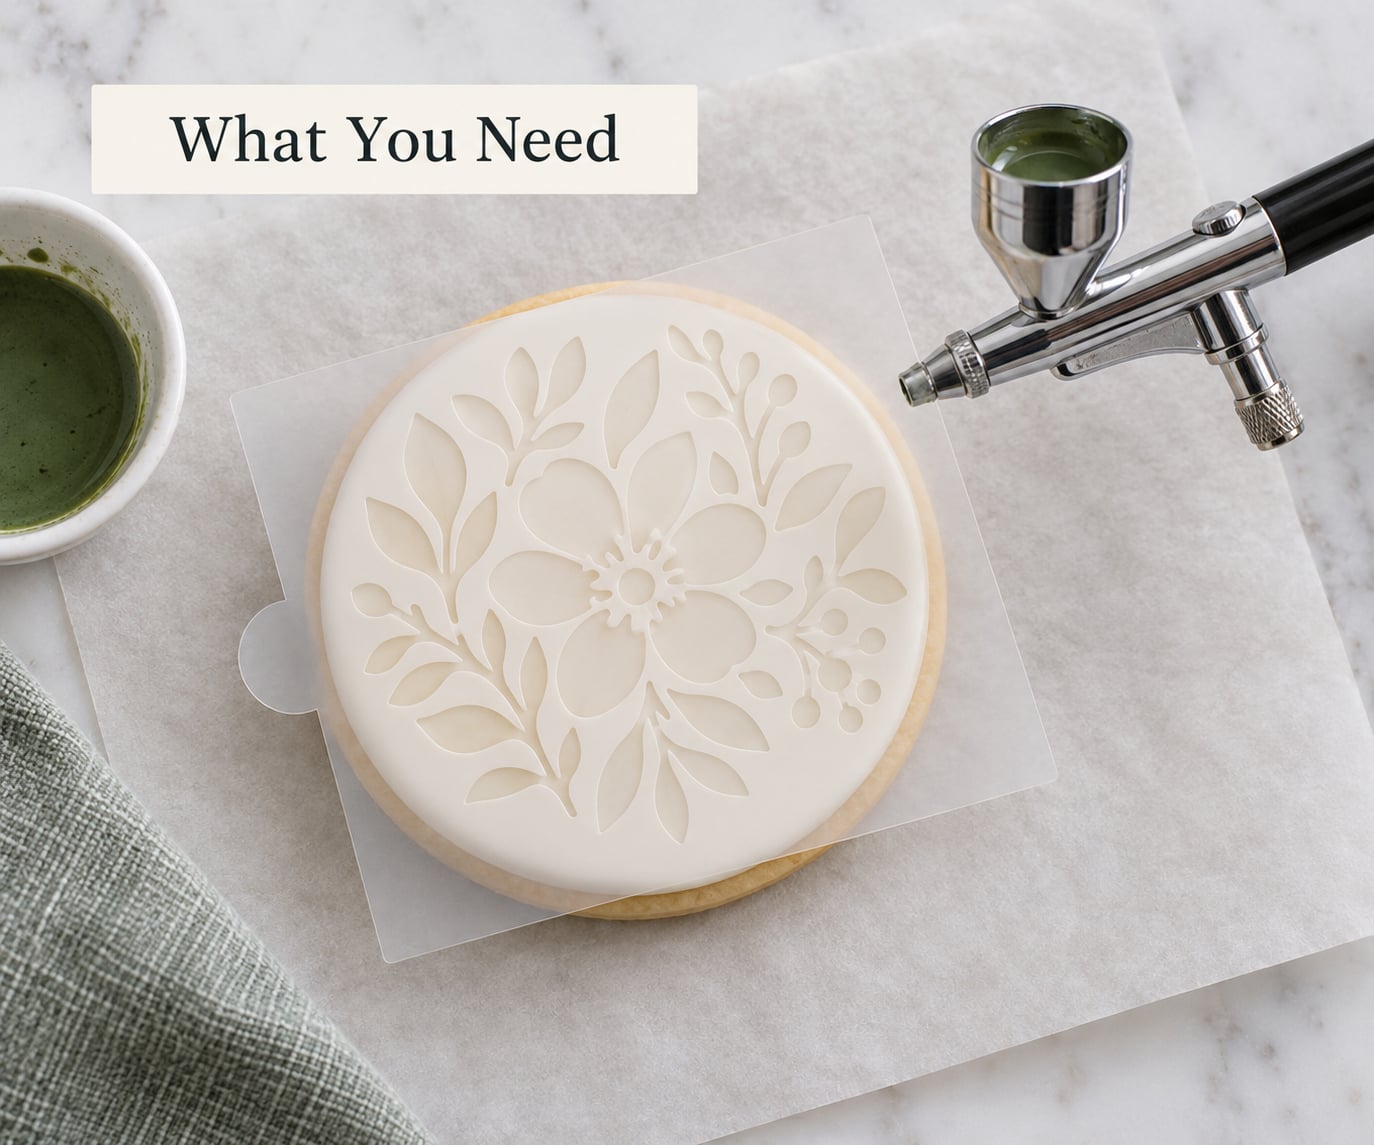
Most of what you need is probably already in your kitchen. The new purchase is the airbrush and a stencil or two.
- Baked and cooled sugar cookies on a flat, unwarped tray (chill them for 10 minutes if they bend).
- Royal icing base coat, flooded and fully dried, 6 to 8 hours minimum, 24 hours if you can wait.
- Food-safe airbrush kit with a small compressor. A single-action pen under 50 dollars is fine for beginners; double-action gives finer control later.
- Airbrush food coloring, or gel color thinned 1 to 1 with clear vodka, vanilla extract, or lemon extract.
- Cookie stencils in flexible mylar, 5 to 7 mil thick, sized to your cutter.
- Stencil holder, magnetic, hinged, or a low-tack stencil adhesive spray.
- Parchment paper or a cardboard spray booth to catch overspray and protect the rest of the cookie.
- Toothpicks, paper towels, a small strainer or coffee filter, and a clean, well-ventilated workspace.
A quick note on safety: use only food-grade color and a food-safe airbrush. Craft airbrush hardware looks the same, but the seals and coatings are not meant to touch what you eat. Wash the pen and the color cup in hot soapy water before first use.
Step-by-Step: How to Stencil Cookies With an Airbrush
Once your icing is dry, the rest of this process moves quickly. Most of the time is waiting on icing, not airbrushing.
Step 1: Bake and base-coat your cookies
Roll and cut your sugar cookies to a uniform thickness so they bake evenly and lie flat. Let them cool on the tray, then flood with white, or a tinted base if you want a colored background. Outline first, then flood, and tap to release air bubbles.
The icing must be hard before you airbrush. Press a fingernail gently into the edge; if it leaves any mark, give it more time. A tacky surface pulls the stencil up, bleeds color under the edges, and ruins the design. I usually flood in the evening and airbrush the next morning.
Step 2: Mix your airbrush color
Bottle airbrush color can go straight into the cup. If you are using gel color, mix one part gel with one part clear alcohol. The alcohol evaporates fast and leaves a clean tint without watering down the pigment or making the icing soggy.
Strain the mix through a small coffee filter into the color cup. This is the step most beginners skip, and it is the reason most airbrushes clog. Even a tiny gel clump will sit in the nozzle and spit.
Step 3: Secure the stencil
Set the cookie on a piece of parchment or inside a cardboard box. Lay the stencil flat across the top. If it is unframed mylar, mist the back lightly with stencil adhesive from about 8 inches away, let it get tacky for a few seconds, then press it down. With a framed or magnetic holder, the magnets do the work and you just align.
Lift one corner and watch the design stay sharp on the icing. If the stencil lifts with the cookie, the adhesive is right. If it slides, add a little more tack or switch to a holder.
Step 4: Test spray on paper
Before you touch the cookie, spray a few test passes on a scrap of parchment. You are dialing in two things: trigger pressure and distance.
Hold the pen 4 to 6 inches from the surface, perpendicular, and use light, sweeping passes. The dot on the paper should look soft and even, not a wet puddle. If it spits, the color is still too thick or the nozzle needs a backflush.
Step 5: Airbrush in light, even passes
Start the spray off the edge of the stencil, sweep across, and stop off the other edge. Build color in two to three thin layers rather than one heavy pass. Never hold the pen still in one spot; that is how the icing pits and color bleeds under the stencil.
Lift a corner of the stencil mid-pass to check coverage. Royal icing is white, so the first pass often looks faint. Two or three passes give a rich, even color that still leaves the details crisp.
Step 6: Lift and let dry
Pull the stencil straight up, not at an angle, so the edge of the design does not smear. Airbrush color dries within seconds on royal icing because the alcohol flashes off fast.
Let the cookies rest another 10 to 15 minutes on the tray before you move them. That short rest lets the color fully set so it does not transfer if you stack or bag them.
Step 7: Seal, store and clean the airbrush
Once dry, the color is set. For stacking or gifting, a light mist of edible sealant or a clear confectioners spray adds a protective coat.
Store finished cookies single-layer in an airtight container at room temperature for up to two weeks. Do not refrigerate; condensation can bloom the color.
Flush the airbrush between colors by spraying clean alcohol into a paper towel until the mist runs clear. At the end of the session, empty the cup, disassemble the needle, and wash the parts in warm soapy water. Reassemble dry. A clean airbrush is the difference between reliable color and a clogged, frustrating mess next time.
Common Mistakes and How to Fix Them
Every airbrusher I know started with a few messy cookies. The good news: each problem has a clear cause and a quick fix.
Bleeding under the stencil: The icing was not fully dry, the stencil was not held flat, or the pen was held too close. Wait longer, add more adhesive or magnets, and back the pen up to 6 inches.
Overspray fog on the cookie border: You sprayed too long in one area, or the stencil had a slight gap. Cut a shield from parchment to cover the border, and work in shorter passes.
Color beading on the icing: The icing had grease from fingerprints or butter, or the color was too thick. Wipe the cookie lightly with a paper towel before stenciling, and thin gel colors more aggressively with alcohol.
Clogged nozzle: Unstrained color, or color left to dry in the cup. Strain every batch, flush between colors, and never let color sit in the pen between sessions.
Patchy color: Not enough passes, or the pen was too far away. Move closer to 4 inches, slow your hand, and build two to three thin layers instead of one heavy one.
Three pro tips that save a batch every time: work inside a cardboard box as a spray booth to contain overspray, freeze the bare cookies for 5 minutes before stenciling if your kitchen is warm (a cold cookie holds the stencil flatter), and keep a dedicated soft brush to dust the stencil between cookies so old pigment does not transfer onto the next design.
Frequently Asked Questions
Do I need a real airbrush to stencil cookies?
For a true airbrushed look, yes, a real airbrush with a small compressor gives the fine mist that stencils need. As an alternative, a stiff brush and royal icing can push color through a stencil, but the result is thicker and less even. If you plan to stencil more than a few times a year, a basic single-action airbrush kit pays for itself in saved time.
What kind of food coloring works in an airbrush on cookies?
Bottle-form airbrush food coloring is the easiest option because it is already thin enough to spray. Gel colors also work when mixed roughly 1 to 1 with clear alcohol such as vodka, vanilla extract, or lemon extract. Always strain the mix through a small coffee filter before pouring it into the color cup, since even a tiny gel clump will clog the nozzle.
How long does royal icing need to dry before airbrushing?
Plan on at least 6 to 8 hours of drying time, and 24 hours if your kitchen is humid. The icing should feel hard to a gentle fingernail press with no give or tack. Airbrushing on icing that is even slightly soft pulls the stencil up, causes bleeding under the edges, and ruins the crisp design you are trying to create.
Why is my airbrush color beading up on the cookie?
Beading almost always means the surface is not clean or the color is too thick. Lightly wipe the dried icing with a clean paper towel to remove any grease or fingerprints, and thin gel colors more aggressively with clear alcohol. Spraying from too far away also causes beading, so move the pen in to about 4 to 6 inches and use light passes.
Can I reuse a cookie stencil, and how do I clean it?
Yes, mylar cookie stencils are made to be reused many times. After each session, rinse the stencil under warm water with a drop of dish soap, gently rub off any color with a soft sponge, and let it dry flat. Avoid scrubbing pads or very hot water, which can warp the mylar and throw off your designs.
How far should I hold the airbrush from the cookie?
Hold the pen about 4 to 6 inches from the surface, perpendicular to the cookie. Closer than 4 inches and you risk pitting the icing and bleeding under the stencil. Farther than 6 inches and the color goes on patchy, drifts as overspray, and you lose the crisp edges you are aiming for.
Conclusion
Airbrushing stencils onto cookies is one of those techniques that looks pro and feels like a small baking project once you try it. The four habits that get you there: dry royal icing, thinned and strained color, a stencil held flat with adhesive or a magnetic frame, and light passes 4 to 6 inches from the surface.
Start with a single stencil, one color, and a half dozen cookies. Once those come out crisp, you can layer metallics, build ombre gradients, or mix airbrushed backgrounds with piped details. The cookies you make in 2026 with this method will look like they came from a bakery window, and your hands will be a lot less tired.