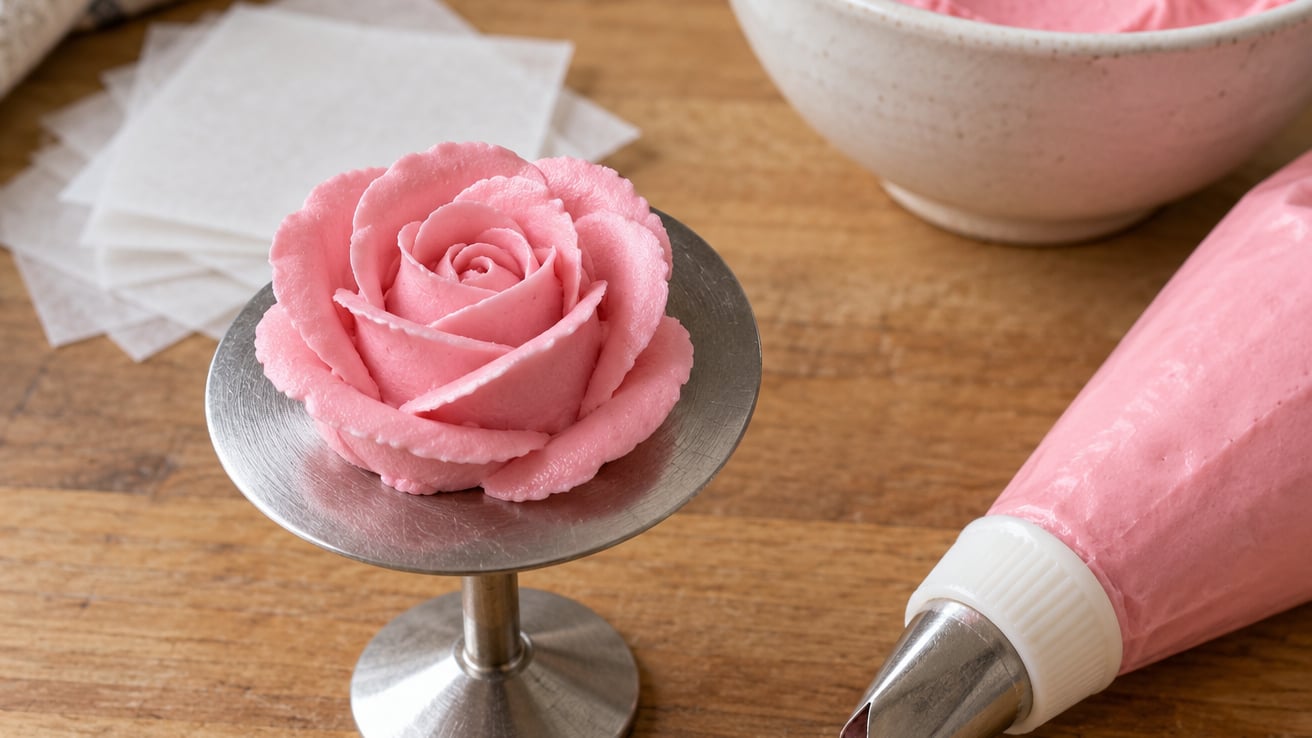
Royal icing roses are piped flowers made with stiff royal icing and a petal decorating tip, built up layer by layer on a flower nail. To pipe a clean rose, you need stiff-peak royal icing, a petal tip (usually #101 or #104), a flower nail, a piping bag fitted with a coupler, parchment squares, and a damp cloth to keep the bag from crusting. Plan on 5 minutes per flower plus at least 24 hours of drying time before you lift the rose off the nail.
I learned to pipe roses the slow way, with petals that looked more like mashed potatoes than flowers, and most of my early failures were the icing. Once the consistency was right, the rest fell into place. Here’s the exact process I use now for sugar cookies and cake toppers.
Table of Contents
- What You Need to Pipe Royal Icing Roses
- How to Pipe Royal Icing Roses: Step-by-Step
- Common Mistakes and How to Fix Them
- Tips for Beautiful Royal Icing Roses
- Frequently Asked Questions
- How long do royal icing roses need to dry before moving them?
- What piping tip is best for royal icing roses?
- Can you pipe royal icing roses directly onto a sugar cookie?
- How do you store royal icing roses after they dry?
- Why are my royal icing rose petals cracking or falling apart?
- Can you make royal icing roses without raw egg whites?
What You Need to Pipe Royal Icing Roses
You don’t need much, but each one matters. Skipping the flower nail or thinning the icing “just a little” is usually where things go wrong.
Piping tips. Petal tips (#101, #102, #103, #104) are the workhorses for roses. A #101 makes a small tight bud, a #104 makes a fuller open bloom about the size of a quarter, and a #103 is a comfortable middle ground for most cookie work. Wilton and Ateco tips both work; pick one to start with and learn its pressure before adding more.
Coupler and piping bag. A coupler lets you swap tips without emptying the bag. Reusable plastic or cotton bags are easier on the hands than disposable ones, but any sturdy bag will do.
Flower nail and holder. A flower nail is the small metal dome you pipe onto. The holder is the wooden or weighted base that grips the nail so both hands stay free. Reviewers on the cookiedecorating subreddit say the holder makes a real difference in control, especially when you’re spinning the nail with one hand.
Royal icing, stiff consistency. Mix your icing so it holds a stiff peak that barely curls when you lift the beater. For piping roses, you’re aiming for the “15-second rule” — drop a ribbon of icing into the bowl and count how long until it disappears. Roughly 12 to 15 seconds is the stiff peak you want for petals that hold their shape.
Gel food coloring. Gel color won’t thin your icing the way liquid drops do. A small amount of pink, rose, or butter yellow gives the soft, natural look most decorators want.
Parchment squares and a damp cloth. Cut parchment into 1.5 inch squares so you can slide each finished rose off the nail to dry. Keep a barely-damp cloth over the open end of the piping bag while you work so the tip doesn’t crust over.
How to Pipe Royal Icing Roses: Step-by-Step
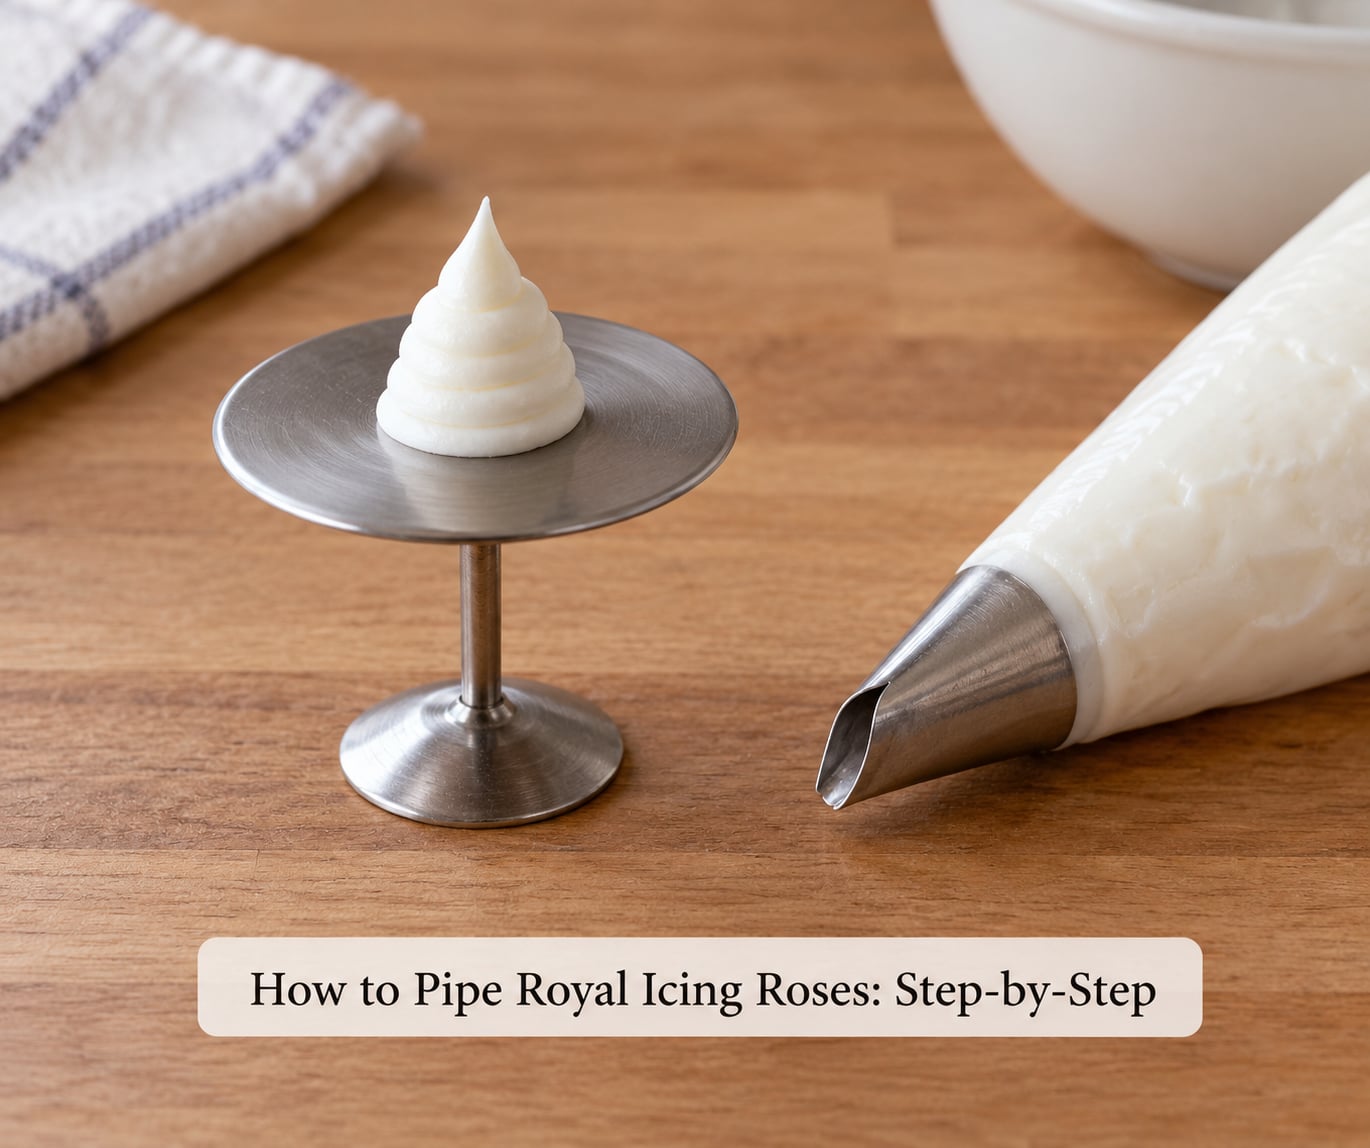
Work in small batches. Keep a damp cloth over the tip when you stop, and refill the bag before it runs low so you don’t end up fighting air pockets at the end.
Step 1: Prep Your Piping Bag and Rose Nail
Fit the petal tip into the coupler and screw the ring on snugly so no icing leaks at the base. Fill the bag only halfway and twist the top closed to push the icing down toward the tip. Squeeze out a small amount until the icing flows without gaps. Put a tiny dab of icing on the flat top of the flower nail — that’s the glue that holds your first cone in place.
Step 2: Pipe the Cone Base
Hold the bag at about a 45-degree angle with the wide end of the petal tip facing up and slightly toward you. Squeeze out a small cone, about the size of a peanut, building it up in two or three short bursts instead of one long squeeze. Stop pressure and pull away cleanly. A well-shaped cone gives the rose its height; a flat or leaning cone will tilt every petal after it.
Step 3: Wrap the Center Petal
Place the wide end of the tip against the side of the cone so the narrow edge hugs the top. The tip’s opening should be centered over the cone, not off to one side. Squeeze gently while turning the nail away from you with your other hand. Stop after one full rotation so the petal wraps around the cone without overlapping itself. Pull away to seal the top.
Step 4: Add the Outer Petals
Reposition the tip so the wide end is still up, but the narrow edge sits at the base of the previous petal. Squeeze and turn the nail until you have three petals around the bud, each one starting where the last ended. For each new row, lower the tip slightly so the petals flare out and overlap like a real rose opening. Keep your pressure even — too much makes fat lopsided petals, too little makes thin pointy ones.
Step 5: Finish and Transfer
Pipe a tiny flat base by gently pressing the tip against the bottom of the rose and pulling straight down. This gives the flower a stable foot so it sits flat on the cookie. Slide a parchment square under the rose, lift it off the nail, and set it on a tray to dry. Royal icing roses need at least 24 hours to harden fully before you move them; 48 hours is safer for big blooms or humid kitchens.
Common Mistakes and How to Fix Them
Almost every bad rose is one of four things. Find the symptom, fix the cause, and the next flower usually works.
Petals flatten or melt together. The icing is too soft. Test it with the 15-second rule — drop a ribbon into the bowl and count. If it disappears in 5 seconds, the icing is flood consistency, not stiff. Add more powdered sugar, a tablespoon at a time, until the ribbon holds for 12 to 15 seconds.
Petals crack or break off the cone. The icing is too stiff, or the cone dried out before you added the next petal. Soften stiff icing with a few drops of water, and work fast — don’t leave the cone sitting while you read the next step. A damp cloth over the bag keeps the tip from crusting between roses.
Petals look pointy or sharp. The narrow end of the tip is up instead of the wide end. Petal tips have one curved edge and one flat edge. The flat, wide side must face out; the narrow edge stays against the previous row. If your petals look like flames, flip the tip around.
Air bubbles pop the petal mid-squeeze. Air got trapped when you filled the bag. Push the icing down to the tip before you start, and never refill a half-empty bag without burping it first. Squeeze out a dab onto a paper towel before going back to the nail.
Tips for Beautiful Royal Icing Roses
Always practice on parchment first. A dozen throwaway roses on a sheet is the fastest way to find your pressure and angle before you commit to a tray of cookies.
Color the base and petals separately for a two-tone rose. Pipe the cone in deep pink, then switch to a softer blush for the outer petals. The contrast makes each layer look deeper and more natural.
Spin the nail toward you, not away. Most decorators instinctively push, which tightens the wrist and throws off the angle. Pulling the nail toward your body keeps the motion smooth and the petals even.
Once the roses are bone dry, store them in an airtight container between layers of parchment for up to three months. They harden fully and stay food-safe, so you can pipe a whole bouquet weeks ahead of a wedding or party.
Frequently Asked Questions
How long do royal icing roses need to dry before moving them?
Most royal icing roses need 24 hours of drying time before you slide them off the flower nail, and 48 hours is safer in a humid kitchen. The icing should feel completely hard and cool to the touch, not tacky. Rushing this step is the fastest way to dent a finished rose with your thumbnail.
What piping tip is best for royal icing roses?
A petal tip is the right shape, and the most common choices are #101 for small tight buds, #103 for medium cookies, and #104 for fuller open blooms about the size of a quarter. Start with a #103 if you are a beginner; it gives you a forgiving middle size that suits most sugar cookie designs.
Can you pipe royal icing roses directly onto a sugar cookie?
You can, but most decorators pipe onto a flower nail first and transfer the dried rose onto the cookie. Piping directly works for flat rosettes but is hard for traditional three-dimensional roses because you need to spin the nail while squeezing. Transfers also keep the cookie surface clean.
How do you store royal icing roses after they dry?
Layer dried roses between small pieces of parchment in an airtight container and keep them at room temperature for up to three months. Avoid the fridge because condensation can make the icing weep. Stored roses are food-safe and travel well in cupcake boxes or cookie tins.
Why are my royal icing rose petals cracking or falling apart?
Cracking usually means the icing is too stiff or dried too fast. Add water a few drops at a time until a ribbon of icing holds for 12 to 15 seconds in the bowl. Working in a cool, not cold, room and keeping the bag covered with a damp cloth also prevents cracking.
Can you make royal icing roses without raw egg whites?
Yes. Meringue powder royal icing uses pasteurized dried egg whites and is the standard for cookie decorators because it is shelf-stable and food-safe. You can also use aquafaba, the liquid from a can of chickpeas, as an egg-free replacement that pipes similarly once you stiffen it with extra powdered sugar.
Start with a #103 tip and a small bowl of stiff-peak icing, and pipe a few practice roses on parchment before moving to cookies. Once you feel the petal pressure, the rest is repetition — and a finished bouquet of royal icing roses is one of the prettiest things you can put on a sugar cookie.