
To decorate baby shower cookies, bake sturdy no-spread sugar cookies, outline them with thick royal icing, flood the centers with thinner icing, then add piped details, sprinkles or stenciled patterns before letting them dry for 12 to 24 hours. A basic batch takes about 3 to 4 hours from dough to finished cookie, and the decorating itself is well within a beginner’s reach if you work in small steps and let each layer set before moving on.
This guide walks through exactly what to gather, how to bake a cookie that holds its shape, and how to mix royal icing at the two consistencies you actually need. By the end you should be able to pull off a tray of baby-themed cookies that look like they came from a custom bakery.
Table of Contents
- What You Need
- Bake the Base Cookies
- Step-by-Step: How to Decorate Baby Shower Cookies
- Common Mistakes and Easy Fixes
- Frequently Asked Questions
- How far in advance can I decorate baby shower cookies?
- Can I use store-bought sugar cookies for decorating?
- What icing is best for baby shower sugar cookies?
- How long does royal icing take to harden on cookies?
- Are gel food colorings safe for baby shower cookies?
- Can I make these cookies dairy-free or gluten-free?
- Conclusion
What You Need
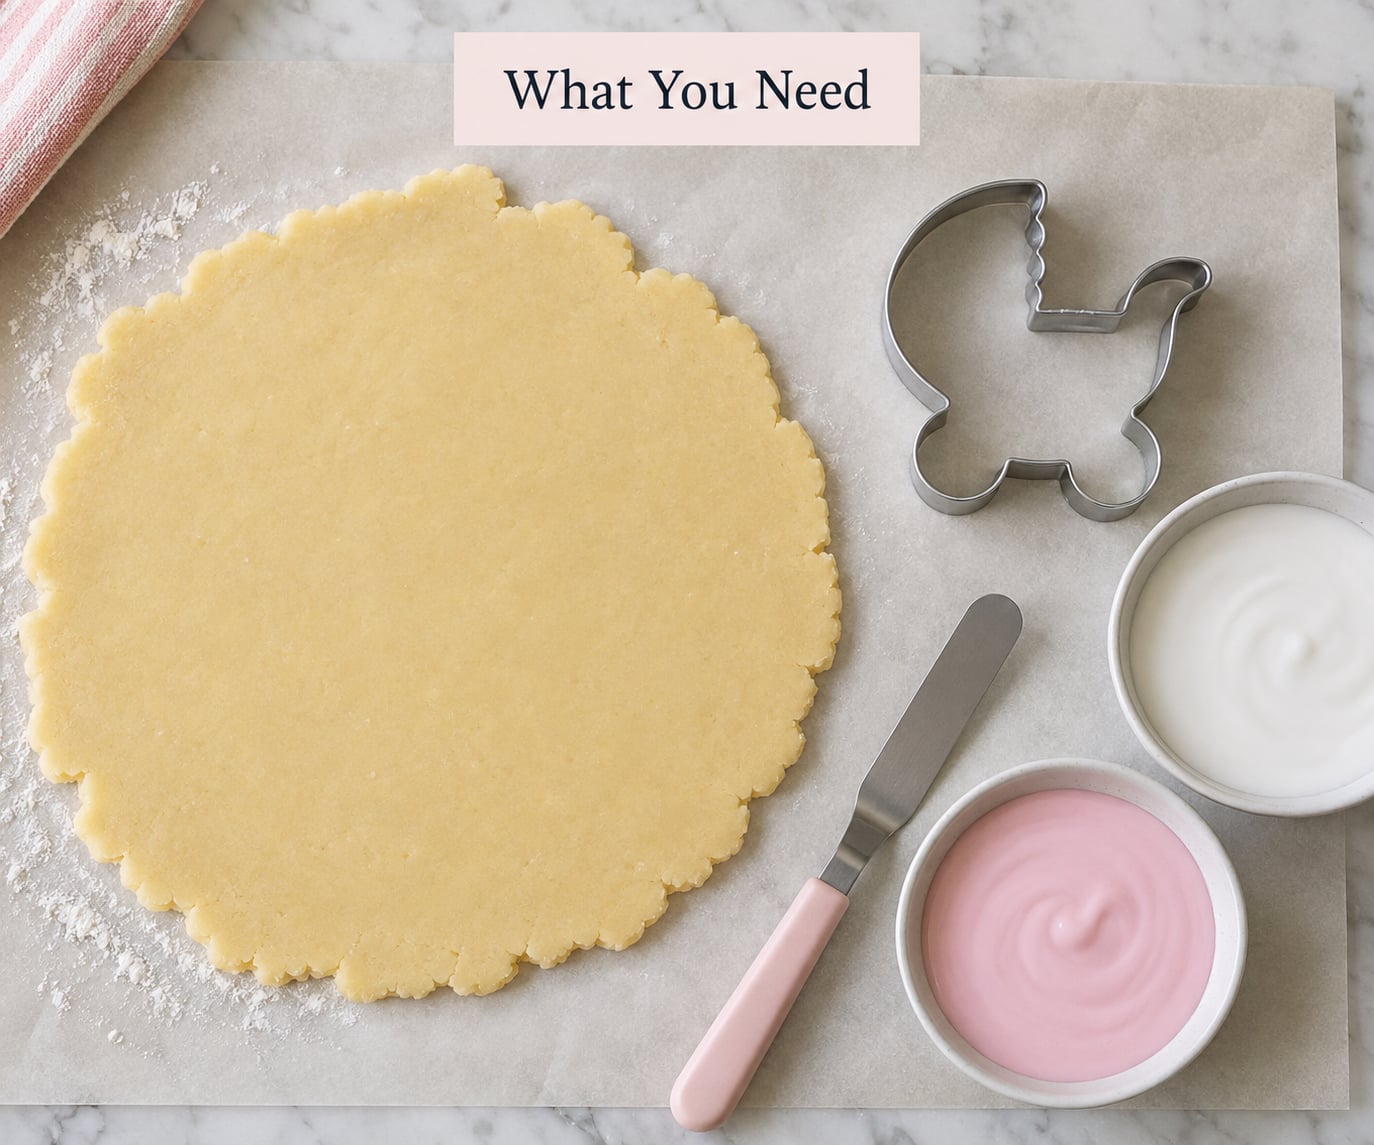
You don’t need much to start, and almost everything can be found in a normal kitchen or a big-box craft store. Before you mix anything, gather your tools so you’re not hunting for a missing tip mid-decorating.
For the cookies:
- Stand mixer or hand mixer with paddle attachment
- Rolling pin (an adjustable one makes even thickness much easier)
- Cookie sheets, parchment paper or silicone baking mats
- Baby shower cookie cutters: onesie, baby bottle, rattle, stroller, bootie, or simple round shapes
- Cooling rack
- Plastic wrap for chilling dough
For the royal icing:
- Mixing bowl, fine mesh sieve, and a small silicone spatula
- Electric mixer (a hand mixer works fine)
- Meringue powder, powdered sugar, warm water, light corn syrup, clear vanilla extract, and a tiny bit of cream of tartar
- Gel food coloring in pastels: pink, baby blue, mint, butter yellow, white
- Tipless piping bags or regular piping bags with small round tips (Wilton 2 or 3 are common)
- Cookie scribe tool or a clean toothpick for popping air bubbles
- Squeeze bottles for flood icing (optional, but they speed things up)
Nice-to-haves once you start adding details: paper stencils, edible markers, sugar pearls, nonpareils, sanding sugar, and a small offset spatula for spreading flood icing if you’d rather not use a bag.
Bake the Base Cookies
The whole decorating experience stands or falls on the cookie. A dough that holds its shape in the oven gives you clean edges to outline and a flat surface to flood. A dough that spreads leaves you with wrinkled borders and a cookie that feels too thin to decorate.
Here’s the no-spread sugar cookie recipe I lean on. It makes about 24 medium cookies.
Ingredients
- 1 cup unsalted butter, softened
- 1 cup granulated sugar
- 1 large egg
- 1 teaspoon clear vanilla extract
- 2 teaspoons baking powder
- 3 cups all-purpose flour
- 1/2 teaspoon salt
Method
- Cream butter and sugar on medium until pale and fluffy, about 2 to 3 minutes.
- Beat in the egg and vanilla until smooth.
- Whisk flour, baking powder, and salt together, then add to the mixer on low just until the dough comes together.
- Shape into a disc, wrap in plastic, and chill at least 1 hour, or up to overnight. Cold dough is the single biggest reason cookies keep their shape.
- Roll on a lightly floured surface to about 1/4 inch thick and cut shapes.
- Bake at 350°F (175°C) on parchment-lined sheets for 9 to 11 minutes. Edges should look just barely golden.
- Cool 5 minutes on the pan, then transfer to a rack to cool completely before icing.
According to USDA safe handling guidance, raw cookie dough containing flour and raw egg shouldn’t be eaten. I keep a small spoon of cooked dough aside if anyone wants to taste-test during baking. Use pasteurized eggs if you’re worried, or swap in 1/4 cup applesauce for an egg-free dough that still holds shape.
Step-by-Step: How to Decorate Baby Shower Cookies
Once the cookies are cool, the real fun starts. The whole decorating process has three main phases: mix your icing at the right consistency, outline and flood the base shape, then add details on top.
Mix and Tint the Royal Icing
Royal icing is just powdered sugar, meringue powder, and a small amount of liquid whipped together until smooth. The trick is mixing it to two different thicknesses: a stiff one for outlining, and a slightly thinner one for flooding.
Basic royal icing (makes about 3 cups)
- 4 cups powdered sugar, sifted
- 3 tablespoons meringue powder
- 1/2 teaspoon cream of tartar
- 1/2 cup warm water
- 1 tablespoon light corn syrup
- 1 teaspoon clear vanilla extract
Whip everything together on low for 30 seconds, then medium-high for about 4 minutes until the icing holds soft peaks. That’s your outline consistency. To turn it into flood icing, add water 1 teaspoon at a time and stir gently. Test it with the 20-second rule the decorating community swears by: drizzle a ribbon of icing back into the bowl. If the line disappears and becomes smooth in about 20 seconds, you’re ready to flood. If it vanishes faster, add more sugar. If it’s still visible after 20 seconds, add a touch more water.
Tint your icing with gel food coloring. A toothpick-swipe of gel goes a long way, so add slowly. For baby shower palettes, soft pink, baby blue, mint, butter yellow, lavender, and clean white all play well. If you want true black for eyes or lettering, mix a touch of purple-based brown or use a pre-made black gel since true black takes a lot of coloring and can taste bitter.
Outline and Flood the Cookies
Work on one cookie at a time so the icing stays wet. Fit a piping bag with a small round tip and fill with your outline-consistency icing. Trace a clean border around the edge of the cookie, leaving no breaks. If you nick the outline, smooth the band back together with a wet scribe tool before it sets.
Switch to your flood icing, either in a piping bag with a slightly larger tip or a squeeze bottle. Starting from the edges, fill in the center of the outlined shape. Don’t overfill: a thin coat that settles to a smooth surface is the goal.
Pick up the cookie a few inches above the counter and drop it flat. The tap settles the icing and pops most of the air bubbles. Use the scribe tool or a toothpick to pop any bubbles that remain and to nudge icing into the corners. Once the surface looks like glass, leave it alone.
Add Details: Stencils, Sprinkles and Piped Accents

Once the base flood has dried for at least 20 to 30 minutes (it should feel dry to a light touch but not fully hardened), you’re ready for details. I teach three finishing techniques because each one gives a totally different look without much extra effort.
Stenciling: Lay a paper stencil over the dry base coat and spread a thin layer of flood-consistency icing across the cutouts with an offset spatula. Peel the stencil off slowly and let the pattern dry before stacking cookies. Stencils work well for tiny hearts, polka dots, and chevron stripes.
Sprinkles and sugar pearls: Press sprinkles onto the wet flood within 30 seconds of icing, before the surface crusts. Nonpareils and sanding sugar cover larger areas. Sugar pearls look like little buttons on a onesie cookie. Quins (those little flat sugar shapes) work for tiny eyes, mouths, and decorative dots.
Piped accents: Switch back to your outline-consistency icing in a piping bag with a fine tip. Add polka dots, hearts, baby carriage details, piped lettering like “Oh Baby” or the baby’s name, and small flourishes around the edges. A piping bag with a tiny round tip (Wilton 1 or 2) is the easiest tool for lettering if you’re a beginner. Practice on parchment first.
Dry and Store the Finished Cookies
Royal icing dries in two stages, and it’s worth knowing the difference. After 1 to 2 hours the icing feels dry to a light touch, which is fine if you’re adding another layer on top. For stacking or storing, plan on 12 to 24 hours of air drying at room temperature. A fan pointed at the cookies speeds things up, especially in humid kitchens.
Store finished cookies in a single layer in an airtight container at room temperature, with parchment between layers if you must stack. They keep for about 2 to 3 weeks this way. Don’t refrigerate decorated cookies. The condensation that forms when they come back to room temperature will make the icing weep and go soft. For longer storage, freeze decorated cookies on a sheet pan until solid, then move them to a freezer bag with parchment between layers. Thaw them in the bag to prevent condensation on the surface. They keep in the freezer for 2 to 3 months.
Common Mistakes and Easy Fixes
Even experienced cookie decorators hit the same handful of problems. Here’s a quick troubleshooting guide that I wish someone had handed me on my first batch.
Icing too runny. If your outline spreads and your flood won’t hold its shape, add powdered sugar one spoon at a time until the icing peaks and ribbons smoothly. Runny icing also causes colors to bleed into neighboring areas.
Icing too stiff. If piping feels like squeezing cement and the flood surface looks bumpy, add water 1/2 teaspoon at a time until you reach a smooth ribbon. Stiff icing won’t settle into a flat surface.
Colors bleeding. This happens when you add a new color on top of a flood that hasn’t dried long enough, or when your icing is too wet. Let the base coat dry 20 to 30 minutes first, and keep your detail icing a touch thicker than your flood.
Outlines cracking. Cracking usually means the icing was too stiff or the cookie cooled too fast. Thin the icing a touch, and don’t put warm cookies in a drafty spot.
Cookies spreading in the oven. Your dough wasn’t cold enough, or your butter was too soft. Chill the cut shapes on the baking sheet for 10 minutes before they go in, and don’t skip the dough chill. A 1 hour rest in the fridge is non-negotiable for sharp edges.
Icing crusting in the bowl while you work. Cover the bowl with a damp paper towel laid directly on the icing surface, or press plastic wrap onto the icing. The damp towel trick is the most useful piece of advice I’ve picked up from cookie decorating forums.
Frequently Asked Questions
How far in advance can I decorate baby shower cookies?
You can decorate baby shower cookies 1 to 2 weeks ahead and keep them in an airtight container at room temperature. Undecorated baked cookies freeze well for up to 3 months, so the dough-to-finished timeline can stretch much longer if you bake first and decorate the week of the shower.
Can I use store-bought sugar cookies for decorating?
Yes, store-bought baked sugar cookies work fine for decorating as long as they are fully cooled and have a flat, smooth top. Brands sold in the bakery aisle are usually too soft for royal icing; look for crisp shortbread or sugar cookies in the cookie aisle that hold their shape when you pick them up.
What icing is best for baby shower sugar cookies?
Royal icing is the best icing for baby shower sugar cookies because it dries hard, holds piped details cleanly, and can be tinted into pastel shades. It also stores well at room temperature once dry, which makes it ideal for shower favors you want to set out ahead of time.
How long does royal icing take to harden on cookies?
Royal icing feels dry to a light touch after 1 to 2 hours at room temperature, but it takes 12 to 24 hours to fully harden. A small fan pointed at the cookies speeds drying. Wait until the icing is fully hardened before stacking cookies or packing them into bags.
Are gel food colorings safe for baby shower cookies?
Yes, gel food colorings from brands like Americolor and Wilton are considered safe for use on cookies. They are highly concentrated, so a tiny amount gives strong color without thinning the icing the way liquid food coloring does. Check the label for any allergen information if the cookies are being served to guests with sensitivities.
Can I make these cookies dairy-free or gluten-free?
For dairy-free, swap the butter for a vegan baking stick and use a meringue powder that does not contain dairy. For gluten-free, replace the all-purpose flour with a 1-to-1 gluten-free baking flour that includes xanthan gum. Both versions hold their shape well when the dough is chilled for at least an hour before baking.
Conclusion
If you only do three things before you begin, do these: chill the dough for at least an hour, test your icing with the 20-second rule, and pick a small color palette in pastels before you start tinting. Those three choices will save you from the most common decorating headaches.
For a first batch, try one simple shape, like a onesie or a round cookie with piped lettering, and decorate just a few cookies before committing to a full tray. Once you see how forgiving the process is when you work in small steps, scaling up to a full baby shower batch feels like a quick afternoon rather than a weekend project.