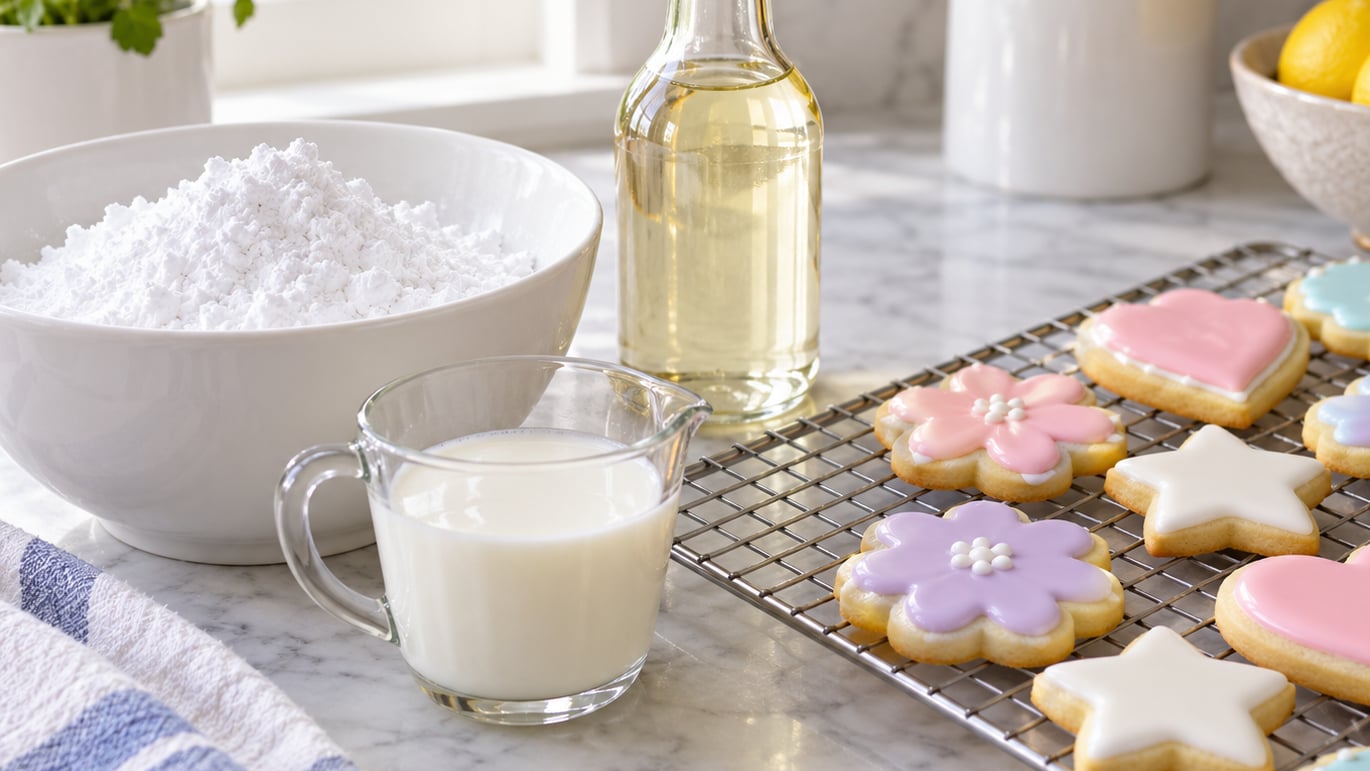
Learning how to make glaze icing that hardens comes down to one small ingredient change: a splash of light corn syrup. Mix powdered sugar with milk (or water) and that syrup, and you get a glossy icing that dries to a firm, stackable finish in a few hours.
Most glaze recipes stay soft because they use only sugar and liquid, which is fine for drizzling on warm cinnamon rolls but not for cookies you want to pack away. I have been making cookie icing this way for years, and once you see the difference, you will not go back. The whole recipe takes about 5 minutes and uses three ingredients you probably already have.
Table of Contents
- What You Need
- Step-by-Step
- How Long Glaze Icing Takes to Harden
- Common Mistakes and How to Fix Them
- Tips for the Best Results
- Frequently Asked Questions
- Why is my glaze icing not hardening?
- What is the difference between glaze icing and royal icing?
- Can I make glaze icing harden without corn syrup?
- How do I get a shiny, glass-like finish on my cookies?
- How long does glaze icing need to dry before stacking cookies?
- Can I use water instead of milk in glaze icing?
What You Need
For about 1 cup of glaze icing (enough to cover 18 to 24 medium cookies), gather these ingredients and tools.
Ingredients:
- 2 cups powdered sugar (also called confectioners’ sugar or icing sugar), sifted
- 2 to 3 tablespoons milk (whole milk works best) or water
- 2 tablespoons light corn syrup
- 1/2 teaspoon vanilla extract or clear vanilla extract for pure white icing
- Gel food coloring, optional, for tinted designs
Tools:
- Fine-mesh sifter
- Medium mixing bowl
- Whisk or fork
- Measuring spoons
- Squeeze bottles or piping bags for outlining and flooding
- Cooling rack or parchment-lined tray for drying
The base is always powdered sugar plus a liquid. The two common add-ins that push glaze icing from soft to hard-set are light corn syrup and meringue powder. Corn syrup is the easier route because it also adds the glossy, glass-like shine that makes decorated cookies look professional.
Step-by-Step
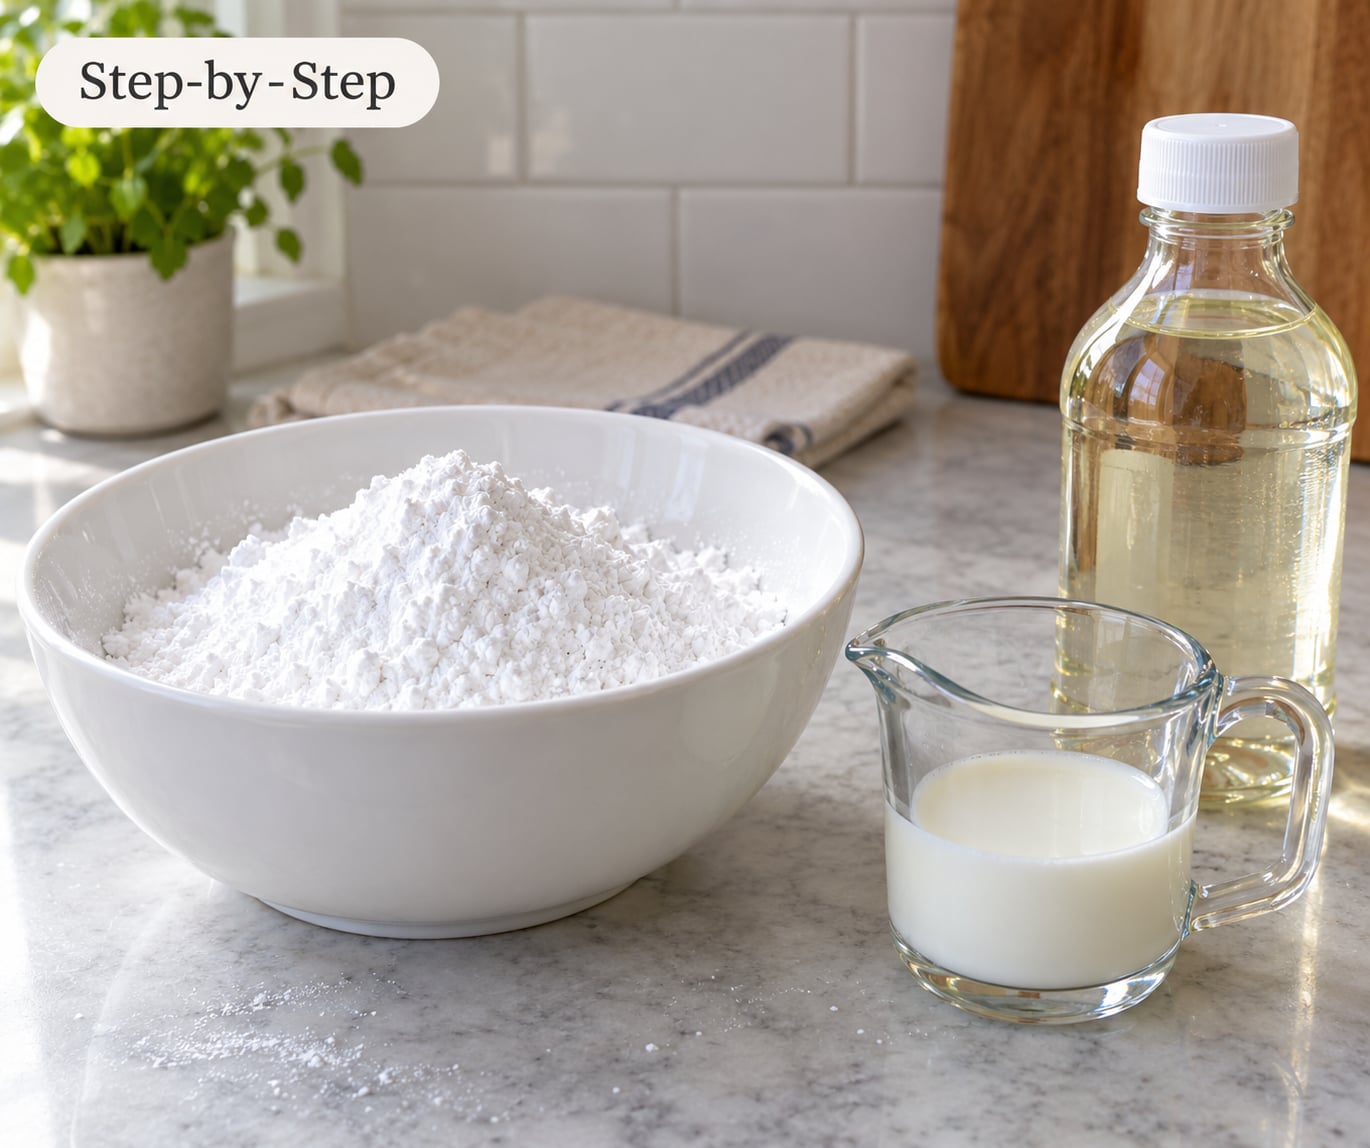
1. Sift the powdered sugar
Push the powdered sugar through a fine-mesh sifter into your bowl. Lumps are the most common reason glaze icing turns out grainy, and no amount of whisking will smooth them out once liquid is in. Sifting takes 30 seconds and saves you the frustration later.
2. Add the milk slowly
Pour in 2 tablespoons of milk first and whisk until smooth. Add more milk, a teaspoon at a time, until the icing loosens up. You want it thick but pourable, somewhere between heavy cream and pancake batter.
3. Stir in the corn syrup and extract
Add 2 tablespoons of light corn syrup and your extract last. The corn syrup is what makes the icing harden instead of staying tacky, so do not skip it or replace it with honey (honey adds flavor and a yellow tint). Whisk until the syrup disappears and the icing looks glossy.
4. Test the consistency
Lift the whisk and watch how the icing falls back into the bowl. A good glaze icing drops in a smooth ribbon that takes 4 to 5 seconds to disappear into the rest. If it snaps off too quickly, add a few drops of milk. If it runs into the rest instantly, sift in another tablespoon of powdered sugar.
5. Tint the icing
For colored cookies, add gel food coloring a toothpick-tip at a time. Gel colors are concentrated, so a little goes a long way, and they do not water down the icing the way liquid drops do. Stir until the color is even with no streaks.
6. Load squeeze bottles or piping bags
Pour the icing into squeeze bottles for outlining and flooding, or load a piping bag fitted with a small round tip. Squeeze bottles are easier for beginners because you can control the flow with one hand. If the icing seems too thick to flow, add milk by the half-teaspoon until it drizzles smoothly.
7. Outline and flood the cookies
First, pipe a thin border around the edge of each cookie to hold the flood icing in. Wait about 30 seconds, then fill the center with thinner flood icing (you can thin a small portion with a teaspoon of extra milk). Use a toothpick to nudge the icing into corners and pop any air bubbles.
8. Let the icing set
Set the cookies on a cooling rack or parchment paper and leave them at room temperature until dry to the touch. Resist the urge to move them, because a small bump can leave a fingerprint in the icing that will not smooth out.
How Long Glaze Icing Takes to Harden
A thin flood of glaze icing usually feels dry to the touch in 1 to 2 hours at room temperature, but the inside of the icing takes longer to fully set. Plan on 6 to 8 hours of drying time before stacking, and overnight is the safe move if you are packing cookies into bags or boxes.
Humidity is the biggest variable. On a rainy day, glaze icing can stay tacky for half a day even when the surface looks dry. If you bake in a humid climate, run a fan in the room or use a dehumidifier near the drying cookies. A low oven (around 170°F / 75°C) with the door cracked for 10 to 15 minutes speeds things up, but a hot oven will crack the icing or brown the edges, so go low and slow.
For thick outlines and piped details, give them a full 24 hours before stacking, because the inside of the line stays soft longer than the surface. If you are in a rush, a dehydrator on the lowest setting works better than an oven because the air circulates evenly and the temperature stays gentle.
Common Mistakes and How to Fix Them
Even with a good recipe, glaze icing can misbehave. Here are the four problems I see most often, and the fix for each.
Icing stays tacky. Too much liquid is the usual culprit, either from the milk or from liquid food coloring. The fix is to sift in another tablespoon of powdered sugar and retest the consistency. If the icing is still sticky after 12 hours, humidity is probably the issue, so move the cookies to a drier room or run a fan.
Icing cracks as it dries. Too much powdered sugar makes icing brittle. Loosen the next batch with a teaspoon of milk and skip the temptation to thicken with extra sugar when the icing thins during use. Cracking can also happen when the icing dries too fast in a hot oven, so keep the temperature low if you use an oven to speed drying.
Colors bleed between layers. Bleeding happens when the base flood is not fully dry before you add details. Wait at least an hour after flooding, and avoid heavy gel colorings in layers that sit on top of others. If colors still bleed, use less coloring or switch to a different brand of gel color, since cheaper ones often bleed more.
Air bubbles in the icing. Air bubbles show up as small craters after the icing dries. They are usually caused by over-whisking or by tapping the bowl too hard. To remove them, run a toothpick across the surface right after flooding, before the icing starts to set. You can also let the icing rest for 5 minutes after mixing so the bubbles rise and pop on their own.
Tips for the Best Results
A few small habits make glaze icing look like it came from a bakery. Use a fine-mesh sifter every single time, because even fresh powdered sugar can hide small lumps. Sift the sugar into the bowl, not over the bowl, so stray sugar does not land on the counter and get back into the icing.
For pure white icing, swap vanilla extract for clear vanilla or clear almond extract. Brown vanilla will tint the icing a soft yellow that shows up on white cookies. If you need bright colors, gel food coloring is the way to go, since liquid drops add extra moisture that can keep the icing soft.
Dry the cookies on a wire rack instead of parchment paper when you can. Air circulating under the cookie helps the bottom set, and the icing on top dries more evenly. If you have to use parchment, flip the cookies once the icing is dry so the flat side can air out too.
To store finished cookies, let the icing harden completely (overnight is best), then layer them between sheets of parchment in an airtight container. They keep at room temperature for about a week. Do not refrigerate glazed cookies, because condensation forms on the cold icing and turns it sticky again.
Frequently Asked Questions
Why is my glaze icing not hardening?
The most common reasons are too much liquid, not enough corn syrup, or high humidity in the room. Try adding another tablespoon of powdered sugar, then run a fan near the cookies to speed drying. If you skipped the corn syrup, that is the missing piece, since it is what gives the icing a firm, glossy set.
What is the difference between glaze icing and royal icing?
Glaze icing is thin, glossy, and sets to a hard, shiny surface. Royal icing is thicker, dries to a matte finish, and is made with meringue powder or egg whites so it can hold intricate piped details and peaks. Glaze is easier for flooding cookies, while royal is better for detailed piping work.
Can I make glaze icing harden without corn syrup?
Yes, but the result is a bit different. You can use 1 tablespoon of meringue powder mixed into the dry sugar, then proceed with milk as usual. The icing will harden, but it dries to a softer matte finish rather than the glassy shine corn syrup gives.
How do I get a shiny, glass-like finish on my cookies?
The shine comes from light corn syrup, so do not skip it. Also, use clear vanilla or clear almond extract instead of regular vanilla, and avoid over-thinning the icing with extra liquid. Let the cookies dry undisturbed for several hours so the surface can polish up as it sets.
How long does glaze icing need to dry before stacking cookies?
Plan on 6 to 8 hours at room temperature for a thin flood, and a full 24 hours for thick piped details. If you are in a humid climate, give the cookies overnight no matter what, and run a fan or dehumidifier in the room to help the icing set evenly.
Can I use water instead of milk in glaze icing?
Water works fine and gives a clearer icing, which is great for bright colors or pure white designs. Milk adds a touch of richness and a softer flavor but very slightly dulls the color. Pick water for the glossiest result, and milk when flavor matters more than shine.
Start by sifting the powdered sugar and whisking it with milk and a couple tablespoons of light corn syrup. Test the ribbon, tint with gel color if you like, and flood your cookies. Give them a quiet overnight dry and you will have a stackable, glossy finish every time.