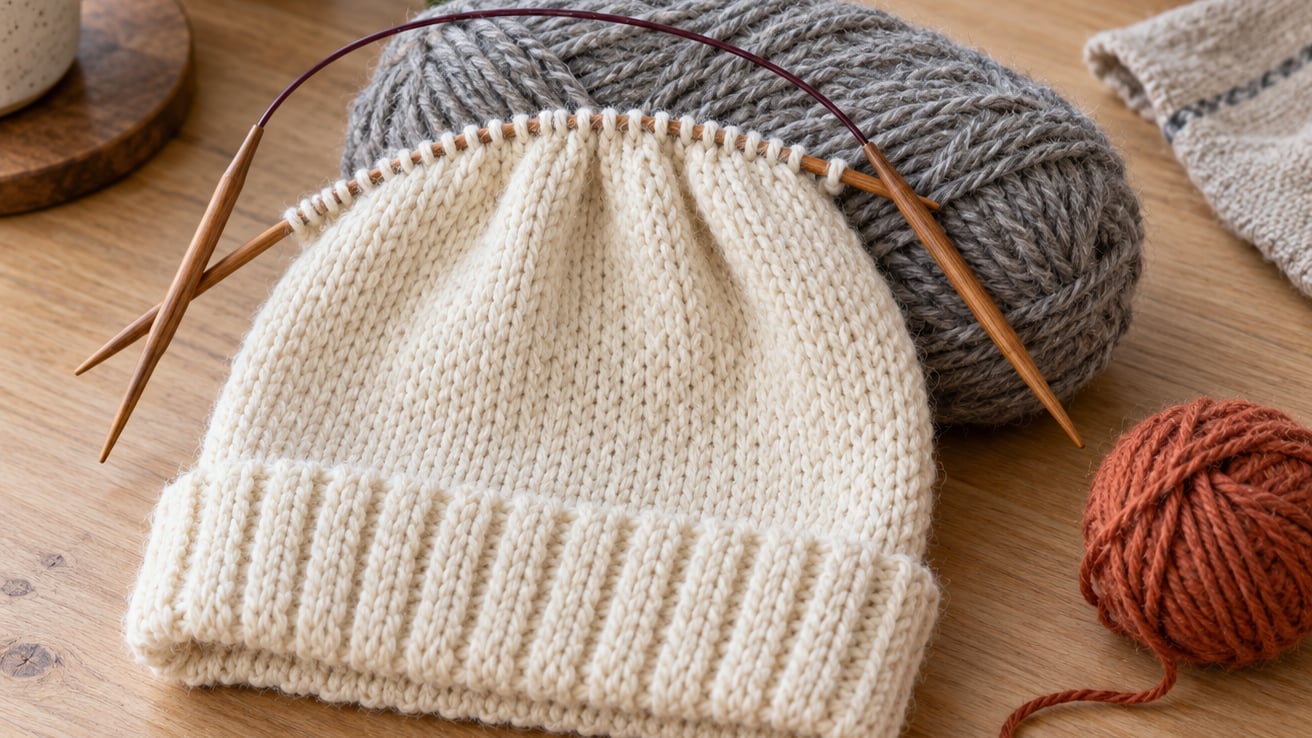
A hand-knit hat on circular needles is one of the most satisfying first projects, and most beginners can finish a simple worsted-weight beanie in a relaxed weekend. You work in continuous rounds, so there’s no seaming at the back of the head, and the stretchy fabric hugs without feeling tight. If you can cast on and purl, you can finish this hat.
I picked up circular needles for the first time years ago because a hat pattern called for them and I didn’t own double-pointed needles. By the end of the first skein, I was hooked. This guide walks you through every step in the order you’ll actually do them, plus the small fixes for the mistakes that show up in every beginner hat.
Table of Contents
- Why Circular Needles Are Great for Hats
- What You Need to Knit a Hat on Circular Needles
- Step-by-Step: Knitting Your First Hat on Circular Needles
- Common Mistakes and How to Fix Them
- Frequently Asked Questions
- How long does it take to knit a hat on circular needles?
- What size circular needles do I need to knit a hat?
- How many stitches do I cast on for an adult hat on circular needles?
- Can a beginner knit a hat on circular needles?
- What is the easiest hat pattern for circular needles?
- Why does my hat have a ladder where the needles join?
Why Circular Needles Are Great for Hats
Circular needles are two short needle tips joined by a flexible cord, and you knit back and forth along the cord in a continuous loop. For hats, that loop becomes the body of the hat, which is why the technique is called “knitting in the round.” No seams means a cleaner finish and a faster project.
The cord carries most of the stitches, so your wrists don’t bend into the tight angle that straight needles force on small tubes. Most beginners find circular needles easier to manage than double-pointed needles (DPNs), because two tips feel steadier than four or five. You can also set the work down without losing a needle, which sounds small until you knit on the couch.
There are two common ways to knit a hat on circular needles. The first uses a 16-inch circular needle, the standard hat length, and works for most adult and child sizes. The second is the magic loop method on a 32 or 40-inch circular needle, which is useful for very small baby hats or very large adult hats that don’t fit comfortably on a 16-inch cord. Pick 16-inch for your first hat; switch to magic loop once you’ve knit one or two.
What You Need to Knit a Hat on Circular Needles
The full supplies list is short, and you probably already own most of it. A worsted-weight (medium, category 4) acrylic or wool-blend yarn is the easiest place to start because it’s forgiving, shows your stitches clearly, and knits up quickly. A 16-inch circular needle in US size 7 (4.5 mm) or US size 8 (5 mm) pairs well with worsted-weight yarn for most knitters; the yarn label will suggest a size, but if you’re a tight knitter, go up a size, and if you’re loose, go down.
You’ll also need a stitch marker to mark the start of each round, a pair of scissors, a tapestry needle (a blunt yarn needle with a large eye) for weaving in ends, and a soft tape measure. A small notebook helps track row counts.
Before you cast on, knit a quick gauge swatch. With worsted-weight yarn on US size 8 needles, most knitters land around 5 stitches per inch in stockinette. For a 20-inch adult head, that means about 100 stitches; for a 22-inch head, around 110. The exact count depends on your tension, which is why a swatch saves a hat that ends up too tight or too loose.
Hat Sizing Chart
- Toddler (18 to 19 inch head): cast on about 80 to 88 stitches
- Child (20 to 21 inch head): cast on about 88 to 96 stitches
- Teen or small adult (21 to 22 inch head): cast on about 96 to 104 stitches
- Average adult (22 to 23 inch head): cast on about 100 to 108 stitches
- Large adult (23 to 25 inch head): cast on about 108 to 116 stitches
Always round to a number that divides evenly by 4 if you plan to use a K2, P2 rib, or by 2 if you want K1, P1 rib. Dividing evenly keeps the rib pattern tidy.
Step-by-Step: Knitting Your First Hat on Circular Needles
Step 1: Cast On and Join in the Round
Use a stretchy long-tail cast on, the kind that leaves a soft, elastic edge that won’t pinch the forehead. Hold the yarn with a long tail about an inch per stitch plus a little extra, and cast on the number of stitches for your size. After the last cast-on stitch, gently slide the stitches around the cord so the cast-on edge forms a circle, with the needle tips in your hands and the working yarn attached to the right-hand tip.
Before you knit the first stitch, lay the work flat and look at the cast-on ring. The cast-on row should sit flat with no twists. If you see a twist, where one stitch crosses over another, slide the stitches off the left tip and re-arrange the ring until every cast-on stitch sits next to its neighbor in a clean circle. Twists caught here are the most common reason a beginner’s hat looks like a Möbius strip later.
Once the ring is flat, place a stitch marker on the right-hand needle, knit the first stitch, and pull the working yarn snug to close the small gap between the first and last cast-on stitches. The marker tells you where each new round begins.
Step 2: Knit the Ribbed Brim
The brim is what hugs your forehead and keeps the hat on, so it needs to stretch without being tight. A simple K2, P2 rib (knit 2 stitches, purl 2 stitches, repeat) creates a balanced, stretchy fabric; a K1, P1 rib is slightly less stretchy but easier to count. Work the rib for about 1.5 to 2 inches, or roughly 10 to 14 rounds for worsted weight, before switching to the body of the hat.
To tell it’s working, the ribbed fabric should pull inward slightly and feel springy when you stretch it side to side. If the brim tunnels and pulls tight, your tension is too firm; relax your hands and try again. If it flares out and looks loose, your stitches are too loose; try a needle size smaller for the brim only.
Step 3: Knit the Body in Stockinette
Stockinette stitch in the round is just knitting every stitch, every round, with no purl rows. The right side faces you the whole time, and the fabric looks like a smooth tube of small V shapes. Knit every round until the body measures about 6 inches from the cast-on edge for a fitted beanie, or 7 to 8 inches for a slouchy hat.
To measure on the needles, lay the work flat and stretch it gently sideways, then measure from the cast-on edge to the needle tips. Knit fabric stretches when worn, so the on-needle length is shorter than the worn length. Mark every 25 stitches with a small locking marker if you lose count easily; counting rounds is faster when you have a checkpoint every quarter of the way around.
Step 4: Shape the Crown with Decreases
The crown closes the top of the hat with a series of decrease rounds that pull the fabric inward. A simple beginner-friendly decrease goes like this: knit until you have 3 stitches left on the left needle, knit 2 together (insert the right needle through the next 2 stitches as if to knit and knit them as one), then knit the last stitch. This is sometimes written as “knit to last 3 stitches, K2tog, K1.” Repeat this round every round until about half your original stitches remain.
Then switch to a decrease-only round: knit 2 together all the way around. When 8 to 12 stitches remain, knit one more round plain, then move to finishing.
You’ll know the crown is closing correctly when the fabric starts to cup inward like a soft bowl and the decreases show as a faint spiral on the right side. Stop decreasing when the hole at the top is small, about the size of a quarter, or you could end up puckering the fabric.
Step 5: Finish and Weave In Ends
Cut the working yarn, leaving a 6 to 8-inch tail. Thread the tail onto your tapestry needle and pass the needle through the remaining stitches as if sewing a running stitch, pulling gently to gather the hole closed. Pull snug, then run the needle through the gathered loop once or twice on the inside to lock it. Knot the tail on the inside if you want extra security.
Thread the cast-on tail and the brim-tail onto the tapestry needle and weave each tail into the fabric on the inside for about an inch, changing direction once to lock the yarn in. Trim any excess close to the fabric. A well-finished hat has no loose ends sticking out and feels smooth against your forehead.
Common Mistakes and How to Fix Them
The most common beginner problem is a twisted cast on. If you knit several rounds and notice the fabric spirals like a barber pole, the ring was twisted at the join. Rip back to the cast on, untwist, and rejoin. It’s frustrating but a five-minute fix.
Hat too tight or too loose usually comes down to gauge. If the finished hat feels snug, your stitches are smaller than the swatch suggested; try a needle one size larger next time. If it gapes and slides around, your stitches are loose; drop down a needle size. Either way, the swatch is your friend.
Ladders, those small gaps where the round begins, happen because the yarn between the needle tips is looser than the working yarn. Tighten the first two stitches of every round slightly more than the others, and the ladder closes up. With practice, this gets invisible.
Color changes and jogs, the small stair-step where a new color starts a round, can be hidden with a jogless join: knit the first stitch of the new round together with the stitch directly below it on the left needle, then continue. Reviewers report this trick turns a visible jog into an almost-invisible line.
A few extra tips that save time. Place stitch markers every 25 stitches so counting rounds is faster. Block the finished hat by soaking it in cool water, pressing out excess moisture in a towel, and laying it flat to dry over a dinner plate; blocking evens out the stitches and gives the hat a neater shape. If your crown decreases look messy, the fix is almost always fewer decrease rounds; the fewer stitches you end with, the more it puckers.
Frequently Asked Questions
How long does it take to knit a hat on circular needles?
For most beginners, a worsted-weight hat on 16-inch circular needles takes about 4 to 8 hours of active knitting, usually spread over a weekend. Experienced knitters often finish in 2 to 3 hours because their tension is steadier and they don’t pause to recount stitches. Bulky yarn on larger needles finishes faster.
What size circular needles do I need to knit a hat?
A 16-inch circular needle in US size 7 or US size 8 is the most common choice for an adult worsted-weight hat. The 16-inch cord matches the hat’s circumference so the stitches fit comfortably around the needle without stretching. For very small baby hats, use a 12-inch circular; for very large adult hats, use magic loop on a 32 or 40-inch needle.
How many stitches do I cast on for an adult hat on circular needles?
For an average adult hat in worsted-weight yarn at a gauge of 5 stitches per inch, cast on around 100 to 108 stitches. For a small adult, 88 to 96 stitches; for a large adult, 108 to 116. Always round your stitch count to a multiple of 4 if you’re doing a K2, P2 rib so the pattern stays even.
Can a beginner knit a hat on circular needles?
Yes, and it’s one of the best beginner projects. The skills involved are cast on, knit, purl, and knit two together, all of which a new knitter can learn in a single afternoon. Most first hats have small imperfections that disappear with blocking, and the second hat usually looks much cleaner.
What is the easiest hat pattern for circular needles?
A basic worsted-weight beanie with a K2, P2 ribbed brim and stockinette body is the easiest starter pattern. It uses only knit, purl, and a single decrease, and the stitch count divides cleanly into the rib pattern. Free patterns like the Tin Can Knits Barley or the Purl Soho Giving Hat are popular and well-tested for beginners.
Why does my hat have a ladder where the needles join?
Ladders happen because the yarn between the two needle tips sits looser than the working yarn between active stitches. Tighten the first two stitches of every round slightly more firmly than the others and the gap closes. Switching to a shorter cord, like a 16-inch for an average adult, also reduces ladders because there’s less slack between the tips.
Your first hat is the one that teaches your hands the rhythm; the second hat is the one you’ll actually want to wear. Pick up a skein of worsted-weight yarn, a 16-inch circular needle in size 8, and a stitch marker, and cast on 100 stitches tonight. You’ll have a finished beanie before the weekend ends.