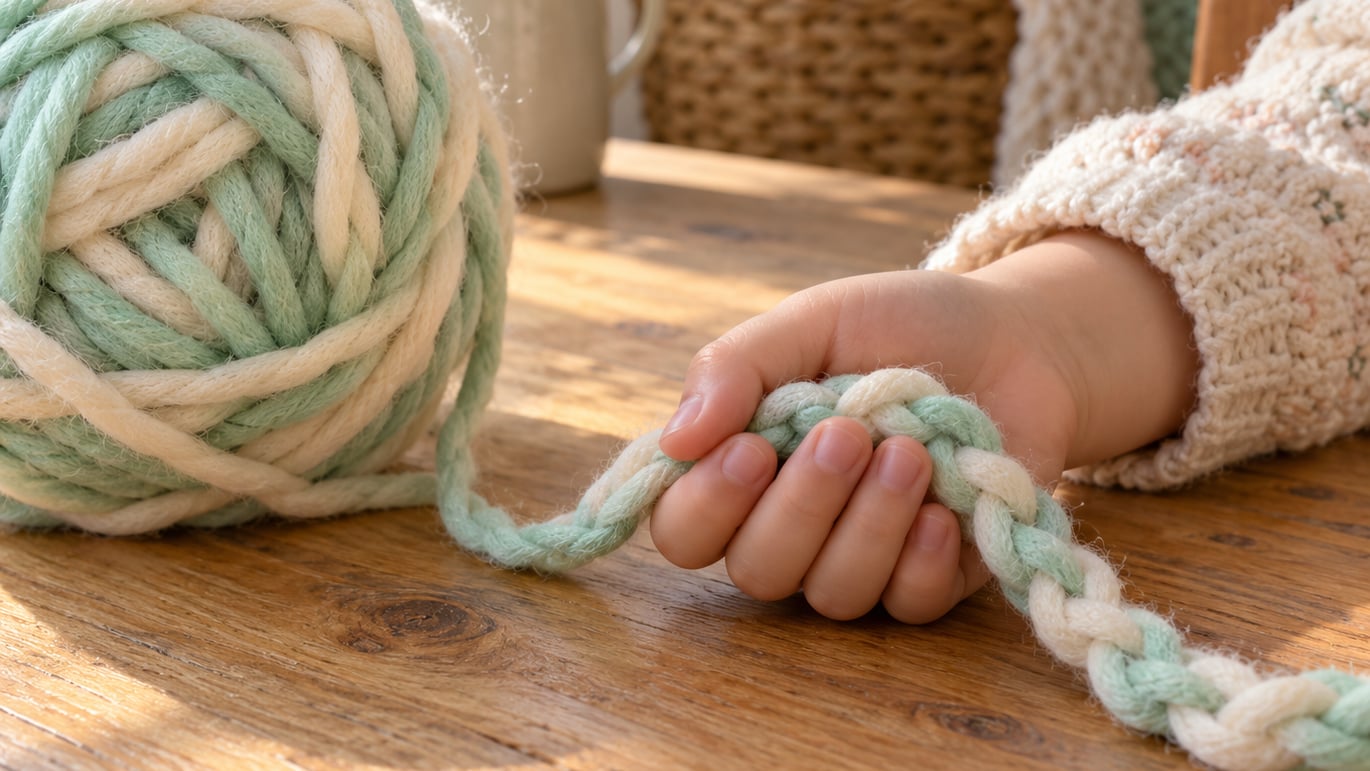
Finger knitting for kids is a no-needle craft where children use their fingers to weave yarn into a soft chain, perfect for bracelets, headbands, scarves, and bookmarks. Most kids can place their first loop in under five minutes, and a finished bracelet is usually within arm’s reach in a single sitting.
This guide is built for parents, teachers, and caregivers who want a screen-free craft that actually holds a child’s attention. We’ll cover what yarn to buy, how to do each step with a young learner, the mistakes that trip up almost every beginner, five real projects, age-by-age expectations, and the simple safety notes that make the activity stress-free.
Table of Contents
- What You Need
- Step-by-Step
- Common Mistakes and Easy Fixes
- Fun Finger Knitting Projects for Kids
- Finger Knitting by Age: What to Expect
- Safety Tips for Little Knitters
- Frequently Asked Questions
- What age can kids start finger knitting?
- How long does it take a child to learn finger knitting?
- What is the best yarn for kids to finger knit with?
- How do you add a new color when finger knitting?
- Can finger knitting help kids with learning or school skills?
- How do you fix a dropped loop in finger knitting?
- Wrap-Up
What You Need
Finger knitting for kids needs almost nothing, which is part of the charm. A single skein of yarn and a pair of small hands is the whole list. The choices you make about yarn, though, decide whether the activity feels easy or frustrating in the first ten minutes.
Yarn weight matters more than brand. For small hands, pick a chunky or bulky weight (often labeled size 5 or 6 on the band). Thick yarn fills the gaps between fingers, makes loops easy to see, and forgives the wobbly tension a beginner brings. A skein of about 100 to 150 yards is plenty for several bracelets and a small scarf.
Fiber matters for comfort. Acrylic yarn is the friendliest starter: it’s washable, comes in bright colors, costs very little, and doesn’t scratch. Cotton is a good second choice for kids who don’t love the feel of acrylic. Avoid scratchy wool for first-timers. A child who feels itchy on the first try rarely comes back for the second.
What to skip at first. Very thin yarn (lace, sock, or fingering weight) is hard for small fingers to control. Yarn with loose fuzz, metallic threads, or sequins sheds and tangles. Beads and charms are tempting to add but turn a beginner project into a frustration project quickly. Save them for a later session.
Optional helpers. A small piece of tape on the table can hold the starting tail so it doesn’t slide. A thick pencil or a wooden spoon handle works as a “second anchor” for the very first practice runs and helps a child who keeps losing the bottom loop. Scissors and a yarn needle (the big plastic kind, not a sewing needle) are needed only at the end.
Quick age-and-skill note. Most three- and four-year-olds need an adult hand guiding the first loop. Five- and six-year-olds can usually do the steps alone with a grown-up sitting beside them. From age seven upward, kids can follow written instructions and finish a small project in one sitting. Finger knitting is realistic for any child who can hold a pencil loosely and copy a simple hand motion.
Step-by-Step
This is the heart of finger knitting for kids, and it works best when taught one small move at a time. Sit beside the child (not across from them, so the child’s hands mirror yours). Keep sessions short, ten to fifteen minutes the first time, and stop while it’s still fun.
Step 1: Make the Anchor Loop on Your Thumb
Cut a length of yarn about the distance from the child’s fingertips to their elbow. Pinch one end against the back of the thumb, then wrap the yarn around the front of the thumb, over the tip, and back to the start. Slip the working end (the long piece) through the loop to make a loose half-hitch. Tug gently so the loop sits on the thumb but can still slide. You should see a yarn tail hanging down the palm, side, or back of the hand. That tail is your safety line; if a child pulls too hard, the work falls off the tail, not the thumb.
Step 2: Weave the Yarn Across Four Fingers
Bring the working yarn behind the index finger, in front of the middle finger, behind the ring finger, and in front of the pinky. Then loop around the pinky, behind the ring finger, in front of the middle, behind the index, and back to the thumb. The yarn should now weave a figure-eight pattern across all four fingers. You can tell it worked if you see alternating over-under loops on every finger, and the working yarn ends up back at the thumb ready for the next pass.
Step 3: Knit the Stitch (Pull Bottom Loop Over Top)
Starting at the pinky, lift the bottom loop up and over the top loop, off the tip of the finger. Move to the ring finger and do the same. Then the middle finger, then the index. The bottom loop flies free; the top loop stays as the new bottom loop. After all four fingers, the working yarn is still attached at the thumb. This is one stitch. Do it again, and the chain grows.
Step 4: Try a Purl-Style Loop (Optional)
For a slightly different texture, reverse the weave. Go in front of the index finger, behind the middle, in front of the ring, behind the pinky, then loop back. The pull-over motion stays the same. Some kids love this variation; others are happy with the basic knit. Either is fine.
Step 5: Add a Second Color
When the working yarn is running low, or simply to make stripes, drop the old color and pick up the new one at the thumb. Lay a 4-inch tail of the new color next to the working yarn, knit two or three stitches with the new color holding both tails in, then trim the old tail short. The first row after a color change looks a little bulky; by the third row it smooths out.
Step 6: Cast Off and Finish the Cord
When the cord is the length you want, knit one more row, then take the working loop off each finger one at a time and pull the yarn tail gently through each loop to close it. Slide the final stitch off the thumb, pull the tail snug, and trim. To join two cords (for a longer scarf or a loop necklace), overlap the ends, lay a small piece of yarn across them, and stitch through both with a yarn needle. Knot the joining yarn on the back, then hide the tails inside the cord.
Common Mistakes and Easy Fixes
Every child who learns finger knitting for kids runs into the same handful of wobbles. Here is what usually goes wrong and the fix that gets a frustrated crafter back on track.
Loops slipping off the fingers. Usually the yarn is too thin or the tension is too loose. Switch to a chunkier weight, and pull each loop just snug enough to stay put without squeezing. A small piece of tape on the back of the hand can hold the working yarn out of the way.
The chain gets too tight. If the child is pulling the working yarn hard after each pull-over, the stitches shrink. Show them to relax the hand between rows and give a small wiggle to keep the loops loose. A chain that’s too tight feels hard and curls into a tight spiral.
The chain is too loose and floppy. The opposite problem, usually from not pulling the working yarn snug before starting the next row. Gently tug the working yarn downward after each pass, then start the next figure-eight.
Losing the anchor stitch on the thumb. This is the most common first-day frustration. The half-hitch loop slips off when the child lifts their hand. The fix is to keep the tail longer than feels necessary and let it hang off the back of the hand. Re-anchoring takes ten seconds and is a normal part of the craft.
Tangles when adding a new color. The new yarn catches on the old tail, and suddenly there is a knot. Lay both tails in the same direction and hold them together with the working yarn on the first two or three stitches. Trim only after the new color is secure.
Finished cord curls up into a circle. This is not a mistake, it’s a property of the stitch. Curls are perfect for bracelets and headbands. If the child wants a flat scarf, finger knit with the purl variation or block the finished chain by dampening it and pinning it flat overnight.
Tips for a Smooth First Session
Sit so the child can mirror your hands. Use a yarn color the child picked themselves. Keep the first session under fifteen minutes, and stop while the child still wants more. Most children ask for “one more row” for the first half hour, then lose focus; that’s the natural end of a great lesson.
Fun Finger Knitting Projects for Kids
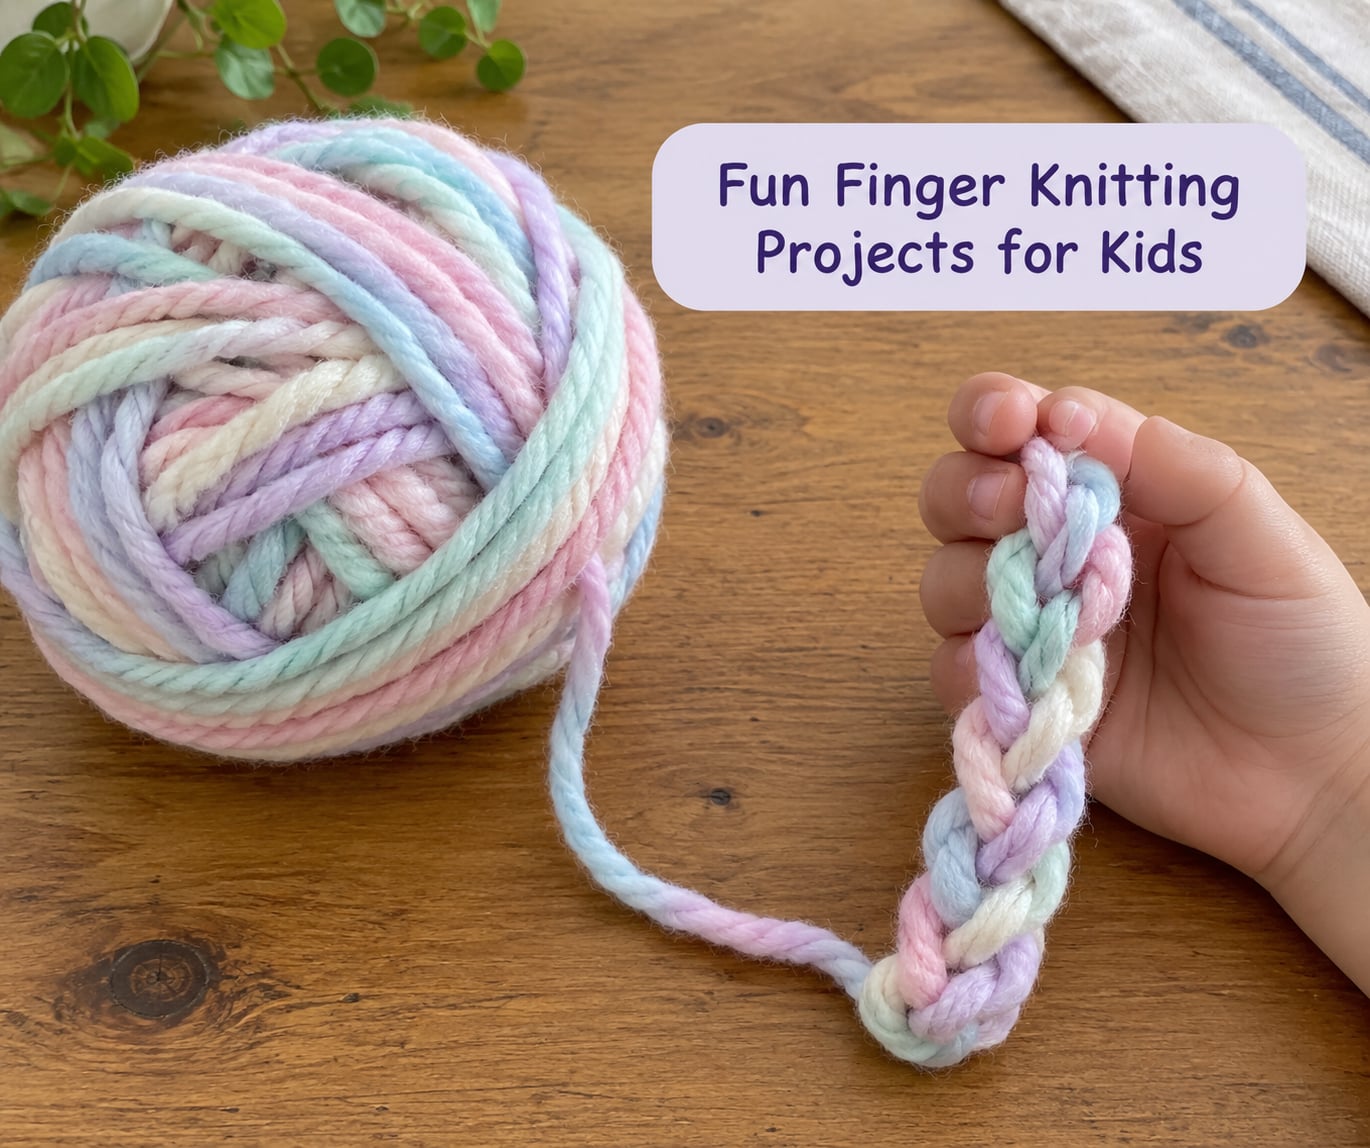
Once a child can finger knit a steady chain, a finished cord becomes raw material for tiny projects that feel like magic. Here are five ideas ordered from quickest to slightly more involved. Each one is realistic for a beginner and finishes in a single sitting.
1. Friendship Bracelet
The classic first project. A finished cord of about 6 to 8 inches, knotted around the wrist, makes a wearable in under twenty minutes. Have the child choose two contrasting colors and alternate every two rows. Tie the ends together with a square knot, tuck the tails inside, and trim.
2. Headband
A cord of about 18 to 20 inches, or two shorter cords joined together, wraps comfortably around an older child’s head. Knit with one color for a calm look or stripes for a playful one. Stitch the ends together on the inside so the seam is hidden.
3. Bookmark with a Tassel
Knit a 10-inch cord. At one end, slip a wooden bead on, knot underneath, and let a 3-inch tassel hang below. The bead keeps the bookmark from sliding out of the book, and the tassel makes it feel handmade. This is a popular gift project for school friends.
4. Small Pet Toy or Doll Scarf
A 14-inch cord tied in a loop makes an instant doll scarf or a soft tug toy for a cat or small dog (always supervise pets with yarn toys, since long strands can be chewed). Kids love dressing up stuffed animals, and the project takes one sitting.
5. Coiled Coaster or Rug Square
For a project that takes a bit longer, knit a long cord (about 4 to 5 yards) and coil it into a flat spiral. Stitch the coil in place with a yarn needle as you go, working from the center out. A finished coaster is about 4 inches across; a small rug square is 12 inches. This project is best for ages seven and up.
Finger Knitting by Age: What to Expect
Realistic expectations make finger knitting for kids feel like a win instead of a struggle. Here’s what most children can do at each stage, and how much help a grown-up should plan to give.
Ages 3 to 4
Toddlers and young preschoolers can do finger knitting with full hand-over-hand help. Expect a chain of three or four stitches before the loops slip off. Sessions should be five to ten minutes, and the goal is the sensory feel of yarn in the hands, not a finished product. Avoid long cords that can wrap around the neck.
Ages 5 to 6
This is the sweet spot for many children. They can usually hold the anchor, do the figure-eight, and pull over the bottom loop with light supervision. A 5- or 6-year-old can finish a short bracelet in about twenty minutes. Praise the effort, not the evenness of the stitches; messy stitches are the whole point of the first attempts.
Ages 7 to 9
Children in this range can follow written instructions, change colors on purpose, and finish longer projects like a headband or bookmark in one sitting. They are also ready to start experimenting, choosing their own color combinations, and helping younger siblings. This is the age when many kids naturally ask, “Can I do this with real needles now?”
Ages 10 and Up
Older children can finger knit quickly, tackle the coiled rug project, and often transition smoothly to knitting with two needles or to French knitting on a wooden spool. Finger knitting becomes a background activity, the kind of thing they do while watching a show or sitting in the car. It is also a calming tool for kids who like to keep their hands busy.
Safety Tips for Little Knitters
Finger knitting is one of the safest kids’ crafts, but a few simple habits keep it that way. None of these notes replace adult supervision; they are a starting checklist.
Yarn in the mouth is off-limits. Yarn fibers, dye residue, and loose threads should never go in a child’s mouth. Long strands are a choking and strangulation hazard for under-threes, and acrylic fibers aren’t food.
Watch loops around the neck. A finished cord is fine as a necklace, but a working chain longer than about 12 inches can loop around a small child’s neck if they lean forward. Keep the working chain draped on the table, not over the shoulder.
Skip small buttons and beads for under-threes. Bookmark beads and button charms are choking hazards for the youngest crafters. Save them for projects with kids over three, and always check the bead size against a toilet paper roll; if it fits inside the tube, it’s too small for an under-three.
Take breaks every 10 to 15 minutes. Little hands cramp. A short shake-out, a glass of water, and a wiggle of the fingers keeps the activity comfortable and prevents the “my hand hurts” complaint that ends a session early.
Stop if fingers hurt or tingle. Pain, white fingertips, or pins-and-needles are signs the tension is too tight. Loosen the chain, shake out the hands, and try again. If a child complains of pain, the activity is done for the day.
Sit in good light. Eye strain is real, even for a craft. A clear lamp or a sunny window keeps the loops easy to see and protects tired eyes.
This is a craft guide, not a substitute for adult supervision. Younger children should always have a grown-up within arm’s reach while finger knitting.
Frequently Asked Questions
What age can kids start finger knitting?
Most children can begin finger knitting around age 5, with full hand-over-hand help available from age 3. The key signs a child is ready: they can hold a pencil loosely, copy a simple hand motion, and sit focused for about 10 minutes. Younger children benefit from very short sessions, while older kids (7 and up) can follow steps on their own.
How long does it take a child to learn finger knitting?
A child can usually place the first stitch in under 5 minutes with a grown-up beside them. Finishing a short bracelet takes about 20 to 30 minutes for most 5- to 7-year-olds. The skill builds over a few sessions; within two or three sittings, most kids can finger knit a steady chain without help.
What is the best yarn for kids to finger knit with?
Chunky or bulky weight acrylic yarn (size 5 or 6) is the easiest starter. It’s washable, soft on small hands, comes in bright colors, and the thick strands fill the gaps between fingers so loops are easy to see. Cotton is a good second choice. Avoid scratchy wool, very thin yarn, and yarns with sequins or loose fuzz for beginners.
How do you add a new color when finger knitting?
Drop the old color at the thumb when the working yarn is running low, then lay a 4-inch tail of the new color next to the working yarn. Knit two or three stitches holding both tails in, then trim the old tail short. The first row after a color change looks a little bulky but smooths out by the third row.
Can finger knitting help kids with learning or school skills?
Finger knitting builds fine motor control, hand-eye coordination, and concentration, all skills that support handwriting and other classroom tasks. Reviewers note that the rhythm of the craft also helps some kids settle and focus. It is a craft activity, not a formal learning program, so think of it as a bonus rather than a curriculum.
How do you fix a dropped loop in finger knitting?
If a loop slips off a finger, pause the row, gently pull the working yarn to add a little slack, then use a finger or a crochet hook to lift a new loop back onto the finger from the row below. It takes a little practice, and it’s normal to drop a few loops in the first sessions. The fix gets easier as the child gets used to the tension.
Wrap-Up
Start with one skein of chunky acrylic yarn, a pair of small hands, and the first three steps in this guide. Sit beside the child, keep the first session under fifteen minutes, and let the chain get messy. A finished bracelet on a five-year-old’s wrist is the whole point of finger knitting for kids: a screen-free craft that turns a single length of yarn into something a child made themselves.