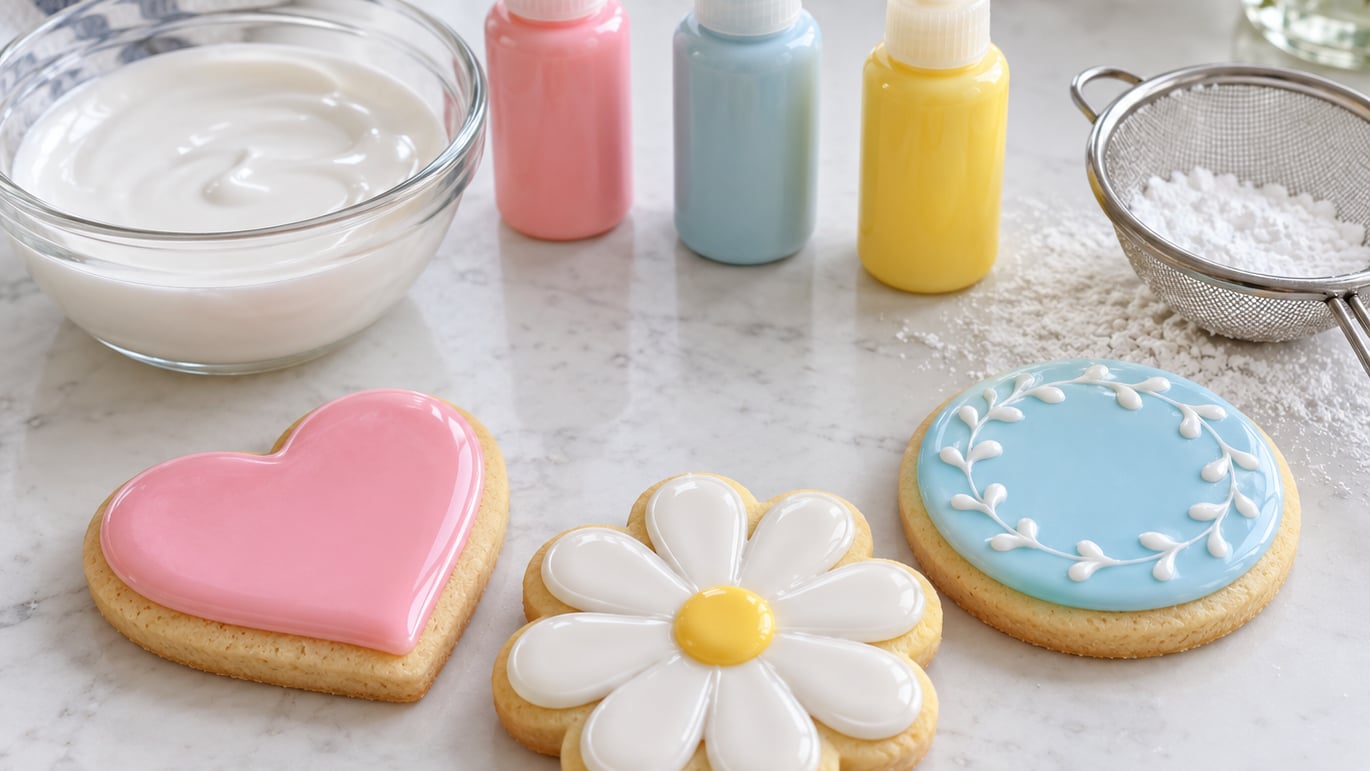
You can make cookie icing without meringue powder by whisking powdered sugar with pasteurized egg whites (or light corn syrup) and a splash of vanilla until glossy. The icing dries hard, pipes cleanly, and tastes the same as the classic version. From sifting the sugar to flooding a batch of sugar cookies, the whole thing takes about 10 minutes once you’ve measured everything out.
Table of Contents
- What You Need
- Step-by-Step: Mixing Cookie Icing Without Meringue Powder
- How to Get the Right Consistency (Outline vs Flood)
- Drying, Storing, and Color Tips
- Common Mistakes and Easy Fixes
- Frequently Asked Questions
- Is cookie icing made without meringue powder safe to eat?
- How long does meringue-free cookie icing take to dry hard?
- Can I make this icing ahead of time and store it?
- Does this icing work for gingerbread houses and structural decorating?
- Can I make a vegan version of cookie icing without meringue powder?
What You Need
Royal icing without meringue powder really only needs three things, plus water to thin it. Powdered sugar is the body of the icing, a binding liquid holds it together, and a touch of extract keeps it from tasting flat.
Ingredients for the egg white method:
- 4 cups (about 450 g) powdered sugar, sifted
- 3 tablespoons pasteurized liquid egg whites (carton kind from the baking aisle)
- 1 teaspoon pure vanilla extract
- 2 to 4 teaspoons warm water, as needed
- 1/4 teaspoon cream of tartar (optional, helps it set rock hard)
Ingredients for the corn syrup method (no eggs):
- 4 cups powdered sugar, sifted
- 2 tablespoons light corn syrup
- 1 teaspoon vanilla or almond extract
- 3 to 5 tablespoons warm water
Tools you want within arm’s reach:
- A medium mixing bowl, glass if you have it
- A hand mixer or stand mixer with whisk attachment (a big balloon whisk and some elbow grease also works)
- A fine-mesh sieve for sifting the sugar
- Squeeze bottles for flooding and piping bags fitted with small round tips (Wilton #1, #2, or #3) for detail work
- A spatula and a few small bowls for dividing and coloring the icing
Skip the meringue powder if you can’t find it at the grocery store, you’re baking for someone with an egg allergy, or you’d rather not buy another specialty ingredient. Both methods above give you the same glossy, hard-drying finish.
Step-by-Step: Mixing Cookie Icing Without Meringue Powder
The method is almost identical between the egg white and corn syrup versions. Sift first, mix in stages, then check the consistency before you start piping.
Step 1: Sift the powdered sugar
Pour the powdered sugar through a fine-mesh sieve into your mixing bowl. Sifting breaks up the small lumps that will otherwise clog your piping tip and leave bumps in the surface of the icing.
Step 2: Add the binding liquid
For the egg white method, pour in the 3 tablespoons of pasteurized egg whites. For the corn syrup method, drizzle in 2 tablespoons of corn syrup. Add the vanilla and the cream of tartar if you’re using it. Stir once with a spatula just to dampen the sugar so it doesn’t poof into the air when you turn on the mixer.
Step 3: Whip to stiff peaks
Start the mixer on low for about 30 seconds to keep sugar from flying out, then bump it to medium-high. Whip for 2 to 3 minutes until the icing goes from sandy and dull to bright white and glossy. When you lift the whisk, the peak should stand straight up without drooping.
Step 4: Thin a portion for flooding
Scoop about a third of the icing into a separate bowl. Add warm water, half a teaspoon at a time, and stir by hand until the icing flows off the spoon in a smooth ribbon and disappears into the rest of the icing within 10 to 12 seconds. That’s your flood consistency. Leave the rest at stiff-peak thickness for outlining.
Step 5: Tint with gel color, if using
Add a toothpick-tip of gel food coloring to each small bowl and stir. Gel colors won’t thin the icing the way liquid drops do, so your consistency stays right where you set it.
Step 6: Pipe, flood, and dry
Outline the cookie with the stiff icing, then immediately fill the inside with the flood consistency. Gently tap the cookie on the counter to pop any air bubbles, and let it dry at room temperature. Surface dry takes about 1 hour, fully set takes 6 to 8 hours.
How to Get the Right Consistency (Outline vs Flood)
Royal icing for cookie work comes in two textures, and knowing the difference is half the battle. Outline consistency is thick and holds a piped line; flood consistency is thinner and settles flat. Both start from the same batch.
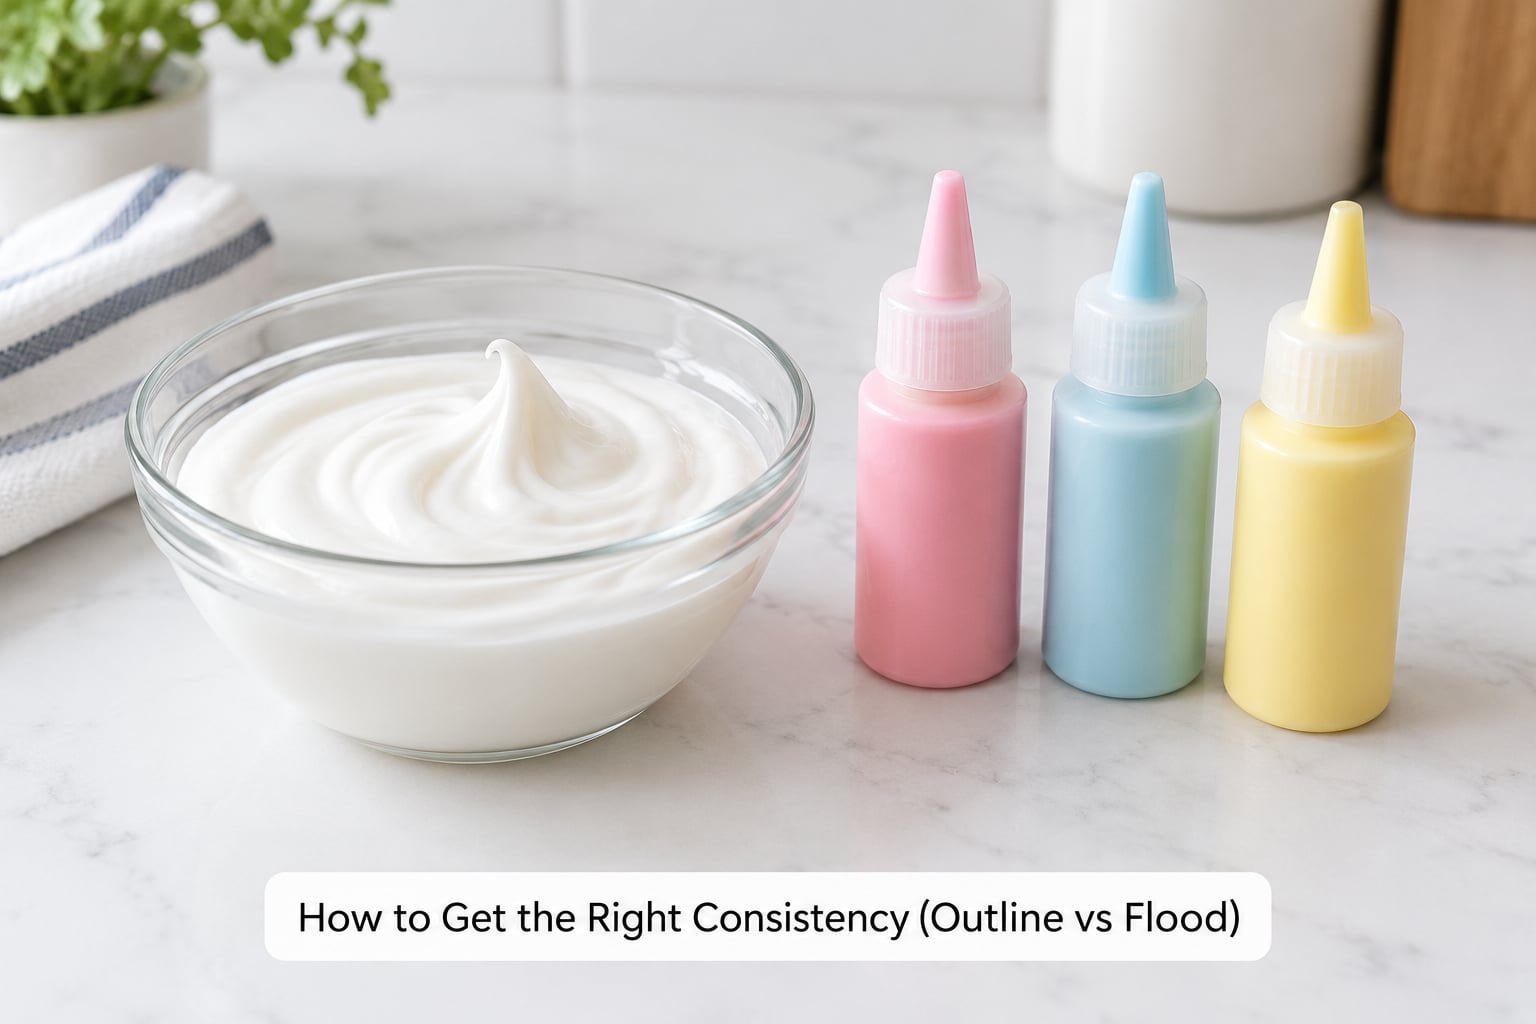
The 12-second test is the easiest way to check flood consistency. Drag a spoon or a knife through the surface of the icing, then count how long it takes the line to disappear. About 10 to 12 seconds means it’s ready for flooding. Faster than that and the icing is too thin and will run off the cookie edge. Slower than that and it’s still at outline thickness.
If the icing is too runny, beat in a tablespoon of sifted powdered sugar at a time until it slows down. If it’s too stiff and the test line sits there like a scar, add water a quarter teaspoon at a time and stir slowly so you don’t whip air bubbles into it. A quick fix keeps the whole batch going instead of starting over.
Drying, Storing, and Color Tips
How long it takes to dry depends on how thick you flood and how humid your kitchen is. A thin flood layer on a sugar cookie is surface dry in about an hour at room temperature. A thicker layer, or a kitchen above 60 percent humidity, can take 2 to 3 hours to surface dry and up to 8 hours to fully set. To speed things up, set a fan nearby or run a dehumidifier for the first hour.
To store leftover icing, press plastic wrap directly onto the surface (this stops a hard skin from forming), seal the bowl, and refrigerate for up to two weeks. Before using again, let it come to room temperature and stir in a splash of water to bring it back to the consistency you need. Icing in squeeze bottles keeps for the same amount of time as long as the caps are on tight.
For bright colors without thinning the icing, use gel food coloring. A toothpick-tip amount of AmeriColor or Wilton gel goes a long way. Liquid drops add water and throw off your consistency, so save them for things like cake batter. To get true black or red, mix the color, let the icing rest 10 minutes, then check the shade. Both deepen as they sit.
Common Mistakes and Easy Fixes
Even a simple icing goes sideways if a few small things go wrong. Most of these come down to grease, humidity, or impatience.
If your icing won’t stiffen, the bowl or whisk probably had a trace of grease on it. Wipe everything with a paper towel dampened with white vinegar, then start the batch over. Pasteurized egg whites also whip better when they’re at room temperature, not straight from the fridge.
If the icing runs off the cookie, it’s too thin. Either you added too much water when thinning, or the liquid food coloring loosened it up. Beat in more sifted powdered sugar a tablespoon at a time until the 12-second test reads right.
If the icing looks gritty, the powdered sugar wasn’t sifted. Pour it back through a sieve. A two-minute sift saves twenty minutes of fishing for lumps with a toothpick later.
If colors bleed into each other after you flood, the underlayer wasn’t dry enough. Wait until the flood is surface dry (about an hour) before piping details on top, and don’t flood one color next to another without a dried edge to stop them.
If the icing stays sticky after drying, humidity is almost always the culprit. Run a fan or a dehumidifier near the cookies, or let them dry in an air-conditioned room. Adding a quarter teaspoon of cream of tartar also helps the icing set harder if you’re in a damp climate.
Frequently Asked Questions
Is cookie icing made without meringue powder safe to eat?
Yes, when you use pasteurized liquid egg whites or corn syrup as the binder, the icing is safe for everyone in your household. Pasteurized egg whites from a carton have already been heat-treated to kill bacteria, and the corn syrup version is fully egg-free.
How long does meringue-free cookie icing take to dry hard?
A thin flood layer is surface dry in about an hour and fully set in 6 to 8 hours at room temperature. Thicker layers, or a humid kitchen, can take closer to 24 hours. A fan pointed at the cookies speeds things up without changing the finish.
Can I make this icing ahead of time and store it?
Yes. Press plastic wrap directly onto the surface, seal the bowl, and refrigerate for up to two weeks. Bring it back to room temperature before using and stir in a quarter teaspoon of water to bring it back to the consistency you need.
Does this icing work for gingerbread houses and structural decorating?
Yes. Make the icing stiffer than flood consistency by adding more sifted powdered sugar, then use it as glue to assemble the house. It dries hard enough to hold weight, and the same recipe works for piping shingles and detail work.
Can I make a vegan version of cookie icing without meringue powder?
Yes. Use the corn syrup method and swap the water for aquafaba (the liquid from a can of chickpeas) at a 1 to 1 ratio. Whip the aquafaba to soft peaks first, then add the sugar and corn syrup. It behaves almost exactly like egg white icing.
Pipe a small test cookie before you start a whole batch to dial in the consistency. Once you’ve got the 12-second flood right and the stiff outline peaks standing up, the rest of the decorating session goes smoothly. Make a double batch if you’re doing a holiday tray, since colored icing always disappears faster than plain white.