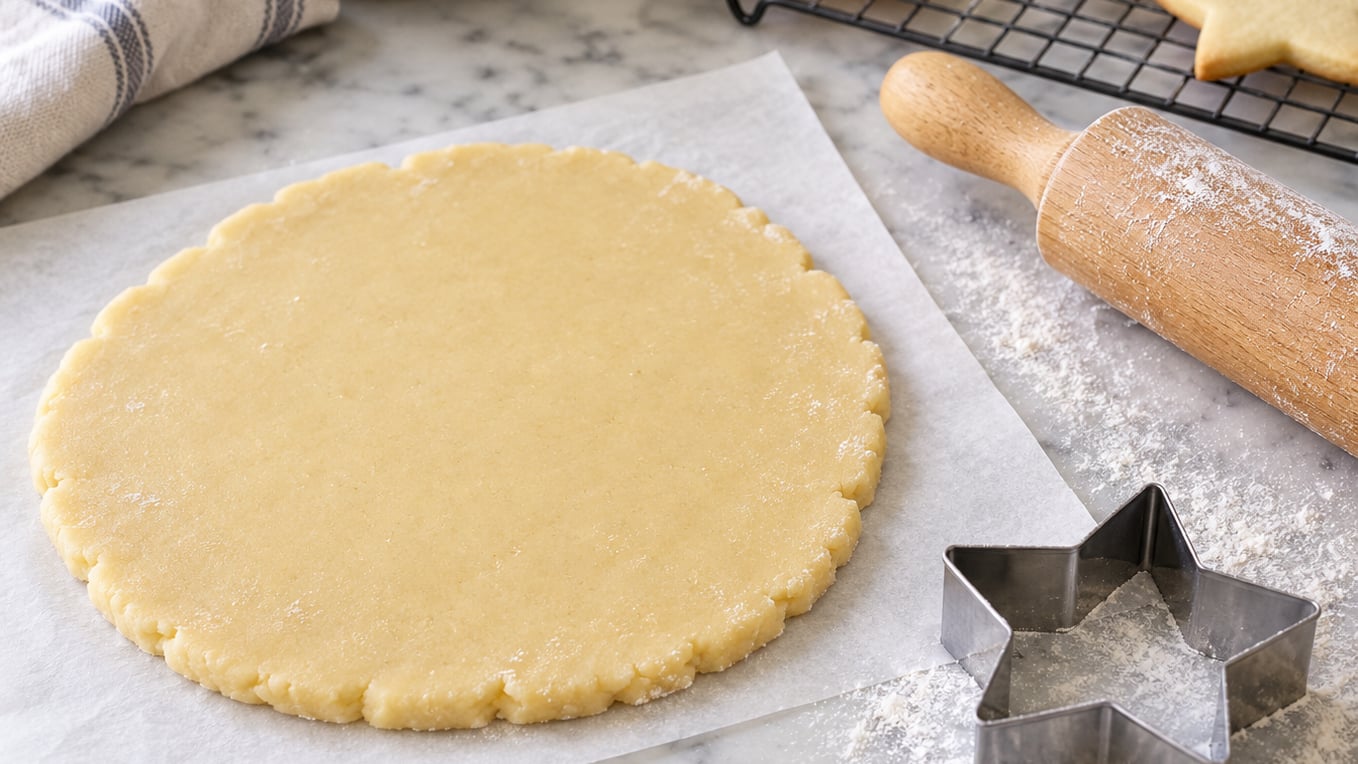
Cut out sugar cookies that hold their shape come down to three habits: chilling the dough long enough that the butter stays solid in the oven, rolling to an even 1/4-inch thickness, and baking at a steady 350°F. Get those right and the stars, snowflakes, and gingerbread men come out of the pan with the same crisp edges they had going in.
I make a batch of these every December, and the year I started treating the dough like pastry instead of cake batter was the year the trees stopped turning into blobs. The recipe below takes about 20 minutes to mix, 2 hours to chill, and 8 to 11 minutes per sheet to bake. No stand mixer needed, no special equipment beyond a rolling pin and a couple of cookie cutters.
Table of Contents
- What You Need
- The Dough: Step-by-Step
- Chill the Dough (Do Not Skip This)
- Roll and Cut Clean Shapes
- Bake at the Right Temperature
- Cool Without Distorting
- Common Mistakes (and the Quick Fix)
- Pro Tips for Holidays and Parties
- Frequently Asked Questions
- Why do my cut out sugar cookies lose their shape in the oven?
- How long should I chill sugar cookie dough before cutting?
- Can I make cut out sugar cookie dough ahead of time?
- What is the best flour to use for cookies that hold their shape?
- Should I use baking powder or baking soda in cut out cookies?
- How thick should I roll sugar cookie dough for crisp edges?
What You Need
The ingredient list is short, and almost everything is probably in your pantry already. The trick is using each one in the right state, not just the right amount.
For the dough:
- 2 3/4 cups (about 330g) all-purpose flour, plus more for dusting
- 1 teaspoon baking powder
- 1/2 teaspoon fine salt
- 1 cup (226g) unsalted butter, cool but not cold (about 60 to 65°F)
- 1 cup (200g) granulated sugar
- 1 large egg, room temperature
- 2 teaspoons pure vanilla extract
- 1/4 teaspoon almond extract (optional, but lovely with vanilla)
For rolling, cutting, and baking:
- A light-colored rimmed baking sheet (dark sheets brown the bottoms too fast)
- Parchment paper, two sheets per pan
- A standard rolling pin (a French-style tapered pin makes the corners easier)
- Sharp cookie cutters in the shapes you want
- An oven thermometer (the single most useful tool for any baking recipe)
Skip the stand mixer if you want. A hand mixer works, and a wooden spoon plus a little patience works just as well. The dough comes together fast either way, and overworking it is the bigger risk than under-mixing.
The Dough: Step-by-Step
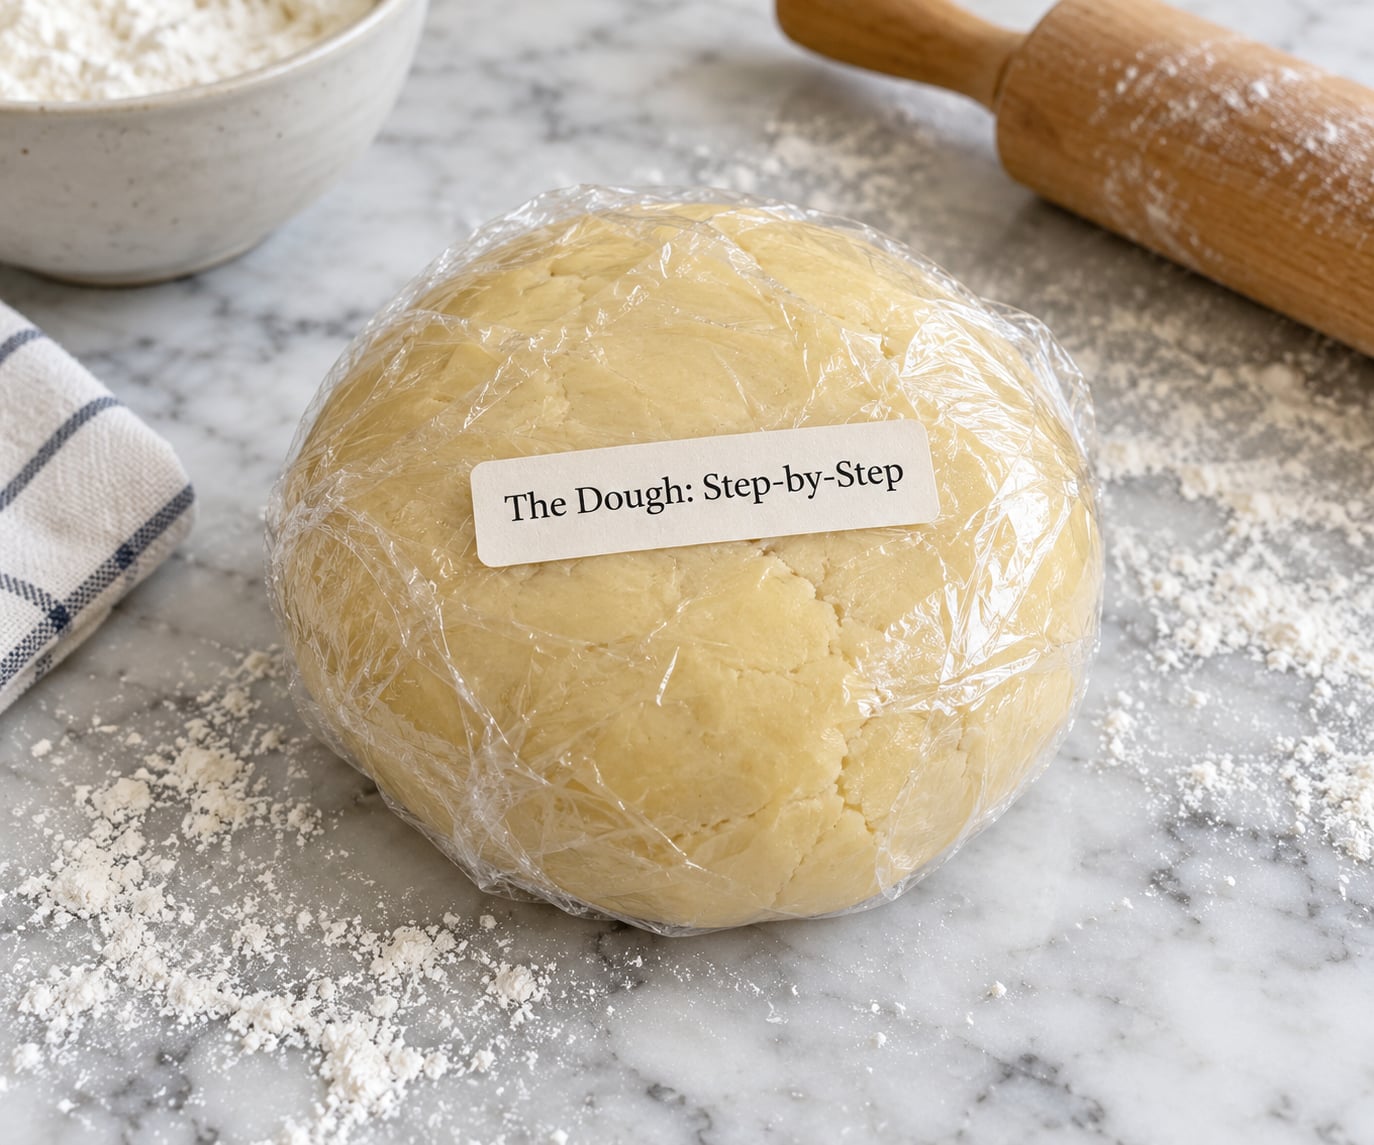
Whisk the flour, baking powder, and salt in a medium bowl and set it aside. In a larger bowl, beat the butter and sugar together on medium speed for about 2 minutes, just until the mixture looks pale and creamy. Stop there. Going past creamy into “fluffy” whips in too much air, and that air expands in the oven and pushes the edges outward.
Add the egg, vanilla, and almond extract if you’re using it, and beat on low until combined. The mixture might look slightly curdled; that is normal and the flour will smooth it out.
Add the dry ingredients all at once. Mix on the lowest speed your mixer has, or switch to a wooden spoon, and stir only until the last streak of flour disappears. The dough will look soft, almost like thick play dough, and it should hold together when you press a handful in your palm.
Divide the dough in half, press each half into a flat disk, and wrap tightly in plastic wrap. Flattening into a disk instead of a ball means the dough chills faster and rolls out more evenly later. The disks can go straight into the fridge.
Chill the Dough (Do Not Skip This)
This is the step that fixes almost every “my cookies spread into pancakes” problem. Chilling does two things: it firms the butter back up so the cookies hold their shape in the oven, and it lets the flour fully hydrate, which keeps the texture tender instead of sandy.
Leave the wrapped disks in the fridge for at least 2 hours. Overnight is even better, and the dough keeps in the fridge for up to 3 days. If you want to go further, freeze the disks for up to 2 months and thaw them in the fridge the night before you plan to bake.
When you take the dough out, it should feel firm but give a little when you press it. Rock-hard straight-from-the-fridge dough will crack when you roll it. Let it sit on the counter for 10 to 15 minutes to soften just enough, and you are good to go.
One extra habit that pays off: if you are working through both disks, slide the unused one back into the fridge while you roll and cut the first. Dough warms up faster than you think, especially on a sunny kitchen counter.
Roll and Cut Clean Shapes
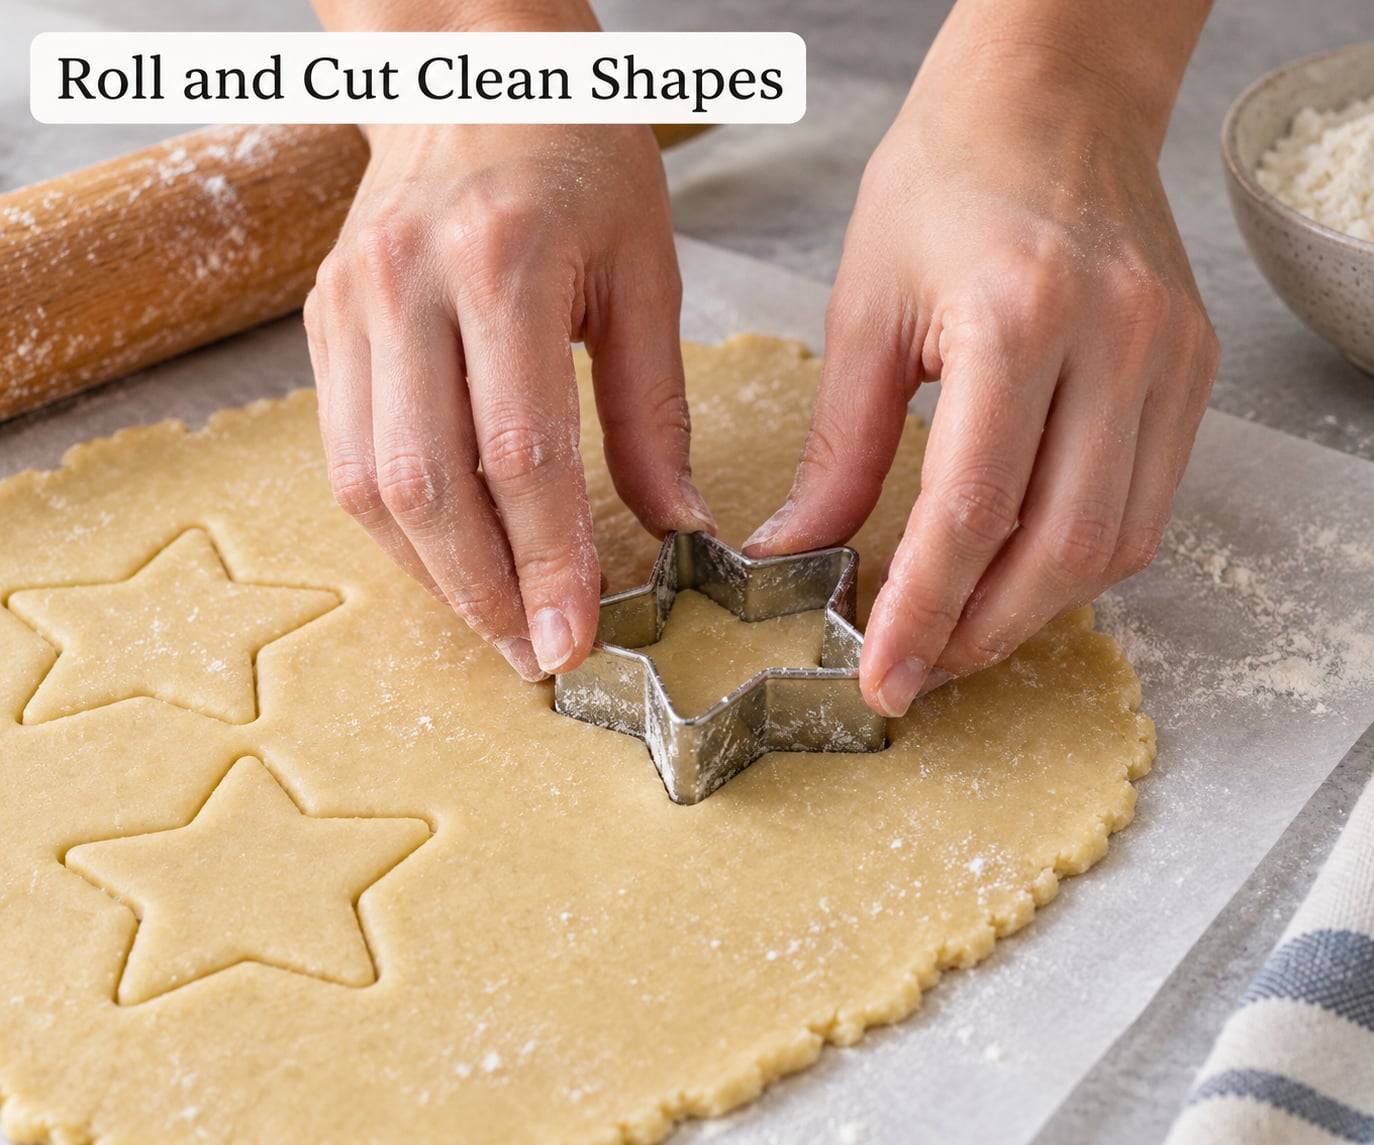
Lay a sheet of parchment on the counter and dust it lightly with flour. Unwrap one disk of dough, place it in the center, and dust the top with a little more flour. Roll from the center outward, turning the dough a quarter turn every few passes, until it sits at an even 1/4 inch thick. A pair of dowels or ruler guides on either side of the dough helps if your eyes cannot quite judge the thickness.
For shapes with very crisp edges, try the parchment-on-both-sides trick. Sandwich the dough between two sheets of parchment, then roll. The top sheet keeps the pin from sticking and prevents you from over-flouring, which is what makes cookies taste dry and bready.
Dip each cookie cutter in a small bowl of flour and tap off the excess before every cut. Press the cutter straight down with firm, even pressure. Do not twist or rock it. Twisting seals the edges of the dough together, and that sealed edge melts and spreads in the oven while the rest holds. Lift the cutter straight back up, then pull the excess dough away from the shape rather than the other way around.
Use a thin metal spatula to transfer the cut shapes to your parchment-lined baking sheet, leaving about 1 inch of space between them. Slide the whole sheet into the fridge for 10 to 15 minutes before baking. This last re-chill is the secret to keeping intricate shapes like stars, trees, and gingerbread people sharp at the edges.
Bake at the Right Temperature
Heat the oven to 350°F (175°C) and put a rack in the center position. If your oven runs hot or cold (most do, by 10 to 25 degrees), trust the oven thermometer on the middle rack over the dial on the front.
Bake one sheet at a time on the center rack. Smaller shapes need 8 minutes, larger ones closer to 11. Pull the cookies when the edges look just set and barely golden, and the centers still look soft and a touch underdone. They will firm up on the pan in the next few minutes, so a cookie that looks slightly soft coming out of the oven is exactly right.
Do not be tempted to turn the temperature up to 400°F to speed things along. Higher heat browns the edges before the centers cook through and can actually cause more spreading on some ovens, not less. Steady 350°F gives the cookies time to set before the butter fully melts.
Cool Without Distorting
Leave the cookies on the hot baking sheet for 3 to 5 minutes after they come out. This sounds lazy, but the residual heat finishes the centers and lets the structure firm up enough to move. Skip this step and the cookies often crack at the edges when you try to lift them. Wait too long and they overcook on the hot metal.
After the pan rest, slide a thin metal spatula under each cookie and transfer to a wire rack to cool completely. Cooling on the rack lets air move underneath, so the bottoms do not get soggy. Only cool cookies should be frosted; warm cookies will melt royal icing and slide buttercream right off.
Common Mistakes (and the Quick Fix)
Even with a solid recipe, a few small missteps can undo the shape-holding. Here is what tends to go wrong, and how to fix it without starting over.
- Dough too warm to cut cleanly. The edges drag and the shapes look ragged. Slide the rolled dough back onto the sheet pan and into the fridge for 15 minutes, then try again.
- Rolled too thin. Anything under 1/4 inch browns too fast and goes brittle. Aim for a true 1/4 inch, and use ruler guides or dowels if you have them.
- Butter melted or greasy before mixing. Soft, shiny butter that looks greasy is too warm, and the cookies will spread no matter how long you chill. Next time, pull the butter from the fridge 20 minutes before mixing, and stop if it feels like it is starting to sweat.
- Over-mixed dough. Tough, dense cookies that shrink back when rolled. Mix only until the flour disappears, and finish by hand if the mixer is running fast.
- Twisted the cutter. A subtle drag in the dough that bakes into a rounded, soft edge. Press straight down, lift straight up, then pull the dough away. If the shape has already been cut, pinch the edges gently back together and roll again.
If your cookies still spread despite all of the above, check the baking powder. Old baking powder (older than 6 months once opened) loses potency, and weak leavening gives flat, dense cookies. Replace the tin and try a single test cookie.
Pro Tips for Holidays and Parties
Once the basic method feels comfortable, a handful of small habits make big-batch holiday baking much smoother. These are the ones I lean on every December.
Bake one sheet at a time, on the center rack. Crowding two sheets in the oven blocks airflow and makes both batches bake unevenly. The few extra minutes are worth it.
Re-chill the cut shapes between batches. Once the first tray is in the oven, slide the next tray of cut shapes back into the fridge. By the time the first batch is done and cooled, the second batch is cold again and ready to bake.
For sturdier cookies that hold up to stacking, shipping, or a heavy layer of royal icing, swap 1 tablespoon of milk for 1 tablespoon of cornstarch in the dough. Cornstarch softens the gluten a touch and gives the cookies a slightly snappier bite without making them dry.
Decorated cookies keep at room temperature for up to 5 days in an airtight container, with layers separated by wax paper. Undecorated cookies freeze beautifully for up to 2 months in a freezer bag with the air pressed out; thaw them on the counter in the bag so they do not pick up condensation.
For a softer, bakery-style cookie, underbake by about 1 minute. The edges stay pale and the centers stay tender. For crisper cookies that snap, add 1 to 2 minutes to the bake time. The recipe flexes either way, and the decorating surface works the same on both.
Frequently Asked Questions
Why do my cut out sugar cookies lose their shape in the oven?
The most common cause is dough that went into the oven too warm. Butter melts fast, and liquid butter spreads before the flour structure sets. Re-chill the cut shapes on the sheet pan for 10 to 15 minutes before baking, make sure your baking powder is fresh, and check your oven temperature with a thermometer. Over-mixed dough and too little flour are the other usual suspects.
How long should I chill sugar cookie dough before cutting?
At minimum, 2 hours in the fridge. Overnight is better because the flour hydrates more fully, which gives a more tender cookie and a dough that is easier to roll. If you are in a hurry, 30 minutes in the freezer works in a pinch, but the texture is slightly less even. Always let the dough sit at room temperature 10 to 15 minutes before rolling so it does not crack.
Can I make cut out sugar cookie dough ahead of time?
Yes. The wrapped disks keep in the fridge for up to 3 days and in the freezer for up to 2 months. Thaw frozen dough in the fridge overnight, then roll and cut as usual. You can also roll and cut the shapes ahead of time, stack them between layers of parchment, and refrigerate the unbaked shapes for a day before baking.
What is the best flour to use for cookies that hold their shape?
Plain all-purpose flour (about 10 to 11 percent protein) is the sweet spot for cut out cookies. Bread flour is too high in protein and makes the cookies tough and chewy, which leads to cracking at the edges. Cake flour is too low and the cookies crumble. If you want a slightly sturdier cookie for stacking, swap 1 tablespoon of flour for 1 tablespoon of cornstarch.
Should I use baking powder or baking soda in cut out cookies?
Baking powder is the right choice for cut out sugar cookies. It gives a small, even lift that keeps the cookies tender without making them rise enough to lose their shape. Baking soda needs an acid to activate, and most sugar cookie recipes do not have one, so it leaves a metallic taste and an uneven texture. Stick with baking powder and replace the tin every 6 months.
How thick should I roll sugar cookie dough for crisp edges?
Roll the dough to a true 1/4 inch. Thinner cookies brown too fast and turn brittle at the edges; thicker cookies stay soft in the middle and lose the clean outline you wanted in the first place. A pair of 1/4-inch dowels on either side of the dough makes it easy to keep the thickness even across the whole sheet.
Cut out sugar cookies that hold their shape come from a few small habits repeated every batch: cool butter, gentle mixing, a real chill, an even 1/4-inch roll, and a calm 350°F oven. Bake the first tray of the season this weekend, and the December trays will be on autopilot.