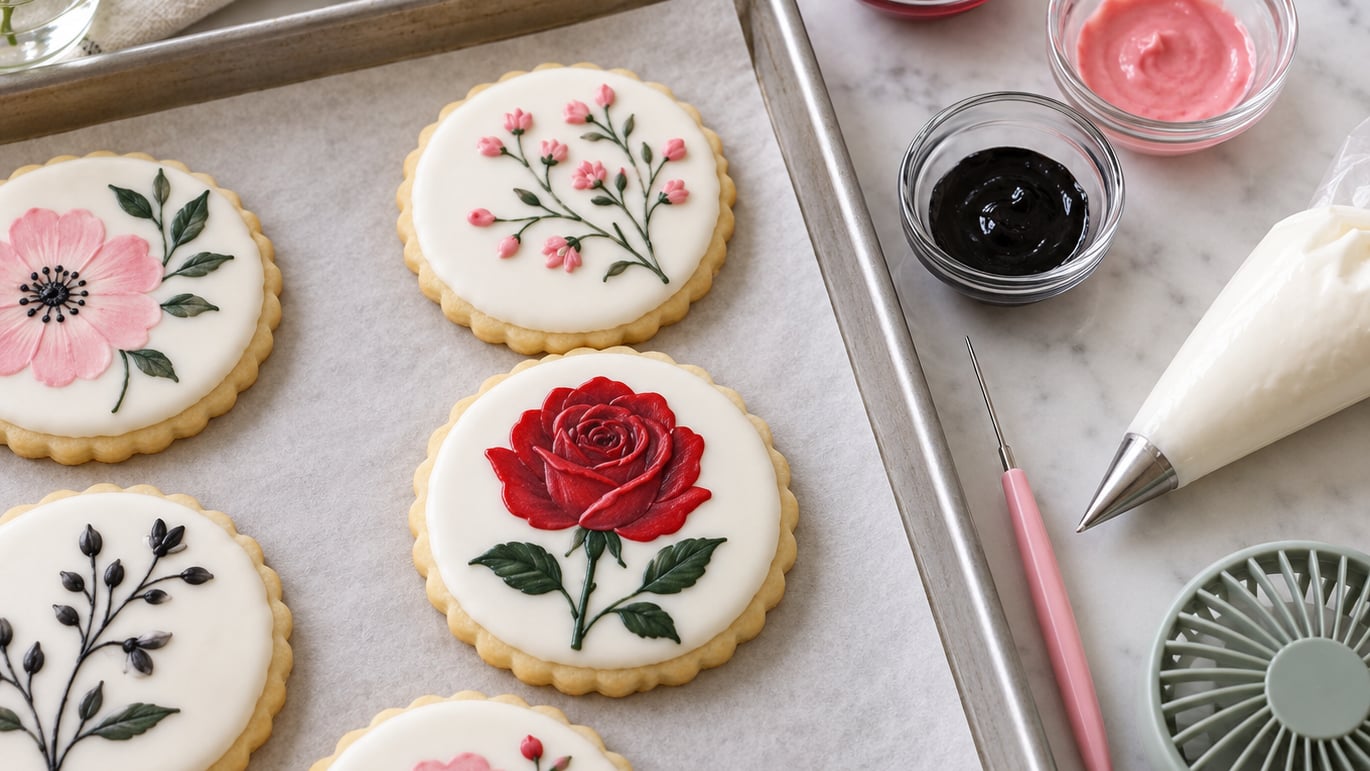
Royal icing colors bleed when wet icing touches wet icing, when there is too much liquid in your icing, or when humidity keeps the surface from drying fast enough. You can fix it by thickening your icing to flood thickness, switching liquid food coloring for gel, drying each section completely before adding the next, and keeping your decorating room cool and dry.
I decorate holiday sugar cookies every winter, and the first time I piped a bright red heart onto white icing, the red ran straight into the white within five minutes. That batch taught me almost everything I know about preventing color bleed, and the fixes below are the ones that actually work in a home kitchen.
Table of Contents
- Why Royal Icing Colors Bleed in the First Place
- What You Need
- Step-by-Step: Stop Colors From Bleeding
- How to Save Cookies That Are Already Bleeding
- Color Combinations That Bleed the Most
- Common Mistakes
- Pro Tips for Crisp, Clean Color Lines
- Frequently Asked Questions
- How long does royal icing need to dry so colors stop bleeding?
- Can I use liquid food coloring in royal icing without it bleeding?
- What is the best way to get a true red that does not bleed into white?
- Does humidity make royal icing colors bleed more?
- Can I fix bleeding icing with an edible marker on top?
- Why is my black royal icing turning gray on white icing?
Why Royal Icing Colors Bleed in the First Place
Color bleed in royal icing happens when one wet colored area seeps into an adjacent color before either of them has dried. The two main culprits are excess moisture in the icing itself and moisture in the air around the cookie.
When you thin a batch with water, milk, or liquid food coloring, you add more liquid than the sugar can hold. That liquid has to go somewhere, so it migrates into the drier icing next to it. The same thing happens when humidity is high. The icing absorbs moisture from the air, stays wet longer, and bleeds.
A third, quieter cause is overmixing once the gel color goes in. Beating icing for a long time after coloring traps air and thins the consistency, which makes the wet-on-wet bleed worse.
What You Need
You probably already own most of what you need to fix bleeding royal icing colors. Here is the short list.
- Gel food coloring (such as Americolor, Chefmaster, or Wilton gel) instead of liquid
- Meringue powder or pasteurized egg whites
- Powdered sugar
- Piping bags and small round tips (#1, #2, #3)
- Toothpicks and a scribe tool for popping air bubbles
- A small offset spatula
- A low oven or a countertop dehydrator
- Parchment or silicone baking mats
- A fan or a dehumidifier for humid days
- A clean fine brush in case you need to dab a rescue
Step-by-Step: Stop Colors From Bleeding
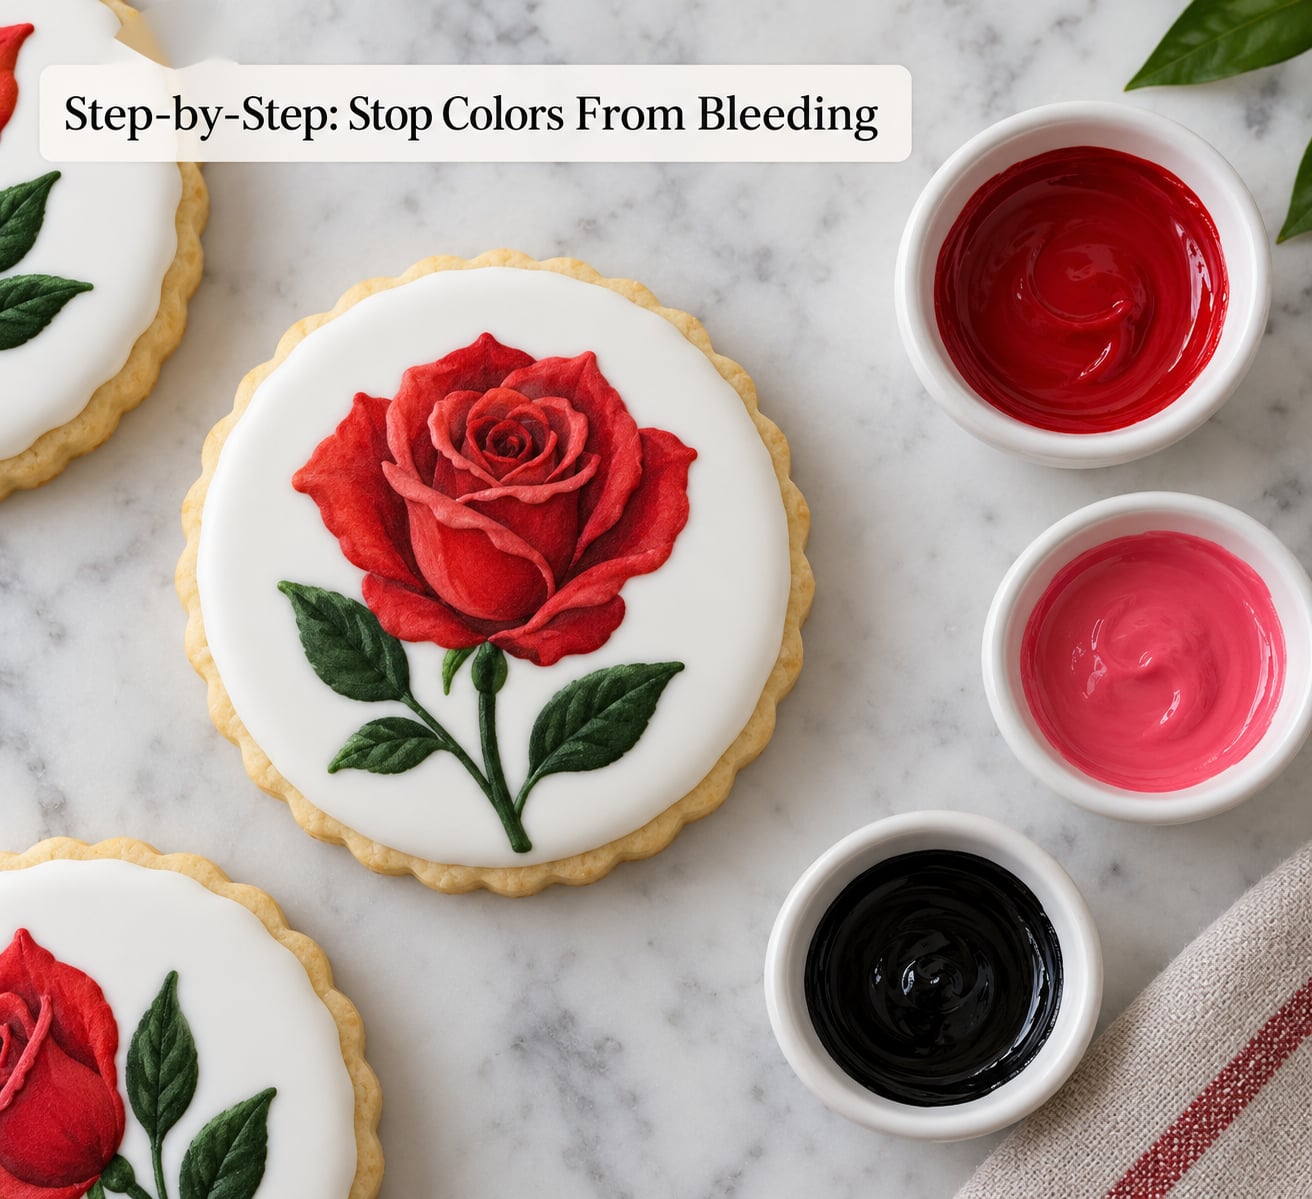
Each of these steps targets one cause of bleeding, so do all of them on a humid day and at least the first three on a dry day.
1. Thicken the icing to piping consistency
Mix your royal icing thicker than you think you need it, then thin small amounts at a time for flood work. A good flood icing should hit the 10 to 15 second rule: drag a knife through the surface and the icing should flow back together in about 10 to 15 seconds. If it flows back in under 8 seconds, it is too thin and will bleed. If it takes longer than 20 seconds, it is too thick to settle.
How to tell it worked: the icing holds a soft peak, then flattens to a smooth surface without being runny at the edges.
2. Swap liquid color for gel
Liquid food coloring is mostly water, and that water is the enemy. Gel colors are concentrated, so a tiny drop gives you deep color without watering down your icing. Use a toothpick to add gel one tiny dip at a time, stir, and let the color develop for a few minutes before you judge the shade.
How to tell it worked: you get a saturated color using only a couple of toothpick dips, and your icing did not get noticeably thinner.
3. Dry each section fully before adding the next
This is the single biggest fix. After you flood one color, let it crust over and dry before you pipe the next color right next to it. In a dry room, give the flood at least 20 to 30 minutes before you add details or borders that touch it. In a humid room, give it 1 to 2 hours or use a fan pointed at the tray.
How to tell it worked: the surface looks matte and feels dry to a light touch, not tacky.
4. Outline before flooding
Pipe an outline of thicker icing first to create a barrier, then fill the inside with thinner flood icing. The outline acts like a little dam that keeps the flood from creeping into the next color section.
How to tell it worked: your flooded shapes hold a clean edge without flooding outward past the outline.
5. Use a white dam between colors
When two strong colors are going to meet, pipe a thin line of plain white icing between them and let it set for a few minutes before you pipe the second color. The white dam absorbs a little of the wet color next to it without showing visible bleed, because white does not show color migration the way pink or yellow does.
How to tell it worked: where red and white meet, there is a faint white halo rather than pink streaks spreading into the white.
6. Heat-set the surface at the end
Once your cookies are fully decorated and the icing is dry to the touch, set them in a 170°F oven for 10 minutes, or run them through a dehydrator on the lowest setting for 20 to 30 minutes. This drives off the last bit of surface moisture and locks the colors in place.
How to tell it worked: the icing has a slightly satin sheen and feels hard, not soft, when you tap it lightly with a fingertip.
How to Save Cookies That Are Already Bleeding
If the bleed already happened, you do not have to throw the batch out. Try these in order, working from least destructive to most.
First, blot the wet area gently with the corner of a paper towel. If the bleed is fresh and wet, you can sometimes lift the migrating color before it sets.
Second, let the icing dry completely, then dab a tiny bit of thicker white icing over the stained area with a clean fine brush. Feather the edges into the surrounding white so it blends.
Third, if the bleed is severe, scrape off the damaged icing with a small offset spatula once it is fully dry, then re-pipe the section. This works best on a smooth flood, less well on detailed work.
For a last resort, paint over the area with a food-only edible marker once the icing is dry. The marker sits on top and covers the bleed, though it can look slightly different in sheen.
Color Combinations That Bleed the Most
Some color pairings are famous for bleeding, especially when the icing is on the thin side or the room is humid. Here is a quick reference.
| Color | Bleeds Into | How Risky | Safer Swap |
|---|---|---|---|
| Red | White, yellow, pale pink | High | Pipe a white outline first, then red |
| Black | White, yellow, pale pink | High | Use royal icing color base for black, or airbrush |
| Pink (neon) | White | High | Use a small amount of gel and let color develop |
| Purple | White, yellow | Medium | Build color in layers with drying time |
| Blue | White (turns gray) | Medium | Use less gel, blue deepens as it sits |
| Green | Yellow | Low | Pipe yellow first, let dry, then green |
If you have to put two high-risk colors next to each other, give them extra drying time and consider piping a thin white dam between them.
Common Mistakes
These are the errors I see most often when cookies bleed, and the one-line fix for each.
- Thinning icing with water to flood. Fix: thin with a tiny bit of piping-consistency icing of the same color instead.
- Using liquid food coloring. Fix: switch to gel colors and add with a toothpick.
- Skipping the outline step and flooding directly. Fix: always pipe an outline dam first.
- Flooding huge open areas in deep color. Fix: work in smaller sections and dry between them.
- Stacking cookies before the icing is bone dry. Fix: give at least 8 to 12 hours of dry time before stacking with parchment between layers.
- Putting hot cookies under icing. Fix: cool cookies completely before you start decorating.
- Beating icing for a long time after coloring. Fix: fold in color gently with a spatula.
Pro Tips for Crisp, Clean Color Lines
A few habits will prevent bleeding on every project you do, not just the ones where you remember to be careful.
Run a dehumidifier or the air conditioner in your decorating room. Most color problems disappear once the relative humidity drops below about 50 percent. A small desk fan on low, pointed across the cookies (not directly at them), moves air without disturbing the icing.
Color your white icing in stages instead of all at once. If you need a soft pink or pale blue, add a single dip of gel, let the color develop for 10 minutes, and only add more if you really need to. Decorators on r/cookiedecorating keep pointing out that blue especially deepens as it sits, so people who over-add gel end up with gray-tinted bleeding messes.
Pipe colors in order from lightest to darkest when you can. Light icing is harder to clean up if a dark color runs into it, but the reverse is much easier to control.
Avoid recipes that call for corn syrup in royal icing. A small amount softens the icing, but too much keeps the surface from drying fast and almost guarantees bleeding. Skip it unless a recipe specifically calls for it, and even then keep it under a teaspoon per batch.
When you have to put two dark colors next to each other, skip the icing and reach for an airbrush. Edible airbrush colors sit on top of dry icing and never bleed because there is no wet icing underneath.
Finally, give yourself the gift of time. Most bleeding is really just impatience dressed up as a decorating problem. If you let each layer dry fully, you almost never get it.
Frequently Asked Questions
How long does royal icing need to dry so colors stop bleeding?
Royal icing needs 1 to 2 hours to crust over and 6 to 12 hours to harden all the way. As a rule, do not pipe a new color touching the old one for at least 20 to 30 minutes in a dry room, or up to 1 to 2 hours in a humid room. For stacking or packaging, give it a full 8 to 12 hours.
Can I use liquid food coloring in royal icing without it bleeding?
You can, but you have to use very little of it and accept that deeper colors will likely bleed. Liquid food coloring is mostly water, so each drop thins the icing and adds moisture that has to evaporate. Gel food coloring is concentrated and adds almost no liquid, which is why it is the safer choice.
What is the best way to get a true red that does not bleed into white?
Use a gel red like Americolor Super Red or Chefmaster, and let the color develop in the icing for 10 to 15 minutes before you judge it. Use only a couple of drops, then wait. For a deeper red, use a red icing color base or airbrush the red on top of dry white icing instead of flooding it on.
Does humidity make royal icing colors bleed more?
Yes. High humidity slows drying and adds moisture back into the icing, which makes wet colors bleed into adjacent dry ones. Aim for a decorating room below 50 percent relative humidity, run a fan on low, and use a dehumidifier if you decorate often in summer.
Can I fix bleeding icing with an edible marker on top?
You can, once the icing is completely dry. An edible marker covers the bleed with a fresh color on top, but the sheen and color may not match the surrounding icing perfectly, so it works best for small touch-ups rather than large stained areas.
Why is my black royal icing turning gray on white icing?
Black is the hardest color to keep clean because it takes a lot of gel to reach a true black, and that much gel often bleeds. Switch to a black icing base like Americolor, build the black in a few thin layers with drying time between them, or airbrush the black onto dry white icing instead of flooding it on.
If you remember nothing else, remember this: keep the icing thick, use as little coloring as you can, dry each color fully before piping next to it, and keep the room dry. Those four habits fix almost every bleeding cookie I have ever seen.