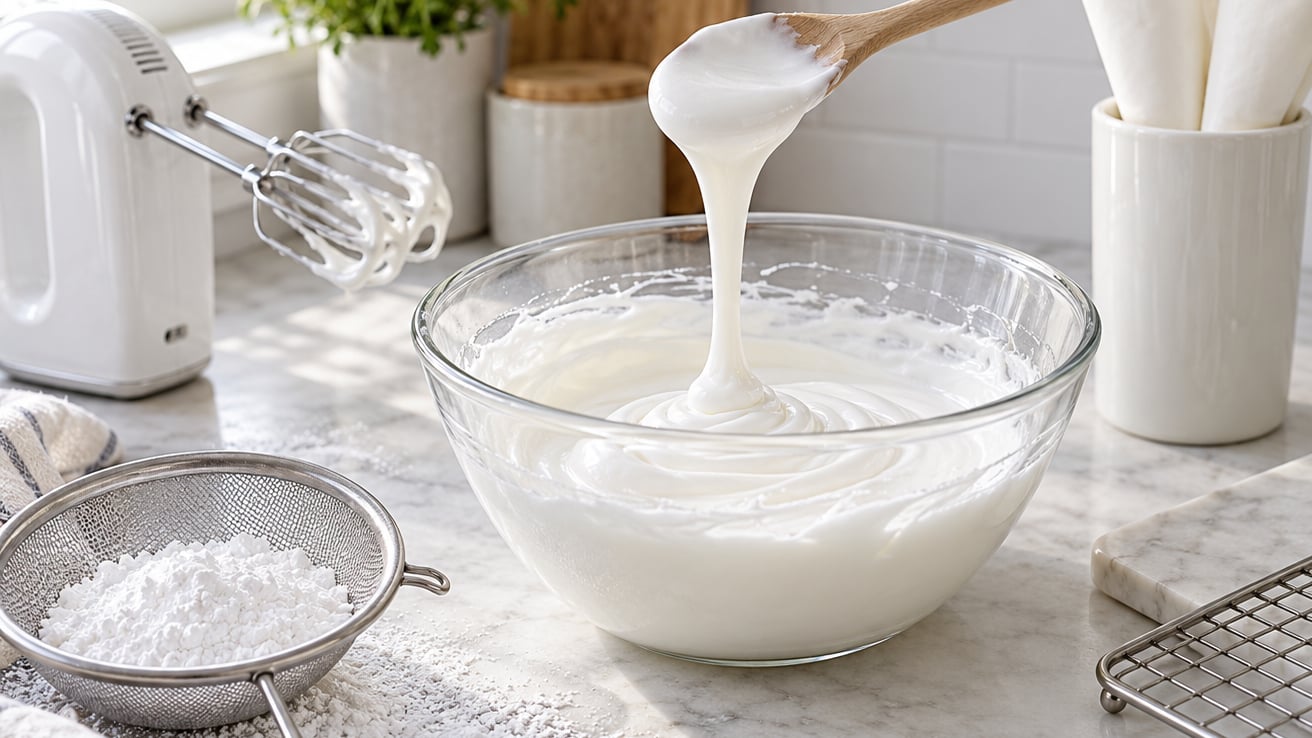
Learning how to make royal icing for sugar cookies is one of those small kitchen wins that pays off for years. The recipe comes together in about ten minutes, sets hard in 6 to 8 hours, and gives you clean, stackable decorated cookies that look like they came from a bakery. If you can sift, whisk, and count to ten, you can do this.
I have been making this royal icing on thecraftingfoodie.com for cut-out sugar cookies, gingerbread, and the occasional gingerbread house for years, and the method below is the one I come back to every holiday season. It uses meringue powder, which keeps the recipe safe for everyone and shelf-stable in the pantry.
Table of Contents
- What You Need
- Step-by-Step: How to Make Royal Icing for Sugar Cookies
- Royal Icing Consistencies: Outline vs Flood vs Detail
- How to Color and Store Royal Icing
- Common Mistakes and How to Fix Them
- Tips for Picture-Perfect Decorated Cookies
- Frequently Asked Questions
- Can I make royal icing without meringue powder?
- How long does royal icing take to dry on sugar cookies?
- Why is my royal icing too runny or too thick?
- How do I store royal icing and how long does it last?
- Can I use raw egg whites in royal icing?
- What is the best consistency of royal icing for flooding cookies?
What You Need
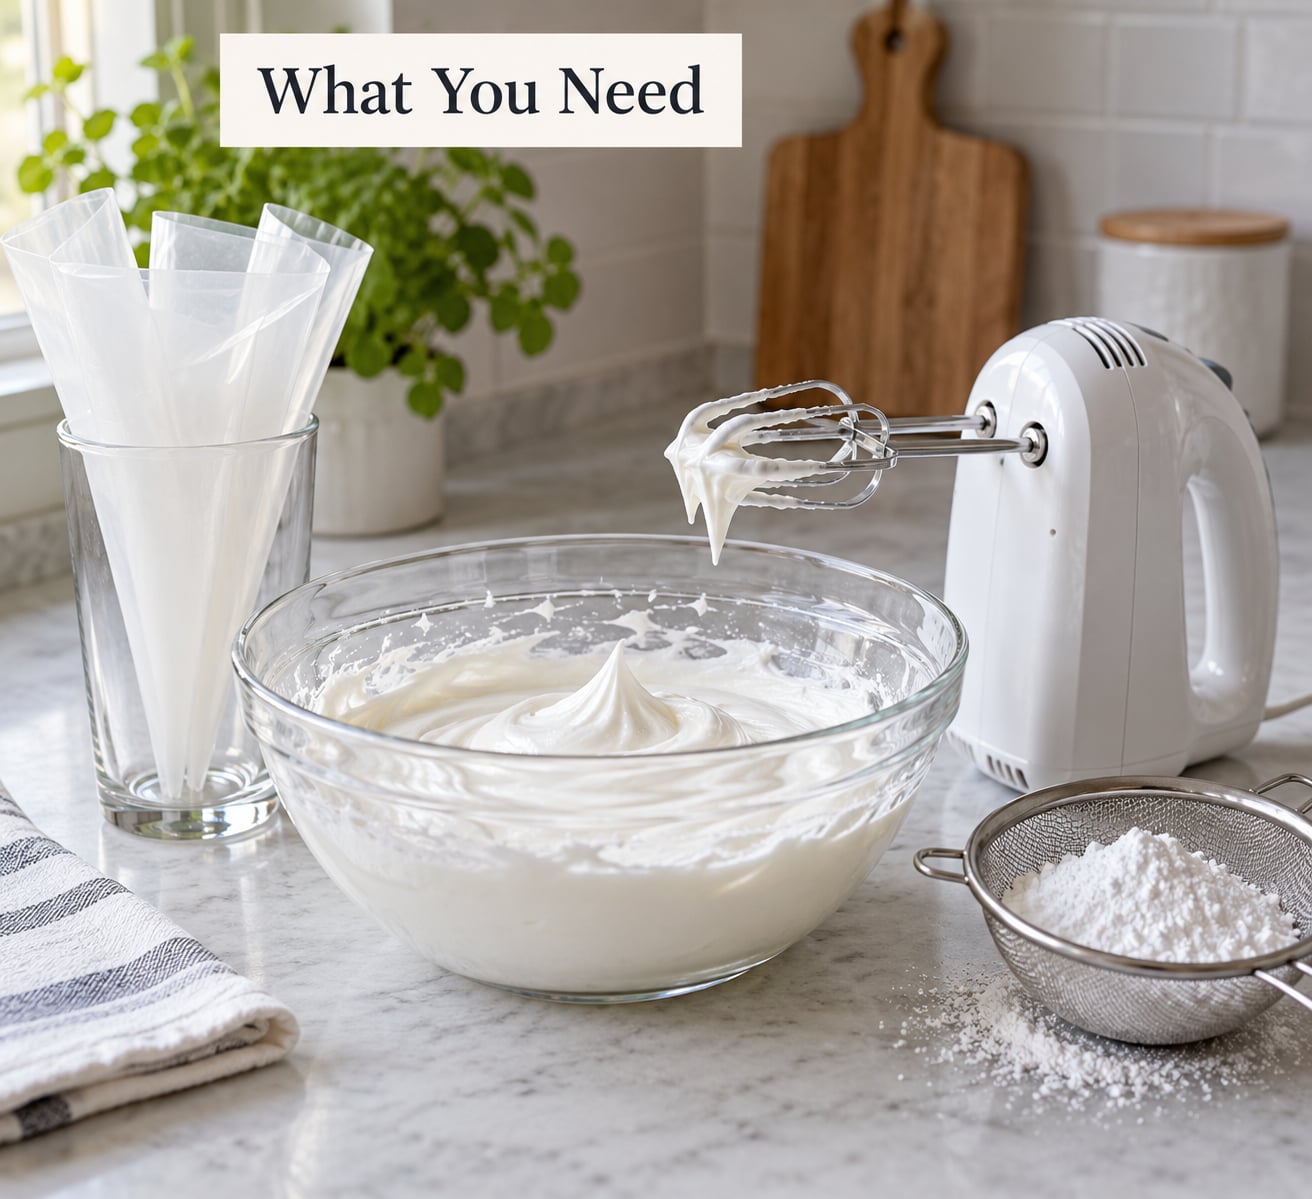
You only need a handful of pantry staples. Pull them to the counter before you start, because once the mixer is going, you do not want to be hunting for the vanilla.
Ingredients
- 4 cups (about 1 lb) powdered sugar, sifted
- 3 tablespoons meringue powder
- 9 to 10 tablespoons room temperature water, divided
- 1 teaspoon pure vanilla extract, or 1/2 teaspoon almond extract
- Pinch of fine salt (optional, balances the sweetness)
- Gel food coloring, optional
Tools
- Stand mixer with whisk attachment, or a large bowl and a hand mixer
- Fine mesh sieve for the powdered sugar
- Rubber spatula
- Piping bags fitted with small round tips (Wilton 2 or 3), or squeeze bottles for flooding
- Toothpicks or a scribe tool for popping bubbles
- Small glass of water and a clean spoon for thinning
A quick note on food safety: meringue powder is pasteurized and shelf-stable, so this recipe is safe for kids, pregnancy, and anyone avoiding raw egg. If you swap in raw egg whites, see the FAQ below before you serve them to anyone vulnerable.
Step-by-Step: How to Make Royal Icing for Sugar Cookies
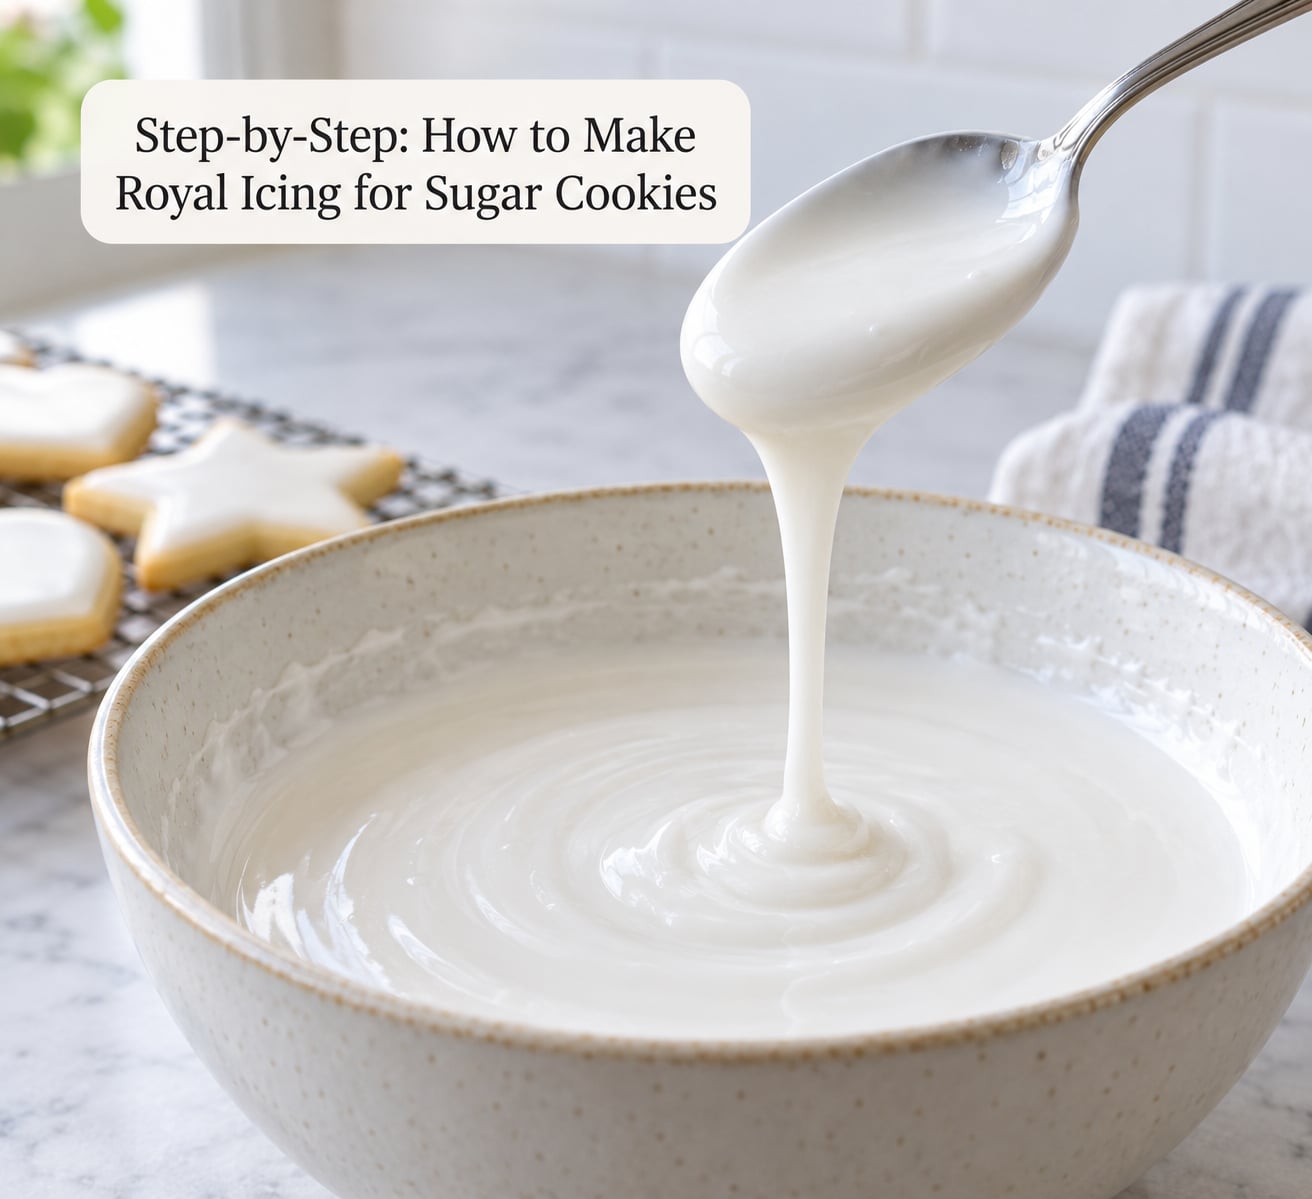
Make the base icing first, then thin small batches to the consistency you need. Working in stages keeps you from accidentally over-thinning the whole bowl.
1. Sift the powdered sugar
Push the 4 cups of powdered sugar through a fine mesh sieve into your mixer bowl. This is the single most important step for smooth icing. Skip it and you will spend extra minutes beating out lumps, or worse, get a gritty surface on your finished cookies.
2. Whip the meringue powder with water
Add the 3 tablespoons of meringue powder and 6 tablespoons of room temperature water to the bowl. Whisk on medium for about 30 seconds, until the mixture looks foamy and the powder is fully dissolved. The foam tells you the meringue is active.
3. Add sugar gradually and beat to a thick paste
With the mixer on low, add the sifted sugar a cup at a time. Once everything is in, crank up to medium-high and beat 3 to 4 minutes. You are looking for a thick, glossy paste that holds stiff peaks when you lift the whisk. Scrape the bowl once with a spatula halfway through so nothing hides on the bottom.
4. Thin to pipeable consistency
Add the remaining water, 1 teaspoon at a time, beating on low after each addition. Stop when the icing is smooth, soft, and falls from the spatula in a thick ribbon that melts back into itself within 10 to 15 seconds. This is your medium or outline icing. For flooding, see the consistency table below.
5. Test the ribbon and adjust
Lift a spoonful and let it drizzle back into the bowl. Count slowly. If the ribbon disappears in 10 to 15 seconds, you have outline consistency. If it disappears in about 5 seconds, you have flood consistency. If it sits on top in a peak, it is still too thick, so add another half teaspoon of water and test again.
6. Divide and tint
Split the icing into small bowls, one per color. Dip a clean toothpick into gel food coloring and swirl it into the icing, then stir with a spatula. Gel keeps the consistency stable; liquid food coloring thins the icing and forces you to compensate with more sugar. Cover bowls with a damp paper towel pressed directly onto the surface to prevent a crust while you work.
Royal Icing Consistencies: Outline vs Flood vs Detail
Most royal icing frustration comes from the wrong thickness for the job. Below is the quick reference I keep taped inside the cupboard door.
| Consistency | Looks like | Ribbon test | Use it for |
|---|---|---|---|
| Stiff / paste | Soft buttercream, holds stiff peaks | Peak stays put | Sticking gingerbread pieces, piped flowers, 3D details |
| Medium / outline | Toothpaste, soft peaks that bend over | 10 to 15 seconds | Outlining cookie borders, lettering, fine lines |
| Thin / flood | Warm honey | About 5 to 8 seconds | Filling in outlined shapes, base coats, large areas |
To move between them, use the teaspoon rule: add water 1 teaspoon at a time to thin, or add sifted powdered sugar 1 tablespoon at a time to thicken. Always re-test the ribbon after each adjustment. Humid kitchens run wetter, so you may need a touch more sugar on rainy days.
How to Color and Store Royal Icing
Color comes down to one choice: gel or liquid. Gel food coloring is concentrated, so a toothpick swipe per bowl is usually plenty, and it will not throw off your carefully tuned consistency. Liquid drops are easy to find at the grocery store, but each drop adds water, which thins the icing and dulls the color. If you only have liquid, use half as much as the recipe suggests and balance it with a pinch of extra sugar.
For deeper shades like navy, black, or red, let the colored icing rest covered at room temperature for an hour or two. The color deepens as it sits, which means you avoid the temptation to over-color and end up with bitter, dye-heavy icing.
Storage rules are simple and forgiving. Royal icing keeps in an airtight container at room temperature for up to 2 weeks, or in the fridge for up to 1 month. Press plastic wrap directly onto the surface before you snap the lid on, or lay a damp paper towel on top, so a hard crust never forms. When you are ready to use it again, stir by hand or re-whip on low for 30 seconds. If it has thickened in storage, thin with a few drops of water until the ribbon test passes again.
I do not recommend freezing royal icing for this recipe. Meringue powder icing can separate and weep when thawed, and the texture is rarely the same. Make a fresh batch instead; it only takes ten minutes.
Common Mistakes and How to Fix Them
Every cookie decorator hits these at least once. Here is the fix for each, before you scrap a whole batch.
- Icing too runny. Your outline floods the cookie instead of holding the line. Add sifted powdered sugar 1 tablespoon at a time, beating on low, until the ribbon test reads 10 to 15 seconds. Cover and let it rest 5 minutes, then re-test.
- Icing too thick. Your piping bag feels like a hand cramp and the line breaks. Add water 1 teaspoon at a time until the icing flows smoothly off the spatula. A small spray bottle of water is the easiest tool for this, since you can mist a single drop at a time.
- Bubbles when flooding. Tap the filled cookie firmly on the counter right after flooding, then sweep a toothpick or scribe tool across the surface in long passes. Most bubbles pop on their own with the tap, and the toothpick catches the rest.
- Icing crusting before you can smooth it. Keep the bowl covered with a damp towel whenever you are not actively dipping a cookie. Work in small batches of icing rather than flooding a dozen cookies in a row. In a dry kitchen, a cookie sheet of finished cookies can go under a loose tent of parchment to slow crusting.
- Colors bleeding between sections. Let each color dry 1 to 2 hours before adding the next, or use the wet-on-wet technique below to layer colors within the same wet flood.
- Grainy texture on the finished cookie. Almost always comes from unsifted sugar or over-beaten icing. Sift the sugar first, and stop beating the moment you reach stiff peaks. If the batch is already mixed, press it through a fine mesh sieve before you load the piping bag.
Tips for Picture-Perfect Decorated Cookies
A few small habits make a real difference once the icing is in the bag.
- Outline first, flood right after. The outline gives the flood a wall to hold against, so your color stays inside the lines.
- Pop bubbles with a toothpick the moment you finish flooding, before the surface sets. Once a crust forms, you cannot fix them without leaving a scar.
- Let each color dry fully before stacking or bagging. Plan on 6 to 8 hours uncovered at room temperature, or overnight for thick layers and 3D details.
- Dry cookies on a wire rack, not a flat plate. Air circulation under the cookie helps the bottom set and prevents soggy spots.
- Save leftover flood icing. Thin it a little more next time and use it as a base coat under detailed piping. It also works as glue for sprinkles, sanding sugar, and small candies.
- If you are nervous about steady hands, rest your piping hand on the counter or on your other hand. Most shaky lines come from a hovering arm, not from the icing.
One last trick I learned the hard way: do not skip the rest after coloring. Gel colors deepen as they sit, and what looks like a pale pink at noon can be a confident rose by dinnertime. Give it an hour, then judge the shade.
Frequently Asked Questions
Can I make royal icing without meringue powder?
Yes. You can use 2 to 3 pasteurized egg whites in place of the 3 tablespoons of meringue powder, plus the 9 to 10 tablespoons of water. Pasteurized carton egg whites are the safest swap because they are heat-treated and safe to eat without further cooking. Raw egg whites also work for most healthy adults, but skip them if you are serving pregnant guests, young children, the elderly, or anyone with a compromised immune system.
How long does royal icing take to dry on sugar cookies?
Most decorated cookies are dry to the touch in 1 to 2 hours and dry enough to stack gently in 6 to 8 hours. For thick layers, 3D details, or layered color work, plan on overnight drying at room temperature. A small fan pointed at the cookies speeds things up. Humid kitchens run slow, so give cookies an extra hour in summer or on rainy days.
Why is my royal icing too runny or too thick?
Runny icing usually means a little too much water was added, or the kitchen is humid. Thicken with sifted powdered sugar, 1 tablespoon at a time, until the ribbon test reads 10 to 15 seconds for outlining. Thick icing usually means under-thinned or it has sat out and dried at the surface. Thin with water, 1 teaspoon at a time, until the icing flows smoothly off the spatula without breaking into chunks.
How do I store royal icing and how long does it last?
Store royal icing in an airtight container with plastic wrap pressed directly onto the surface to prevent a crust. It keeps at room temperature for up to 2 weeks and in the refrigerator for up to 1 month. Before using stored icing, stir it by hand or re-whip on low for about 30 seconds, then re-test the consistency and adjust with a few drops of water if needed.
Can I use raw egg whites in royal icing?
You can, and many bakers do. The risk is salmonella, which is why most US recipes today call for meringue powder or pasteurized carton egg whites instead. If you choose raw egg whites, use fresh, clean-shelled eggs from a reliable source, and avoid serving the cookies to pregnant people, young children, the elderly, or anyone with a weakened immune system unless the icing has been heated or the eggs are pasteurized.
What is the best consistency of royal icing for flooding cookies?
Flood consistency is the thinnest working consistency: the icing should run off the spatula in a steady ribbon that disappears back into the surface in about 5 to 8 seconds. Lift a spoonful, count out loud, and adjust with a drop of water or a pinch of sifted sugar until the timing matches. Too thick and the surface will show brush or spatula marks, too thin and the color will run past your outline.
That is the whole method. Sift the sugar, whip the meringue powder with water, beat in the sugar to stiff peaks, then thin in teaspoon increments until your ribbon test passes. Color with gel, store with plastic wrap on the surface, and dry cookies on a rack for at least 6 hours. Start with one batch of plain white outline and flood, and you will be set up to layer in color, detail work, and the wet-on-wet marbling that makes decorated cookies look like they came from a bakery.