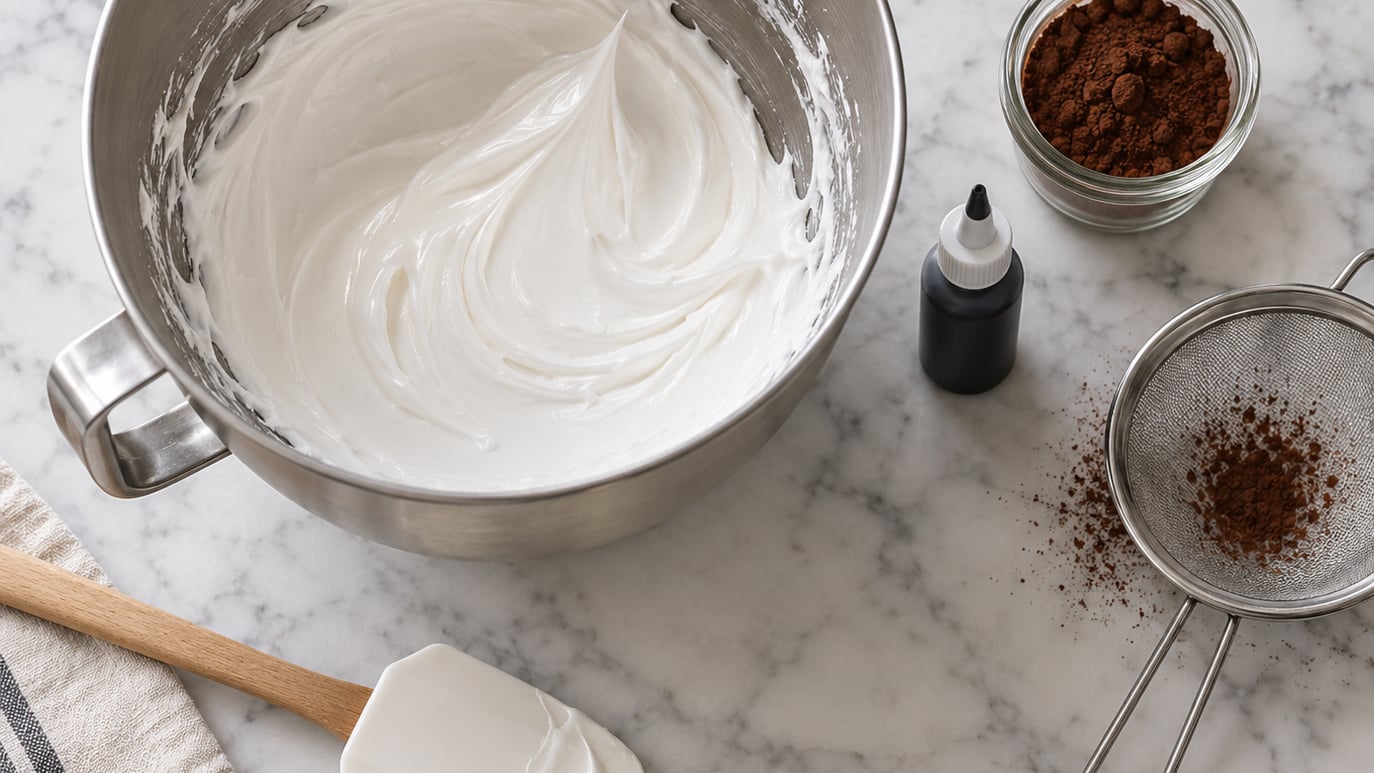
Black royal icing without bitter taste comes down to two choices: the color you use, and how much of it. Most home bakers drown their icing in liquid food dye trying to chase a true black, then wonder why every cookie tastes like a marker. The fix is concentrated gel color added in stages, a few hours of rest, and a small boost from Dutch-processed cocoa when you want a smoother flavor. Pick one of the two methods below and you can pipe a deep, even black that still tastes like sweet vanilla icing.
Table of Contents
- What You Need
- Step-by-Step: Two Methods for True Black Royal Icing
- Common Mistakes That Make Black Icing Taste Bitter
- Flavor Boosters That Pair with Black Icing
- Storage and Reuse Tips
- Frequently Asked Questions
- Why does my black royal icing taste bitter?
- How much black gel color do I need for true black royal icing?
- Can I use liquid black food coloring instead of gel?
- Does black royal icing dry darker than it looks in the bowl?
- How long does black royal icing last in the fridge?
- Can I make black royal icing taste like chocolate?
What You Need
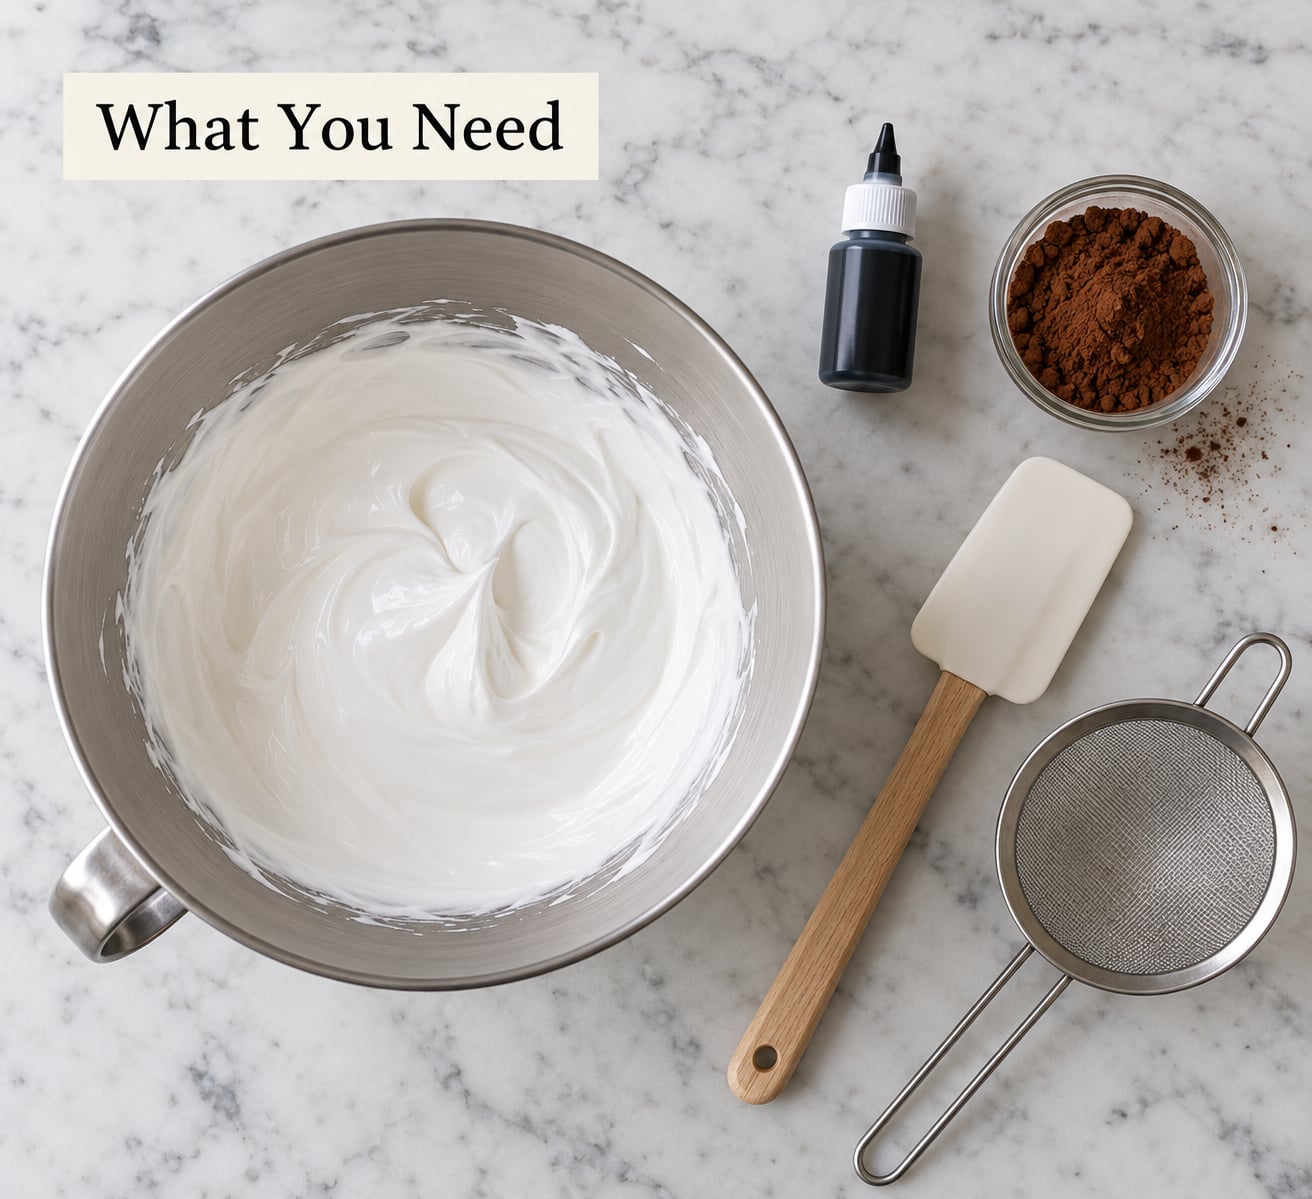
Before you start, gather everything so the color build is smooth and uninterrupted. Royal icing sets up fast, and once it crusts you cannot stir more color into it without thinning it out.
For the icing base:
- 4 cups (about 450 g) powdered sugar, sifted
- 2 tablespoons meringue powder
- 3 to 4 tablespoons warm water
- 1 teaspoon pure vanilla extract
- Pinch of fine salt
For the color (Method 1 – gel only):
- Black gel food coloring (Super Black or similar concentrated paste)
- A toothpick for measuring drops
- Small glass bowl for mixing color separately
For the color (Method 2 – cocoa + gel):
- 1 to 2 teaspoons Dutch-processed cocoa powder, sifted
- A fine-mesh sifter to keep the cocoa lump-free
- Black gel food coloring, just a few drops to deepen the cocoa shade
You will also want a stand mixer or hand mixer, a rubber spatula, and an airtight container for the resting period. Gel color is the key player in both methods. Liquid food coloring is mostly water, so it throws off the icing consistency and never reaches a true black without flooding the icing with dye.
Step-by-Step: Two Methods for True Black Royal Icing
The first method is the most reliable for a deep, neutral black. The second is the one I reach for when I want a hint of chocolate flavor and a softer bite. Both work; they just finish differently.
Method 1: The Gel Color Build (Most Reliable)
The gel build relies on a small amount of very concentrated color that darkens as the icing rests. The trick is patience, not pigment. You are not trying to hit black in the bowl. You are aiming for a dark gray that turns black overnight.
- Whip the icing base on medium speed for 4 to 5 minutes until it forms soft, glossy peaks. Stop the mixer and scrape the bowl.
- Scoop about a quarter cup of icing into a small glass bowl. Add a pea-sized blob of black gel color, the amount you pick up on the flat end of a toothpick.
- Stir the color into the small portion until it is completely smooth, with no streaks. This pre-mix stops you from over-mixing the whole batch later.
- Fold the colored portion back into the main bowl of icing on low speed for 30 seconds.
- Scrape the bowl, cover it with plastic wrap pressed directly onto the surface, and let it rest at room temperature for at least 2 to 4 hours. Overnight is better.
- After resting, give it one short stir on low. The icing should look like wet asphalt – very dark, with a faint sheen. If it still reads charcoal gray, add another toothpick-tip of gel and rest another hour.
- Test it. Spread a thin smear on a white plate and let it dry for 10 minutes. Once it dries, the color you see is the color your cookies will wear.
Do not add more gel than the test needs. Gel color keeps darkening as it sits, and the smell of “permanent marker” in your icing is the tell that you have gone too far.
Method 2: The Cocoa + Gel Hybrid (Smoother Taste)
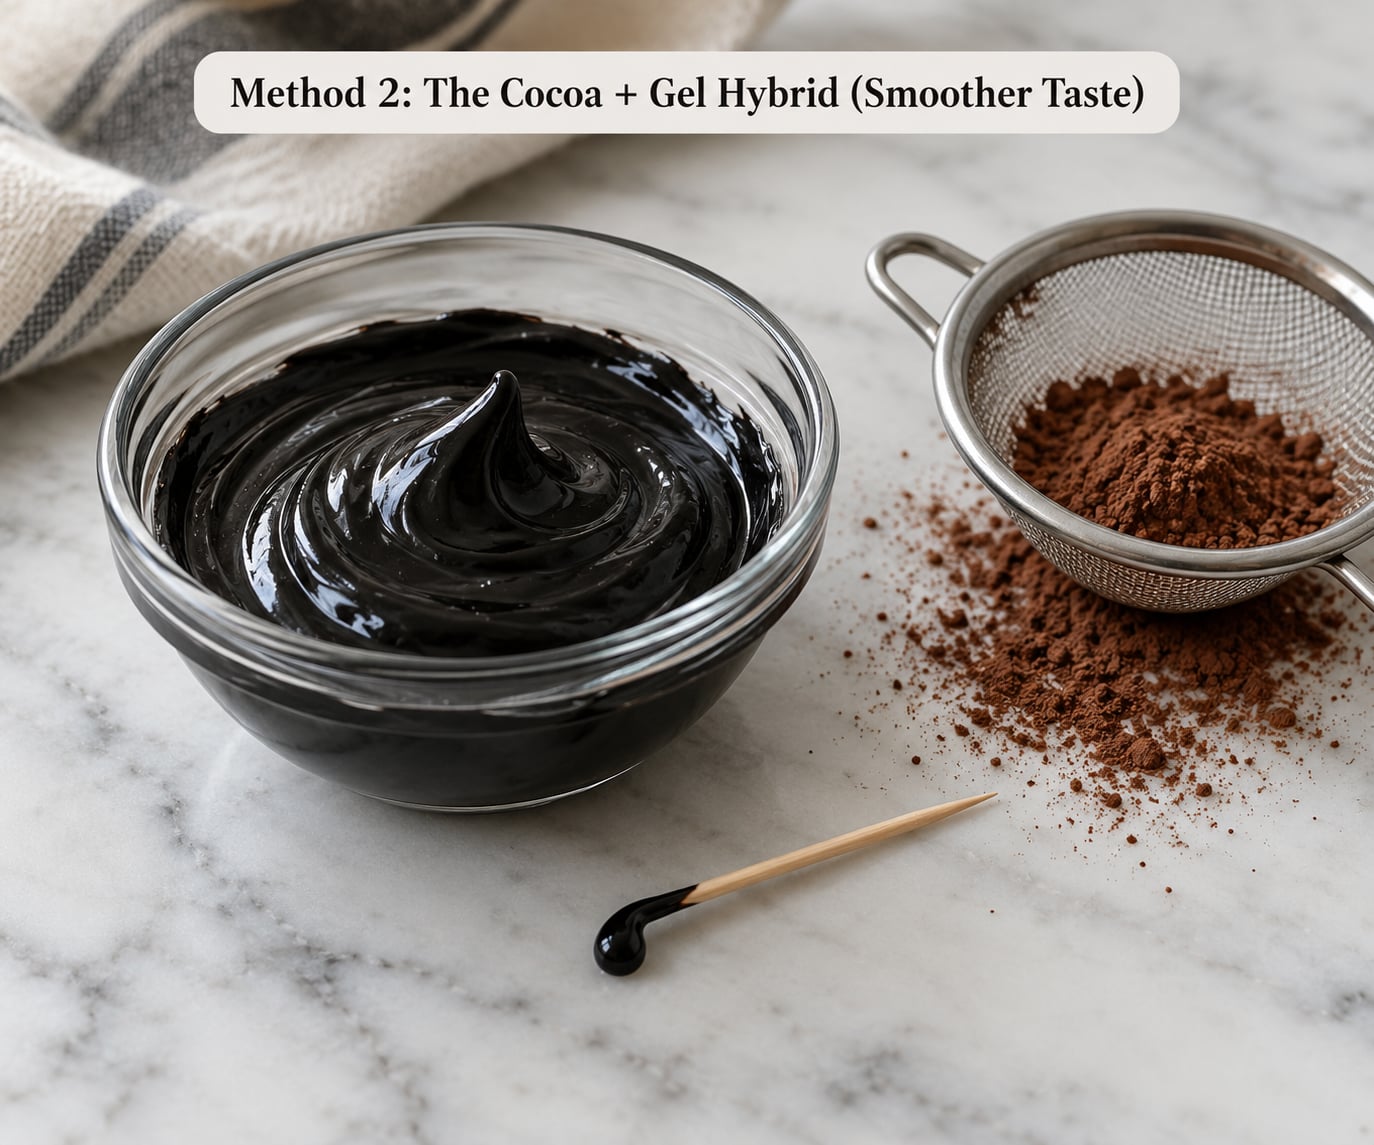
The hybrid method uses cocoa as a flavor and color base, then finishes with a tiny amount of gel. The cocoa carries most of the dark tone, so you need far less dye, and the icing ends up tasting like a faintly bitter chocolate rather than like color.
- Whip the icing base as in Method 1, until soft glossy peaks form.
- Sift 1 to 2 teaspoons of Dutch-processed cocoa powder directly over the surface of the icing. Dutch-processed cocoa is darker and less acidic than natural cocoa, so it gives a deeper shade without souring the sweetness.
- Fold the cocoa in on low speed for 20 seconds, then scrape the bowl and fold again by hand with a spatula. Sifting matters here. Any small lump of cocoa will clog your piping tip.
- The icing should now look a deep brown, almost black in the bowl. Add half a toothpick-tip of black gel color, fold it in, and let the icing rest for at least 2 hours.
- After resting, stir once. The brown will have deepened to a true black, and the gel will only have done the last 10 percent of the work.
- Smear a test patch on a white plate. If the dried icing looks even and dark with no brown edges, the cocoa and gel are balanced.
I use this method most often around the holidays, when the cookies are part of a dessert tray and a chocolate note fits the menu. If you want a pure neutral black for, say, a tuxedo cookie or a chalkboard design, stick with Method 1.
Common Mistakes That Make Black Icing Taste Bitter
The bitter taste almost always comes from one of four habits. The good news: each one has a small, specific fix.
- Using liquid food coloring. The bottle is mostly water, so you end up adding a lot to chase black, and the icing gets thin, runny, and bleeds at the edges. Switch to gel paste and the same color takes one-tenth the volume.
- Adding all the color at once. A full dropper of black dumped into white icing looks like a gray cloud, and the only way to “fix” it is more color, more bitterness. Add color in half-dropper stages, rest, and reassess.
- Over-mixing the icing to chase color. Every extra minute in the mixer thins royal icing and works air into it. The icing that comes out of the bowl shiny and soft looks beautiful, but it floods at the line and picks up more dye. Stop the mixer as soon as the color is even.
- Using old or low-quality extracts. Imitation vanilla can turn sharp and slightly bitter when it sits in heavy icing. Pure vanilla (or the boosters in the next section) keeps the flavor clean.
A short tip block for each fix: swap liquid for gel; rest the icing between color additions; stir by hand once it is close; and taste the icing plain before it ever goes on a cookie. If the icing by itself tastes chalky or chemical, the cookies will too.
Flavor Boosters That Pair with Black Icing
Color is the headline, but flavor is what people remember. These small additions round out the taste when black gel carries the visual weight. Use one or two, not all five at once, or you will lose the clean vanilla note.
- Pure vanilla extract. The most reliable booster. Half a teaspoon per batch softens any sharp edge from the gel and warms the overall flavor.
- Almond extract. A quarter teaspoon gives a soft marzipan note that pairs especially well with chocolate cocoa icing. Use sparingly; almond extract goes from “background” to “soap” in a single drop too many.
- Lemon juice or lemon extract. A quarter teaspoon of fresh lemon juice brightens icing that has gone flat. It also helps the icing set a little firmer.
- Butter extract. A small drop gives the icing a slight buttercream warmth without the fat. Useful when the cookies themselves are very plain sugar cookies.
- A pinch of fine salt. Salt dulls bitterness, which sounds counterintuitive, but a pinch in 4 cups of icing cuts the chemical edge of any dye and lifts the sweetness of the powdered sugar.
For Method 2 specifically, a half teaspoon of espresso powder folded in with the cocoa deepens the chocolate flavor without making the icing taste like coffee. It is the one trick I picked up from a cookie-decorating forum and never went back from.
Storage and Reuse Tips
Colored royal icing keeps well, but it does shift. Plan for two practical quirks: the color keeps darkening as it sits, and the icing thins slightly as it rests.
- Fridge: Store in an airtight container with plastic wrap pressed onto the surface, up to 2 weeks. Give it 10 seconds on low speed before reusing, and recheck the consistency.
- Freezer: For longer storage, freeze in a sealed bag for up to 3 months. Thaw in the fridge overnight, then bring to room temperature before re-whipping.
- Reviving thin icing: Add powdered sugar, a tablespoon at a time, until the icing hits the 10 to 15 second count when you pull the mixer up. Avoid adding water to fix it; water is what made it thin in the first place.
- Color shift: Icing that looks dark gray in the bowl usually dries to a true black on the cookie. If you want to be sure, test a small patch on a spare cookie the day before you decorate.
- Leftover black icing: Stir all the leftover colors together, including the black, and use the mix as a base for gray details on a future batch. The combined color tends to land on a soft charcoal, which is a great neutral.
If your icing develops a faint “off” smell after a week in the fridge, throw it out. Royal icing is mostly sugar, but the meringue powder and any egg content can sour, and it is not worth the risk for a single batch of cookies.
Frequently Asked Questions
Why does my black royal icing taste bitter?
Almost every bitter batch of black royal icing traces back to too much food dye. Liquid coloring is mostly water, so you end up adding a lot to reach a true black, and the icing absorbs the chemical edge. Switch to concentrated gel paste, add it in stages, and rest the icing between additions so the color can develop on its own.
How much black gel color do I need for true black royal icing?
For about 4 cups of royal icing, start with a pea-sized blob on the end of a toothpick. That small amount is usually enough when you let the icing rest for several hours. Add a second toothpick-tip only if the dried test patch on a plate still looks charcoal gray after resting.
Can I use liquid black food coloring instead of gel?
You can, but you will not like the result. Liquid food coloring adds a lot of water, which thins the icing, causes color bleed at the line, and forces you to use far more dye to reach a true black. Gel paste is concentrated, so a small amount gives deep color without changing the icing’s texture.
Does black royal icing dry darker than it looks in the bowl?
Yes, usually by one to two shades. Icing that looks like wet asphalt in the bowl typically dries to a true black on the cookie. The only reliable test is to smear a small patch on a spare cookie or white plate and let it dry for 10 minutes before you start piping the full batch.
How long does black royal icing last in the fridge?
Stored in an airtight container with plastic wrap pressed onto the surface, black royal icing keeps well in the fridge for up to 2 weeks. The color may deepen slightly as it sits, so give it a quick stir and recheck the consistency before reusing. For longer storage, freeze it for up to 3 months.
Can I make black royal icing taste like chocolate?
Yes, by using the cocoa and gel hybrid method. Sift 1 to 2 teaspoons of Dutch-processed cocoa into the icing first, fold it in until smooth, then finish with a small amount of black gel. The cocoa carries most of the dark color, so the gel does very little work, and the icing ends up tasting like soft, slightly bitter chocolate rather than dye.
Pick the method that fits your menu, rest the icing, and taste the bowl before you pipe. The difference between bitter and balanced black royal icing is almost always the amount of dye, not the brand, and a small change in technique gives you cookies that look dramatic and still taste sweet.