Pretty cookies deserve a pretty package, and learning how to package decorated cookies for gifts is what turns a batch of sugar cookies into something someone actually wants to unwrap. The goal is simple: protect the icing, keep the cookies fresh, and make the box look like part of the gift. With the right wrapping supplies and a few minutes of layering, your cookies will arrive at the door looking the way they did when you piped them.
Table of Contents
- What You Need
- Step-by-Step: Wrapping and Packing Decorated Cookies
- Gift Packaging Ideas for Decorated Cookies
- Common Mistakes to Avoid
- Shipping Decorated Cookies: Quick Tips
- Frequently Asked Questions
- How long should decorated cookies dry before wrapping?
- Can I wrap royal icing cookies in plastic wrap or cling film?
- How do you keep cookies from breaking when you stack them in a box?
- How far in advance can I package decorated cookies for gifts?
- What is the best way to mail decorated cookies so they don’t arrive smashed?
What You Need
Before you start wrapping, gather your supplies. Most home bakers already own half of this list, and the rest is a quick run to a craft store or a deep kitchen drawer.
Wrapping basics
- Cellophane bags or clear cookie sleeves (gusseted bags work best for 3-4 inch cookies)
- Parchment paper or wax paper squares cut to cookie size
- Food-safe tissue paper for lining the box
- Clear tape or a small heat sealer for sealing bags shut
The container
- A rigid gift box, kraft bakery box, or cookie tin that fits the cookies snugly
- A cake board, foam core, or cut cardboard to anchor the cookies inside
- Crinkle paper, tissue, or foam inserts for cushioning
Finishing touches
- Ribbon, twine, or baker’s string
- Printed labels or blank gift tags
- A pen for handwritten notes
Optional but useful for shipping: bubble wrap, a foam insert, and a small food-safe desiccant packet if you live somewhere humid.
Step-by-Step: Wrapping and Packing Decorated Cookies
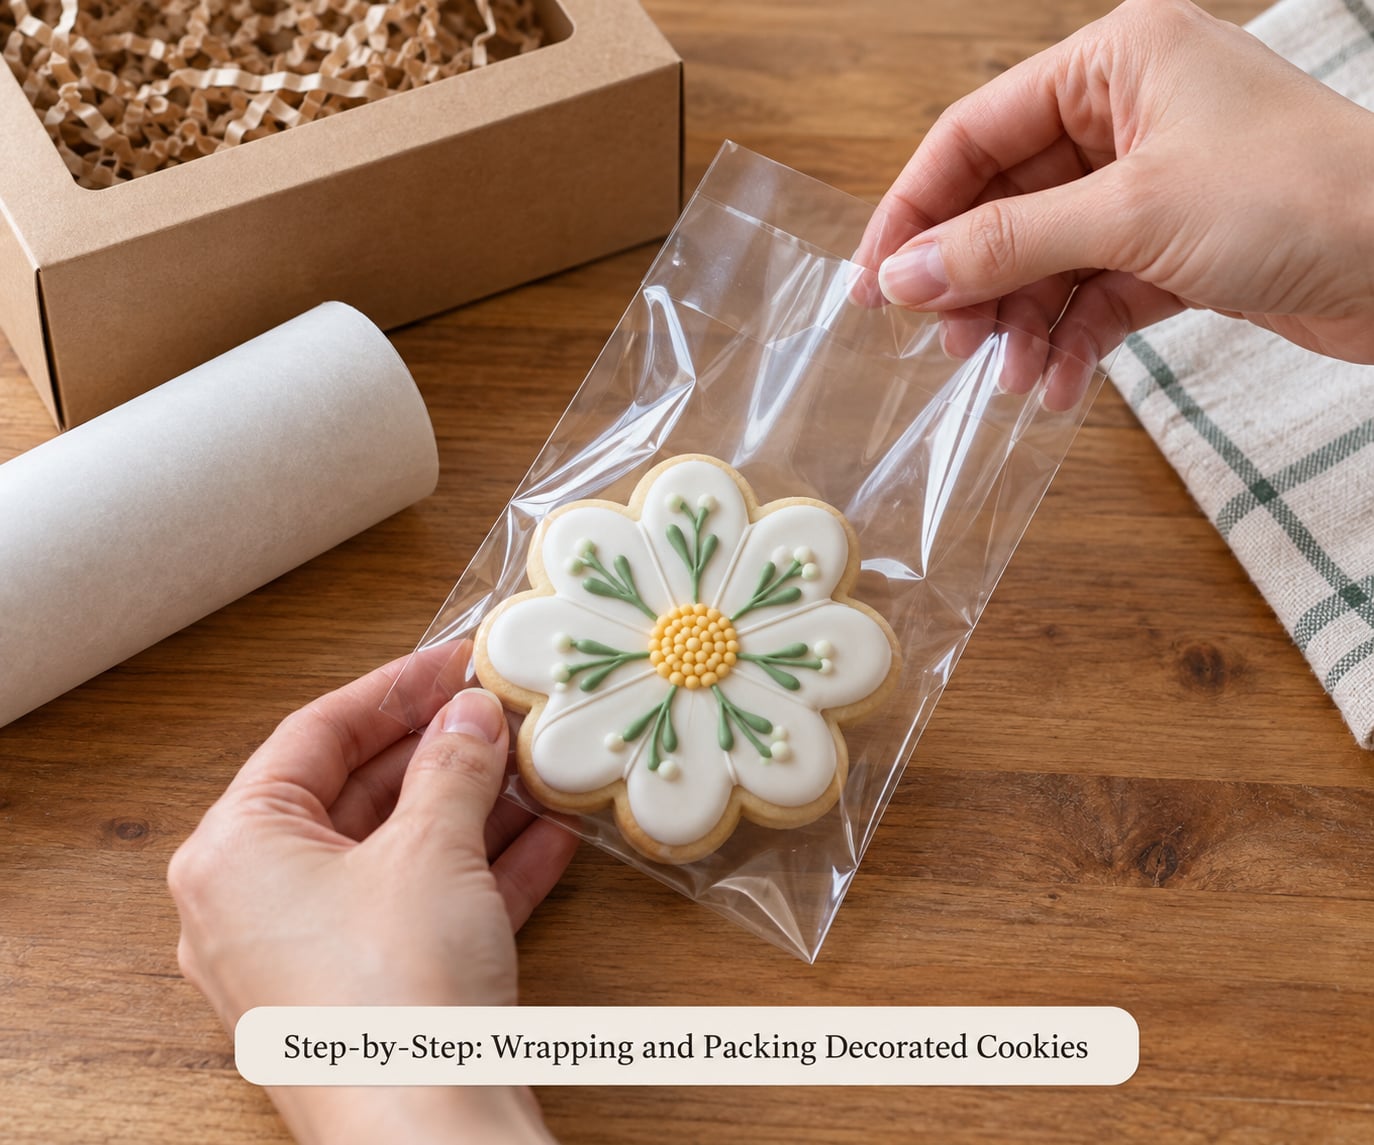
Follow these five steps and your cookies will travel from tray to gift bag without a single smudge.
Step 1: Make Sure the Icing Is Fully Dry
Royal icing needs 6 to 24 hours to cure, depending on humidity and how thick you piped it. A thin glaze is usually safe in 4 to 6 hours, while thick flood work and detailed piping can take a full day. The cookie should feel completely dry to the touch, not tacky at all.
Test one cookie before wrapping the batch. Press a clean fingertip lightly to the thickest part of the icing. If it leaves a print or feels soft, give the tray more time. Sealing icing that is still damp traps moisture, which causes color bleed, sticky surfaces, and a dull finish.
Step 2: Wrap Each Cookie on Its Own
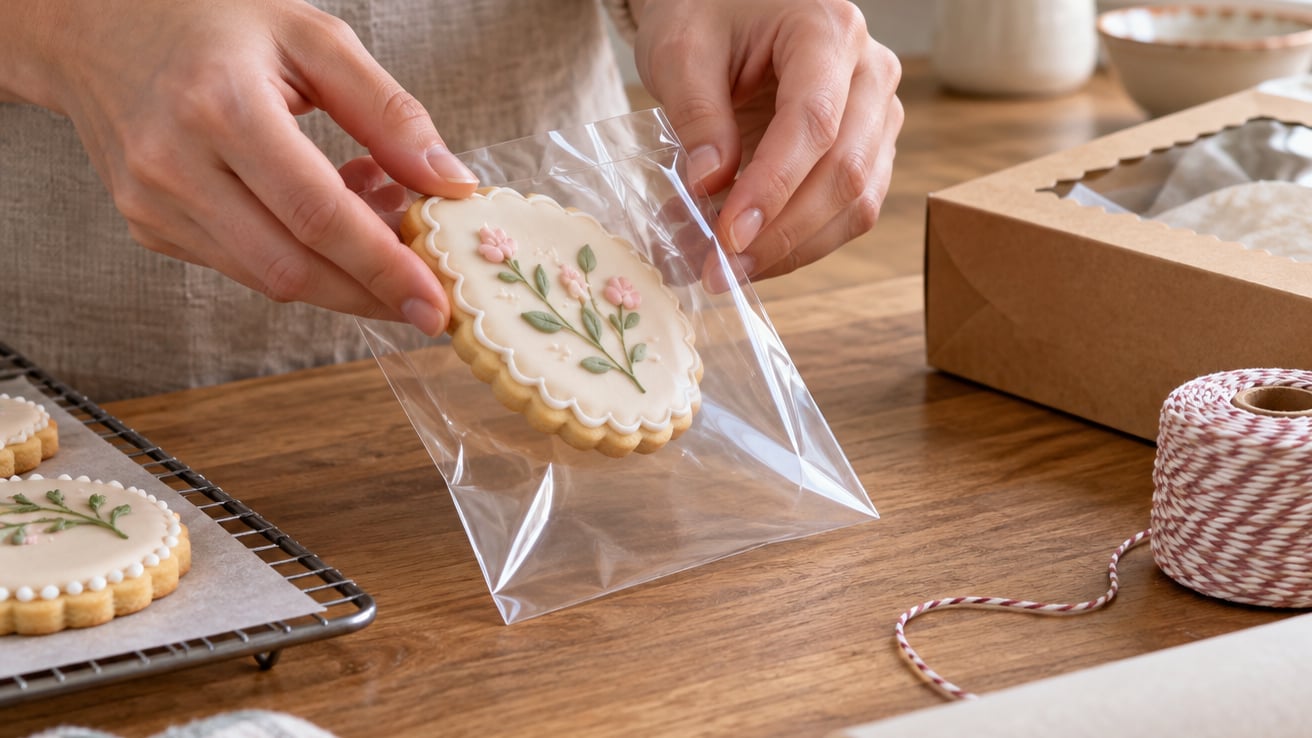
Wrap each cookie before it touches another cookie. Two methods work well for most home bakers. The parchment sandwich: place the cookie between two squares of parchment or wax paper, sized just larger than the cookie itself. The cellophane sleeve: slide the cookie into a clear gusseted bag and seal the open end with tape or a quick pass of a heat sealer.
Use the parchment method for cookies with tall, delicate piping that could press into a flat surface. Use cellophane for flat or lightly textured designs, since the clear bag shows off your work and adds a professional, bakery-style look.
Step 3: Choose a Box or Tin That Fits
Pick a box that holds the cookies snugly. A 2-inch gap on every side lets cookies slide and bang into each other, which is the fastest way to crack royal icing. A good rule of thumb is to leave about half an inch of space around the largest cookie in the box.
Window boxes work well for showing off designs. Kraft bakery boxes give a warm, homemade feel. Tins are great for stacking and shipping because the rigid walls protect edges. Whatever you choose, line the bottom with a sheet of tissue paper so the cookies do not sit directly on cardboard, which can transfer taste or color over a few days.
Step 4: Layer Cookies with Parchment and Cushioning
Single-layer boxes are the safest choice for decorated cookies. Place each wrapped cookie on a cake board or stiff cardboard cut to fit the box, then arrange the cookies with a finger-width of space between them. Tuck tissue or crinkle paper around the edges so nothing can shift.
If you need to stack, place a piece of parchment or wax paper between every layer. For tins with deeper walls, add a foam insert or a layer of bubble wrap under the lid so the top tier cannot press down on the cookies below. The rule is simple: nothing should move when you tilt the closed box gently from side to side.
Step 5: Seal, Label, and Add a Finishing Touch
Close the box and add a small label with the bake date, any allergen notes (nuts, dairy, gluten), and your name. Tie a ribbon, piece of twine, or strip of kraft paper around the box, and tuck in a handwritten tag. If you are wrapping in a humid climate, slip a small food-safe desiccant packet between the tissue and the lid to absorb any trapped moisture.
Skip the refrigerator. Most decorated sugar cookies stay fresh at room temperature for 1 to 2 weeks when wrapped this way, and chilling causes condensation that ruins the icing surface.
Gift Packaging Ideas for Decorated Cookies
Once you have the wrapping basics down, the presentation can match the occasion. Here are a few ideas home bakers reach for again and again.
- Window boxes with tissue. A clear lid shows off the work, and a sheet of pastel tissue keeps the cookies from touching the plastic.
- Kraft bakery boxes with twine. Rustic, affordable, and perfect for a batch of seasonal shapes.
- Mason jars or small cellophane bags tied with ribbon. Great for single cookies as place cards, stocking stuffers, or wedding favors.
- Cookie towers. Stack two or three small boxes from large to small for a tiered look, tied together with a wide ribbon.
- Holiday tins. Reusable tins are a gift in themselves and protect cookies well in the car or the mail.
- Bouquets. Arrange cookies on wooden skewers in a foam-filled pot, wrap the whole thing in clear cellophane, and tie with a bow.
Common Mistakes to Avoid
A few small habits make a big difference between cookies that look gift-ready and cookies that arrive looking tired.
- Wrapping before the icing dries. Even slightly tacky icing will smudge under pressure. Wait the full cure time.
- Skipping the parchment between layers. Piped edges will fuse to whatever sits on top of them. Always separate with paper.
- Using an oversized box. Too much empty space means sliding, shifting, and broken details. The box should fit snugly.
- Sealing warm cookies. Let the tray cool to room temperature before closing the box, or condensation will form on the icing.
- Strong-smelling liners. Highly perfumed tissue can transfer scent to soft sugar cookies. Stick with food-safe, unscented paper.
Shipping Decorated Cookies: Quick Tips
When you cannot hand-deliver, the same wrapping rules apply with a few extra steps. Use a rigid mailer or a small cardboard box and cushion every side with bubble wrap or packing peanuts. Write perishable, keep flat on the outside so the box is not tipped on its side, and ship early in the week (Monday or Tuesday) so the package is not sitting in a warm warehouse over a weekend.
For long distances or summer heat, include a small insulation layer and avoid shipping on the hottest days. If the cookies are going across the country, two to three days in transit is the practical limit before the icing starts to weep.
Frequently Asked Questions
How long should decorated cookies dry before wrapping?
Royal icing usually needs 6 to 24 hours to fully cure before wrapping, depending on thickness and humidity. Thin glaze can be ready in 4 to 6 hours, while thick flood work and detailed piping take closer to a full day. The icing should feel completely dry to the touch, not tacky, before you seal it in any bag or box.
Can I wrap royal icing cookies in plastic wrap or cling film?
Plastic wrap and cling film can stick to the icing surface and pull off details when you unwrap them, so they are not the best choice. Parchment or wax paper squares, or clear cellophane bags, are safer. If you do use plastic, wrap the cookie in parchment first so the plastic never touches the icing directly.
How do you keep cookies from breaking when you stack them in a box?
Place a piece of parchment or wax paper between every layer, and make sure the cookies cannot shift inside the box. Single-layer boxes are safest for detailed piping. For tins or deeper boxes, add a foam insert or a layer of bubble wrap under the lid so the top layer cannot press down on the cookies below.
How far in advance can I package decorated cookies for gifts?
Properly wrapped decorated sugar cookies stay fresh at room temperature for 1 to 2 weeks. Wrap each cookie individually, store them in a single layer if possible, and keep the box in a cool, dry spot away from sunlight. Avoid the refrigerator, because condensation ruins the icing surface.
What is the best way to mail decorated cookies so they don’t arrive smashed?
Wrap each cookie individually in parchment or cellophane, then place them snugly in a rigid box with parchment between layers. Cushion every side with bubble wrap or packing peanuts, write perishable and keep flat on the outside, and ship early in the week so the package is not sitting in a warm warehouse over a weekend.
Start with the basics: dry icing, individual wrapping, a snug box, and parchment between every layer. Once those four habits are in place, the rest is decoration, and that is the fun part.