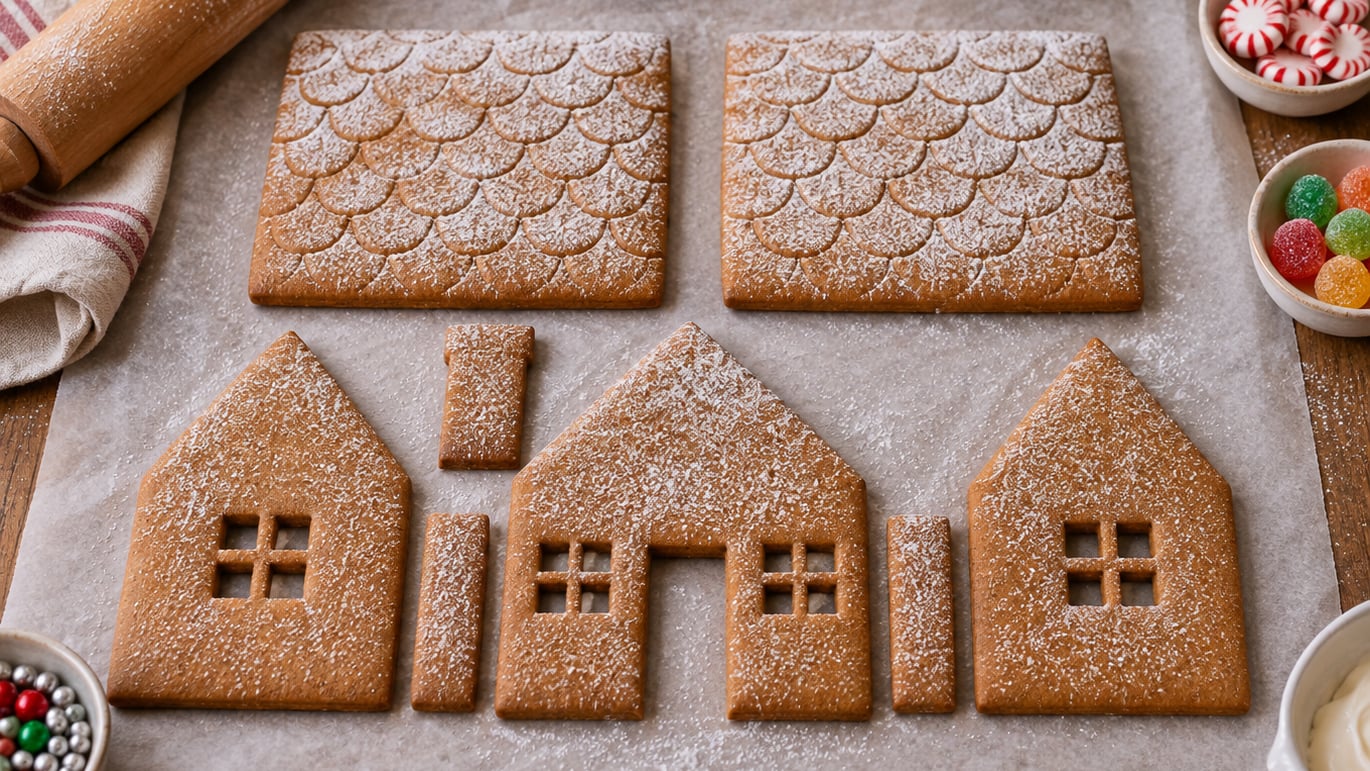
You make sturdy gingerbread house dough by using a higher flour-to-fat ratio than a regular cookie recipe, chilling the dough for at least two hours, rolling it to 1/4 inch thick for walls, and baking it low and slow at 325 degrees F until deep golden. The flour gives the walls rigidity, the chill prevents spreading, and the long bake drives out moisture so each piece dries hard instead of soft.
Most collapses come down to three things: a dough that’s too soft, pieces cut before the dough has firmed up, and royal icing that hasn’t fully set before you stack the roof. Fix those three and your house will stand for weeks, not hours.
Table of Contents
- Why Most Gingerbread Houses Collapse (and How to Stop It)
- What You Need
- The Recipe for Dough That Holds Up
- Step-by-Step: From Dough to Standing House
- Baking and Storing for Maximum Sturdiness
- Assembling a House That Stays Standing
- Common Mistakes and Quick Fixes
- Frequently Asked Questions
- How long should I chill gingerbread house dough before rolling?
- Can I make gingerbread house dough ahead and freeze it?
- What is the best flour to use for sturdy gingerbread house dough?
- How thick should I roll the dough for house walls versus the base?
- Why does my gingerbread house get soft and droopy after a day or two?
- Can I use a sugar cookie recipe for a gingerbread house instead?
Why Most Gingerbread Houses Collapse (and How to Stop It)
Walls lean, roof panels slide, and chimneys crack for the same handful of reasons every year. The dough is too soft. The pieces are cut while warm. The icing gets used as glue before it has cured. None of these are hard to fix once you know what’s happening.
Regular gingerbread cookie recipes are built to stay tender in the middle. That’s the opposite of what you want for a house. Construction-grade gingerbread uses a higher proportion of flour, less butter, and a longer bake so moisture escapes. The result is a piece that snaps instead of bends when you lift it off the baking sheet.
Cutting matters too. A warm disc of dough relaxes and spreads in the oven, so the rectangles you cut today turn into curved trapezoids tomorrow. Chilling the dough flat until it’s truly cold, then cutting on parchment, keeps the edges square. After baking, let each piece cool completely on the pan before you move it. Even a little warmth left in the center will make the piece flex and crack.
The third culprit is royal icing. It’s the strongest food-safe glue you can use, but it needs time. Most bakers smear it on, press the wall in place, and move on to the next seam within minutes. The icing skins over fast but stays soft underneath for hours. Support the walls with cans or boxes while every seam dries, and let the four walls set for at least an hour before you add the roof.
What You Need
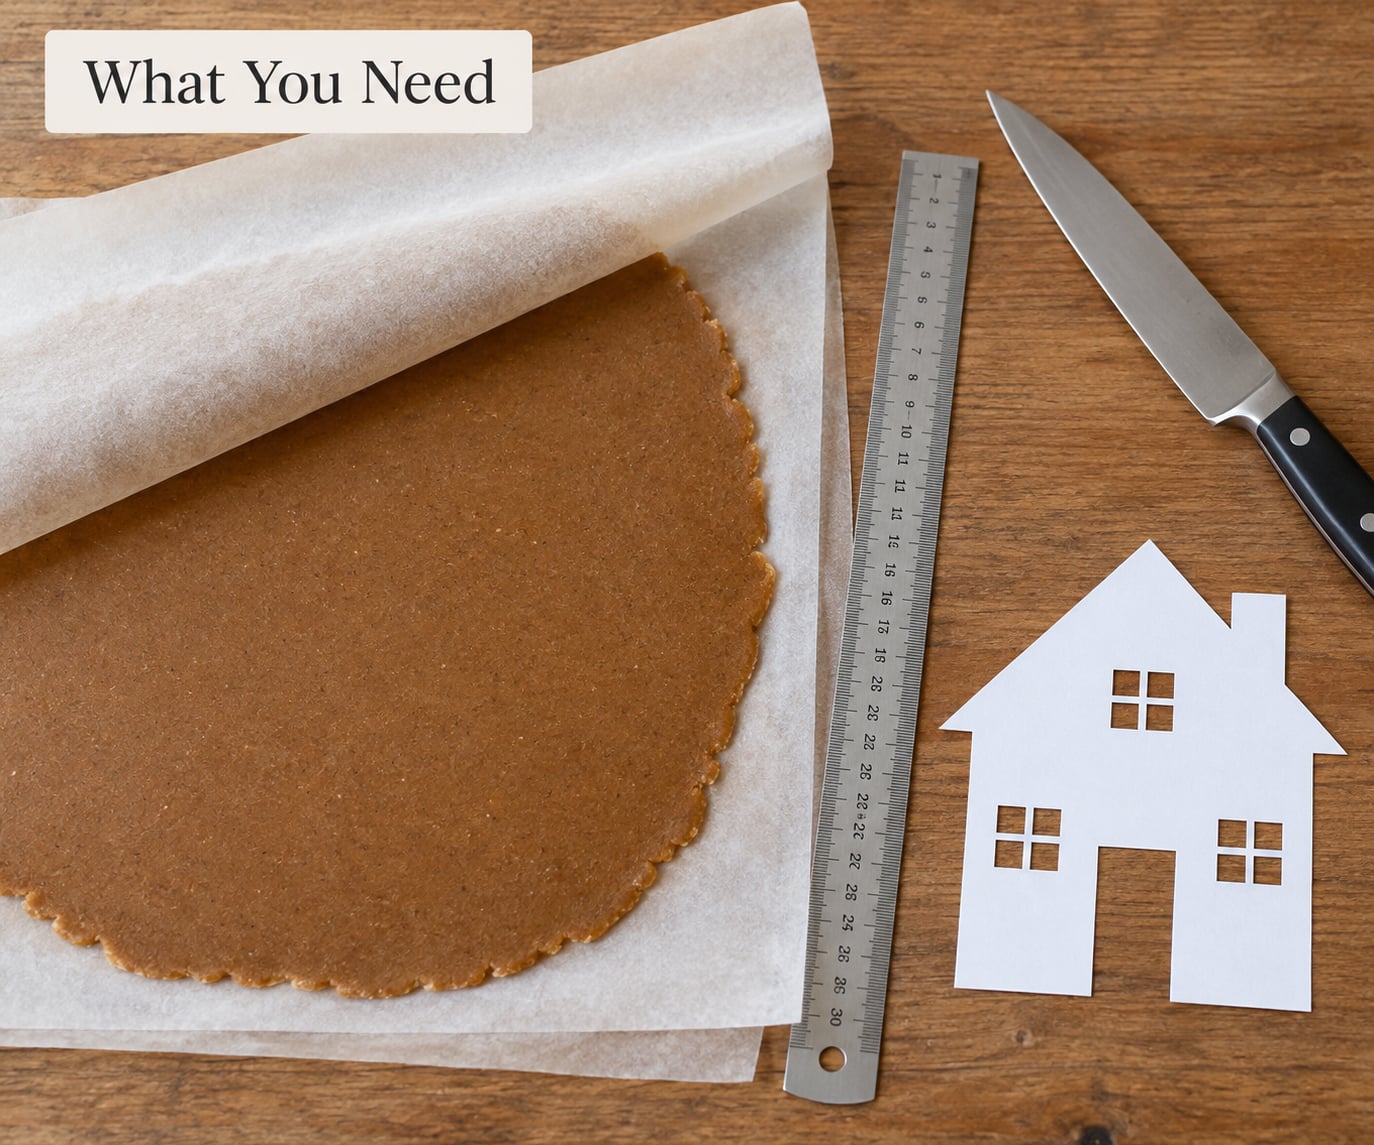
You only need a few pantry staples and basic tools. Measure by weight if you can, because flour compacts differently depending on how you scoop it.
Ingredients
- 5 cups (625 g) all-purpose flour, plus extra for rolling
- 1 tablespoon ground ginger
- 1 tablespoon ground cinnamon
- 1 teaspoon ground cloves
- 1 teaspoon baking soda
- 1/2 teaspoon fine salt
- 3/4 cup (170 g) unsalted butter, softened
- 1 cup (200 g) dark brown sugar, packed
- 1 cup (240 ml) unsulphured molasses (not blackstrap)
- 1 large egg
- 1 teaspoon vanilla extract
Molasses type matters. Regular unsulphured molasses gives a balanced sweetness and warm color. Blackstrap is bitter and will make the whole house taste like a vitamin. If you want a slightly milder flavor, you can swap up to 1/4 cup of the molasses for honey, but pure honey makes a softer dough, so don’t replace all of it.
Tools
- Stand mixer or large bowl and wooden spoon
- Rolling pin
- Two large sheets of parchment paper
- Sharp knife or pizza cutter
- Metal ruler or straight edge
- Paper templates for walls, roof, and base (drawn and cut ahead)
- Two heavy baking sheets
- Cooling rack
- Plastic wrap
- Airtight tin or container for storage
The Recipe for Dough That Holds Up
This recipe makes about 4 cups of dough, enough for one medium house with walls, two roof panels, and a base, plus a few extra pieces for chimneys and doors. Bake the walls at 1/4 inch thick and the base at 3/8 inch thick for the strongest foundation.
Ingredients at a Glance
| Ingredient | Amount | Why It’s There |
|---|---|---|
| All-purpose flour | 5 cups (625 g) | Structure and rigidity |
| Dark brown sugar | 1 cup (200 g) | Flavor and color |
| Molasses | 1 cup (240 ml) | Moisture and deep flavor |
| Butter | 3/4 cup (170 g) | Just enough to keep the dough workable |
| Egg | 1 large | Binds the dough |
| Ginger, cinnamon, cloves | 1 tbsp + 1 tbsp + 1 tsp | Warm spice base |
| Baking soda | 1 teaspoon | Helps the dough set firm in the oven |
| Salt | 1/2 teaspoon | Balances sweetness |
Method Overview
Cream the butter and brown sugar until smooth, beat in the molasses, egg, and vanilla, then mix in the dry ingredients to form a stiff dough. Divide in half, press each half into a flat disc, wrap, and chill for at least 2 hours or overnight. Roll between parchment sheets, cut the pieces using your templates, and bake at 325 degrees F for 12 to 15 minutes until deep golden and firm to the touch.
Step-by-Step: From Dough to Standing House
Each step here has a simple test that tells you it worked. Use those tests. They’re the difference between gingerbread that holds up and gingerbread that slumps.
1. Mix the Dough
In a stand mixer with the paddle attachment, beat the butter and brown sugar on medium until fluffy, about 2 minutes. Scrape down the bowl, then beat in the molasses, egg, and vanilla until smooth. Whisk the flour, ginger, cinnamon, cloves, baking soda, and salt together in a separate bowl, then add the dry mix to the wet in two batches on low speed.
How to know it worked: The dough comes together in a stiff mass that pulls away from the sides of the bowl. It should feel like soft clay, not like wet cookie dough. If it sticks to your fingers when you pinch it, sprinkle in another tablespoon of flour at a time until it holds its shape.
2. Chill It Flat in a Disc
Divide the dough in half, shape each half into a disc about 1 inch thick, and wrap tightly in plastic. Press the disc flat with your palm so it chills evenly. Refrigerate for at least 2 hours, or up to 3 days. You can also freeze the discs for up to 2 months; thaw overnight in the fridge before rolling.
How to know it worked: The disc feels cold all the way through and firm enough that a finger leaves only a slight impression. If it gives easily, give it another 30 minutes.
3. Roll Between Parchment Sheets
Place one disc between two large sheets of parchment paper. Roll from the center out, turning the parchment a quarter turn every few strokes so the dough doesn’t stick and the shape stays even. For walls, roll to 1/4 inch thick. For the base, roll to 3/8 inch thick. A ruler across the dough tells you when you’ve hit the right depth.
How to know it worked: The dough is a uniform thickness across the whole sheet and the edges are square, not rounded. Lift the top parchment gently. If the dough pulls up with it, peel the parchment back and dust the surface with a little flour before continuing.
4. Cut Pieces with a Template and Straight Edge
Lay your paper templates on the rolled dough and trace around each one with a sharp knife or pizza cutter, using a metal ruler as a guide for the long straight edges. Cut the wall pieces slightly larger than you want them finished, since edges spread a little in the oven. Slide the parchment with the cut pieces onto a baking sheet and chill in the freezer for 10 minutes before baking. This firms up the butter again and helps the pieces hold their shape.
How to know it worked: Each piece has clean, square edges. The scraps can be gathered, rerolled once, and cut again. Don’t reroll more than once or the dough gets tough and bakes unevenly.
5. Bake Low and Slow
Bake at 325 degrees F (165 degrees C) for 12 to 15 minutes. The low temperature is important. A hot oven puffs the dough and browns the surface before the moisture inside has time to escape, leaving a soft middle. A long, slow bake drives that moisture out so each piece dries hard.
How to know it worked: The pieces are an even deep golden brown across the whole surface, with no soft or pale spots in the center. They feel firm when you press the top lightly, and they don’t bend when you lift one corner with a spatula.
6. Cool Completely on the Pan
Let the pieces cool on the baking sheet for 10 minutes, then transfer them to a wire rack to finish cooling. Don’t rush this. Even a small amount of trapped warmth will let the piece flex and crack when you move it.
How to know it worked: A piece tapped with a fingernail sounds crisp, not dull. It snaps cleanly if you break a corner off a scrap.
7. Store Flat Until Assembly Day
Layer the cooled pieces between sheets of parchment in an airtight tin. They’ll keep at room temperature for up to 2 weeks, and they actually get harder the longer they sit. Some bakers like to let the pieces cure for 3 to 7 days before assembly for the strongest walls.
How to know it worked: The pieces feel room temperature and bone-dry when you pick them up. There’s no soft spot in the center of any wall.
Baking and Storing for Maximum Sturdiness
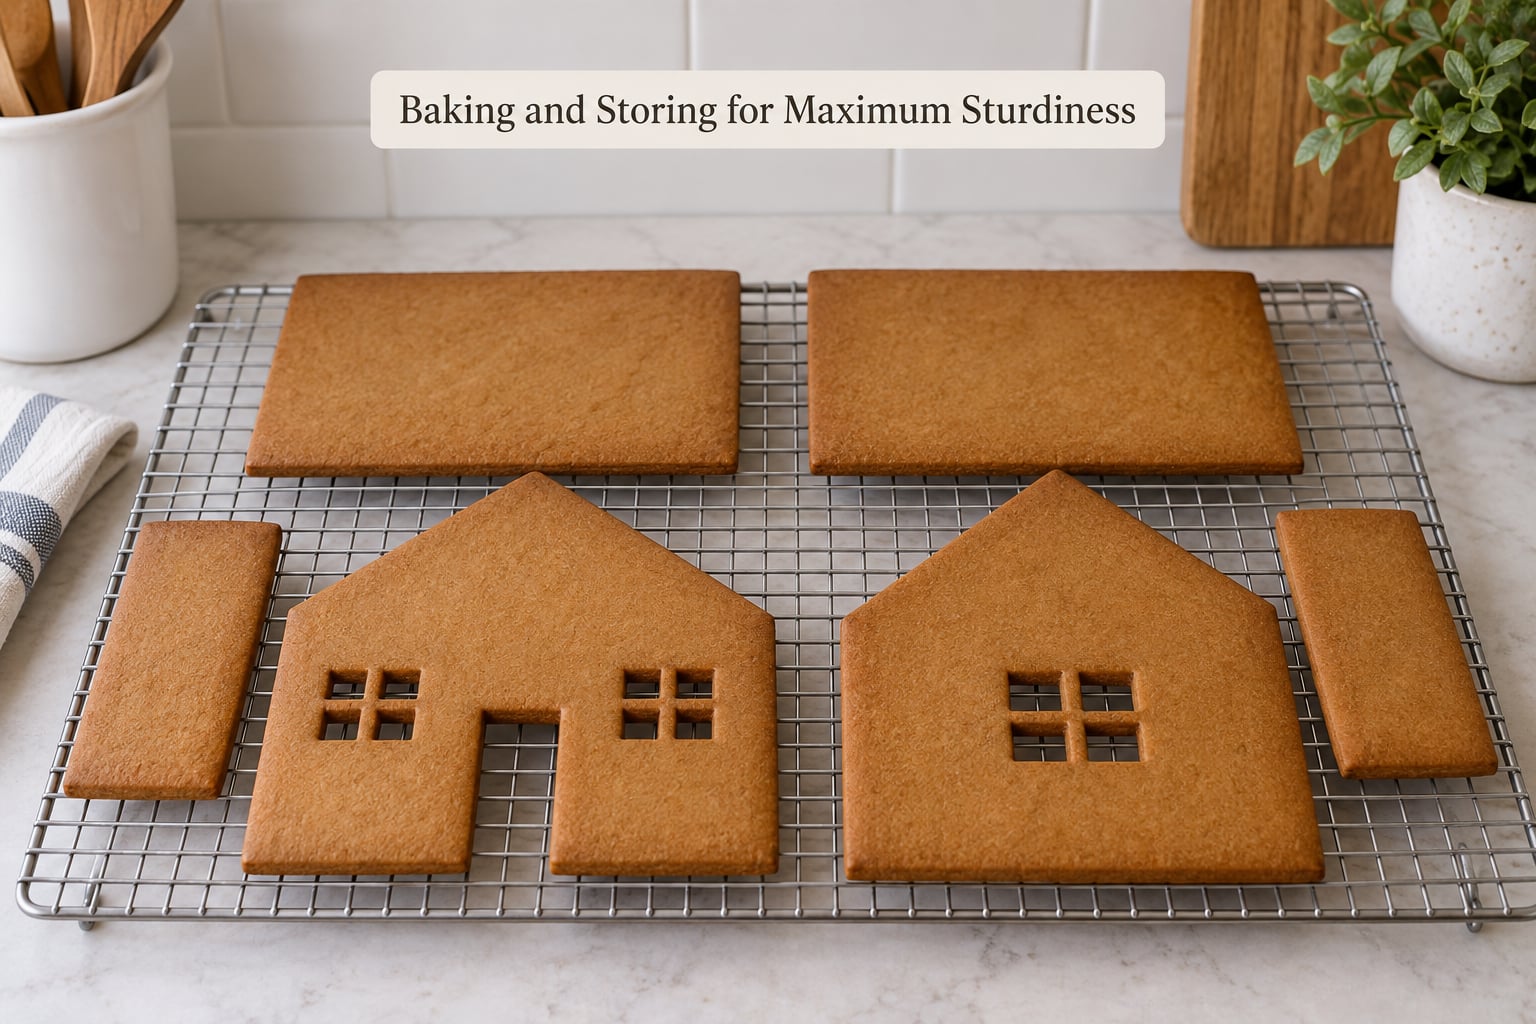
The bake is where most gingerbread wins or loses. A short, hot bake leaves moisture trapped inside the walls, and that moisture migrates out over the next day or two, softening the whole structure. That’s why a house that looked perfect on Sunday is sagging by Wednesday.
Baking at 325 degrees F for 12 to 15 minutes gives the moisture time to escape as steam. The pieces come out dry on the surface and dry through the center. If you want extra insurance, turn the oven off after 12 minutes and let the pieces sit in the closed oven for another 10 minutes. This is the trick pastry chefs use to get a fully dried, almost biscotti-like texture that won’t soften under royal icing.
Storage matters just as much. Layer the pieces between parchment sheets in a metal tin with a tight lid, and keep the tin in a dry spot. Avoid plastic containers, which trap residual moisture. If you live somewhere humid, tuck a food-safe silica gel packet into the tin to absorb any stray moisture.
Wait at least 24 hours between baking and assembly, and 3 to 7 days if you have the time. The pieces cure as they sit, and a fully cured wall is dramatically stronger than a fresh one.
Assembling a House That Stays Standing
Now for the part everyone remembers. The build itself is simple, but it rewards patience.
Build a Rigid Base
Cut a square of foam board or thick cardboard a few inches larger than your house on each side. Cover it with foil or parchment so icing drips don’t soak in. A rigid base is the single biggest thing you can do to keep a house standing. A wobbly base turns into a leaning house within a day.
Use Royal Icing as Mortar
Whip 3 cups of powdered sugar with 2 large egg whites (or 4 tablespoons of meringue powder and 5 tablespoons of water) and 1/2 teaspoon of cream of tartar until stiff peaks form. This is construction icing, not the soft stuff you pipe on cookies. It should hold a peak when you lift the beater.
Spread a thick bead of icing along the bottom edge of a wall piece, press it onto the base, and hold it for 30 seconds. Lean a can of beans or a small box against the wall to support it while the icing sets. Move on to the next wall.
Let Every Seam Dry Before the Next Step
This is the rule most people skip. Royal icing skins over in 10 minutes but takes 1 to 2 hours to harden all the way through. Build the four walls first, support each one, and walk away for at least an hour. Then attach the roof panels the same way, and let the whole thing dry for another 2 to 3 hours before you add the chimney, door, or candy.
Decorating before the icing has cured is the fastest way to collapse a wall. The weight of the candy pulls the wall inward before the glue is ready.
Work From the Inside Out
If you’re adding pretzel fences, gumdrop shrubs, or piped snow, attach them last. A small dab of icing on the back of each piece is enough. Press it on for a few seconds and let it set before moving to the next one.
Common Mistakes and Quick Fixes
Even with a good recipe, things go wrong. Here are the six problems I hear about most, and what to do about them.
Dough Too Sticky to Roll
Sprinkle another tablespoon of flour onto the dough and the parchment, and chill for another 20 minutes. Warm butter is almost always the cause. Cold dough rolls clean.
Pieces Puffing in the Oven
Prick the rolled dough all over with a fork before baking, and switch to a heavier baking sheet. Air pockets in the dough expand in a hot oven. Forgiving pricks let the steam escape.
Walls Leaning After Assembly
The icing hasn’t cured long enough. Take the decorations off, reset the wall, and wait a full 2 hours before adding the roof next time. Royal icing that looks dry on top can still be soft underneath.
Icing Too Soft to Hold
Add more powdered sugar, a tablespoon at a time, until the icing holds a stiff peak. Humid kitchens and egg whites vary in size, so the ratio shifts every batch.
House Softening a Day or Two After Display
Humidity is the culprit. Move the house to a drier room, run a dehumidifier nearby, or tuck a food-safe silica packet under the base. Gingerbread acts like a cookie in a cookie jar. It absorbs moisture from the air and softens.
Candy Sliding Off the Roof
Dab a small dot of icing on the back of each piece, press it in place for 10 seconds, and let the icing set before stacking the next piece. Piped lines of icing won’t hold heavy candy.
Frequently Asked Questions
How long should I chill gingerbread house dough before rolling?
Chill the dough for at least 2 hours, though overnight is better. The butter needs to firm up completely so the dough doesn’t spread in the oven. If you’re short on time, 30 minutes in the freezer works in a pinch, but the pieces may spread slightly during baking. Properly chilled dough should feel cold all the way through and leave only a slight fingerprint when pressed.
Can I make gingerbread house dough ahead and freeze it?
Yes. Wrap the dough tightly in plastic, then place it in a freezer bag and freeze for up to 2 months. Thaw overnight in the fridge before rolling. You can also freeze the cut, unbaked pieces on a parchment-lined sheet, then transfer them to a bag once solid. Bake straight from frozen, adding a minute or two to the bake time.
What is the best flour to use for sturdy gingerbread house dough?
All-purpose flour is the standard choice and works well for most houses. It has enough protein to give the walls structure without making them tough. Bread flour is even stronger and can be used for very large or elaborate houses, though the texture is a bit chewier. Avoid cake flour, which is too soft to support weight. Always measure by weight when possible, since flour compacts differently depending on how you scoop it.
How thick should I roll the dough for house walls versus the base?
Roll the walls to 1/4 inch thick for most houses. That thickness is sturdy enough to support weight but still bakes through evenly. Roll the base to 3/8 inch thick so it can carry the full weight of the walls and roof without flexing. Use a ruler across the dough to check thickness as you roll, since uneven pieces bake unevenly and can crack under stress.
Why does my gingerbread house get soft and droopy after a day or two?
Moisture is almost always the cause. Either the pieces weren’t baked long enough to drive out interior moisture, or the house is absorbing humidity from the air. To prevent this, bake at 325 degrees F until deep golden and let pieces cure for 3 to 7 days in a dry tin before assembly. Once the house is built, keep it in a dry room and consider placing a food-safe silica packet nearby.
Can I use a sugar cookie recipe for a gingerbread house instead?
You can, but the house won’t hold up well. Sugar cookie dough is high in butter and low in flour, which makes it tender and prone to crumbling under weight. Gingerbread house dough has a higher flour-to-fat ratio, plus molasses and spices that help it bake into a hard, crisp piece. If you only have a sugar cookie recipe on hand, reduce the butter by a third and add an extra half cup of flour to stiffen the dough.
Start with the dough. Mix it, chill it flat, and bake the pieces until they’re deep golden and feel bone-dry. Then give them a few days in an airtight tin before you even think about assembly. Most of the houses I see collapse do so because someone skipped the cure time or stacked the roof before the walls were set. A little patience at each stage is what turns a gingerbread house that lasts an afternoon into one that lasts the whole holiday season.