Want to know how to ship cookies without breaking them? The short version is simple: cool them completely, wrap each one (or pair them back-to-back), lock them into a rigid box, fill every gap with cushioning, and then drop that box inside a sturdy outer mailer before sealing and shipping. Most bakers spend about 30 to 45 minutes packing a dozen cookies, and once you get the rhythm down, every batch after that gets faster.
I mail cookies every month to family in three different states, and I’ve learned the hard way what works and what doesn’t. A flimsy envelope and a hopeful prayer is not a packing method. What follows is the exact routine I use, plus the tips I’d give a friend shipping their very first batch to a pen pal or grandparent.
Table of Contents
- What You Need
- Step-by-Step: How to Ship Cookies Without Breaking Them
- Common Mistakes and How to Fix Them
- Tips for Mailing Specific Cookies
- Frequently Asked Questions
- How long do homemade cookies last when shipped?
- What is the best way to mail decorated sugar cookies?
- Can you ship cookies in a padded envelope?
- How do you keep cookies fresh during shipping in summer?
- How much does it cost to ship a box of cookies?
- What is the cheapest way to ship cookies across the country?
What You Need
Gather everything before you start so you’re not hunting for tape with one hand on a melting chocolate chip. Here’s the kit that covers most home-baker situations:
- Rigid inner box: A small cardboard bakery box, a cookie tin, or a fitted cardboard tray with a lid. This is what holds the cookies in place.
- Outer shipping mailer: A new corrugated cardboard box in a size that leaves at least 2 inches of room around the inner box on every side. Reuse flat ones from online mailers at your peril.
- Parchment or wax paper: For sliding between cookie layers so they don’t stick or scuff.
- Plastic wrap or food-safe cellophane bags: For wrapping soft cookies or sealing decorated ones.
- Bubble wrap, crinkle paper, or clean kraft paper: To cushion every gap inside the outer box.
- Packing tape: A real roll, not a single office strip. Strong tape keeps the outer box from popping open mid-transit.
- A marker and shipping labels: For “FRAGILE,” “THIS SIDE UP,” and the perishable label when you need one.
Most of these come from a grocery store, dollar store, or shipping supply shop. The bakery box and parchment you probably already own; the bubble wrap and outer mailer are worth picking up in a bundle if you plan to ship treats more than once.
Step-by-Step: How to Ship Cookies Without Breaking Them
Once you have your supplies, follow these steps in order. Skipping ahead is usually why cookies arrive in pieces.
Step 1: Cool and Set the Cookies Completely
Cookies need to be fully cool before they go anywhere near a box. Warm cookies release steam inside a closed container, and that steam becomes condensation on the surface, which turns royal icing sticky and softens crispy edges into sad soggy rounds. Plan on at least one hour of cooling on a wire rack for drop cookies, and two hours or more for thick bars and brownies.
For decorated sugar cookies with royal icing, wait until the icing is rock-hard to a light tap with a fingertip, usually 6 to 8 hours depending on humidity. If you’re shipping anything with chocolate that needs to set, give it a few hours at room temperature or a quick pass in the fridge first, then bring it back to room temperature before packing. The point is, no heat of any kind goes into the box.
Step 2: Wrap Each Cookie Individually
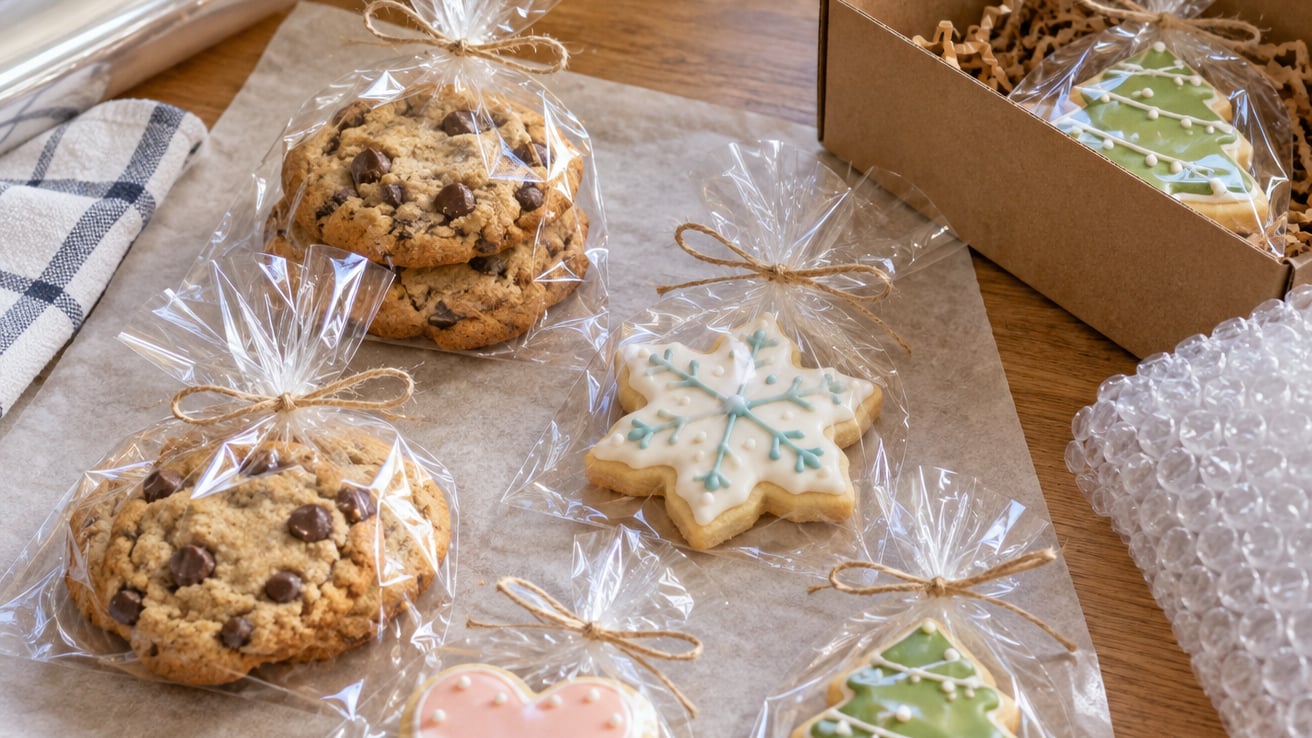
For soft cookies like chocolate chip, oatmeal, or snickerdoodle, wrap each one on its own. A snug wrap of plastic wrap or a food-safe cellophane bag pressed flat against the cookie keeps crumbs in and air out. You can also use wax paper folded tight around each cookie and twisted at the ends like a candy.
For decorated sugar cookies, slip each one into a small clear cellophane bag and tape or fold the open end shut so the icing doesn’t get touched. The popular back-to-back method (popular in the r/cookiedecorating community) is even sturdier: turn two decorated cookies icing-to-icing, sandwich them, then wrap the pair tightly in plastic wrap. The icing surfaces protect each other and the pair becomes one solid unit that resists snapping in transit.
Step 3: Layer Cookies in a Rigid Box
Drop the wrapped cookies into a rigid inner box (bakery box, cookie tin, or fitted cardboard tray) in a single layer. If your box can fit a second layer, lay a sheet of parchment across the first row before adding the next, so cookies never touch icing or chocolate directly.
Avoid stacking more than two layers tall. Heavy stacks crush the bottom cookies, and a wobbly stack shifts around every time the box tips. If you’re mailing a large quantity, use two mailers side by side instead of one tall stack.
Step 4: Cushion Every Empty Space
Inside the inner box, fill any gap between cookies and the box walls with crumpled parchment, tissue paper, or folded wax paper so nothing can slide around. Inside the outer shipping box, leave at least 2 inches of cushioning on the bottom, top, and all four sides between the inner box and the walls. Bubble wrap, crinkle paper, or tightly crumpled kraft paper all work; one experienced r/cookiedecorating baker uses egg cartons cut into quarters to wedge the inner box in place.
Then do the shake test. Close the outer box, hold it at chest height, and shake it gently side to side. If you hear anything rattle, slide, or thunk, open it back up and add more cushioning. The goal is silence, or as close to silence as possible. If a cookie can move inside the box, it will move inside the truck, and it will arrive in pieces.
Step 5: Choose the Right Shipping Box
Pick a brand-new corrugated cardboard mailer that’s at least 2 inches larger than your inner box on every dimension. Flimsy old boxes lose their crush resistance and bend in transit. If you’re mailing heavier items like brownies or stacked bars, size up to 3 inches of padding to absorb shocks.
Skip the FRAGILE sticker if you want; carriers don’t actually re-route fragile boxes onto pillows. But do draw arrows on two sides pointing up and write “THIS SIDE UP” in marker; it does help sorters stack your box correctly on the belt.
Step 6: Label and Ship Smart
For most domestic shipments, USPS Priority Mail (1 to 3 days) and UPS Ground are the two most popular choices for home bakers. Priority Mail flat-rate boxes can save money if your cookies weigh under the limit and the box fits. Ship early in the week, Monday through Wednesday, so your package doesn’t sit in a warm warehouse over a weekend.
In summer, add a “PERISHABLE” or “KEEP FROM HEAT” label and ship with insulation (a bubble mailer around the box, or a small cold pack tucked in the bottom for chocolate-dipped treats). Slip a small note inside the box with the bake date and best-by date so the recipient knows when to enjoy them at peak freshness.
Common Mistakes and How to Fix Them
These are the slips I see over and over, including the ones I made myself before I figured this out:
- Shipping warm cookies. Even slightly warm cookies create steam, condensation, and soggy icing. Always cool completely, then wait another hour if you’re not sure.
- Stacking too high. More than two layers crushes the bottom row. Use two smaller mailers instead of one tall stack.
- Using a padded envelope. Padded envelopes are for paper and soft clothing, not cookies. Postal sorters bend them, and the cookies inside break. Always use a rigid box inside a rigid outer box.
- Skipping insulation in summer. Chocolate melts, buttercream softens, and royal icing gets tacky in a hot truck. Add insulation or ship with a cold pack for anything heat-sensitive.
- Mailing to APO addresses without planning ahead. Military mail can take 2 to 4 weeks. Use extra cushioning, ship the freshest possible batch, and include a clear best-by date so the recipient knows the timeline.
Tips for Mailing Specific Cookies
Different cookies behave differently in the mail, so a few quick tweaks for the most popular types.
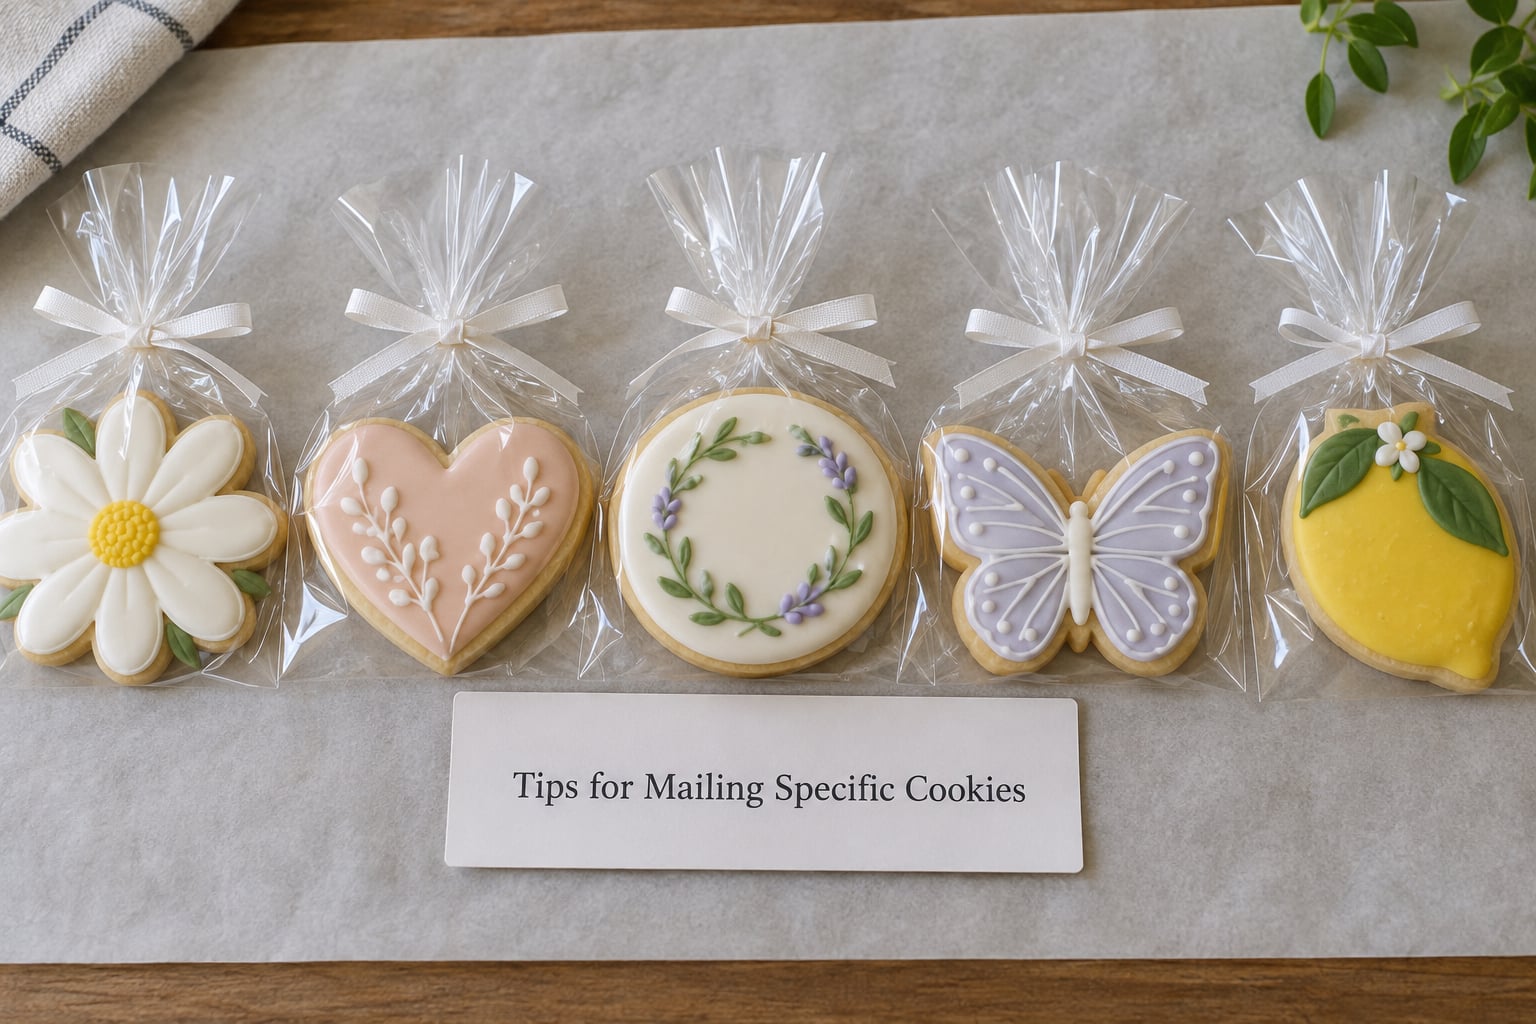
Decorated sugar cookies: Pair them icing-to-icing in the back-to-back method and wrap each pair in plastic. They’re fragile on their own, but back-to-back they’re surprisingly tough. Add a final cellophane bag around the pair for a polished gift look.
Chocolate chip and other soft drop cookies: Wrap each one individually in plastic wrap so they stay chewy. A slice of fresh bread tucked into the box keeps them soft during transit (the bread goes stale; the cookies stay tender). Skip this trick for crispy cookies.
Brownies and blondies: Cut them only after they’ve cooled completely, then wrap each piece in plastic wrap and lay them in a single snug layer. They’re heavy, so cushion generously and don’t stack them more than one layer.
No-bake and fragile cookies: These are the hardest to ship. Use the back-to-back method with two sturdy cookies sandwiching the fragile one, and cushion aggressively. If a cookie has wet filling or jam that can run, freeze it solid first so the filling sets up, then ship it frozen with a cold pack.
Frequently Asked Questions
How long do homemade cookies last when shipped?
Most homemade cookies hold up well for 1 to 2 weeks after arrival, depending on the type. Soft drop cookies like chocolate chip stay freshest in the first week; decorated sugar cookies with royal icing keep for 2 to 3 weeks if sealed properly. Include a note with the bake date and best-by date so the recipient knows when to enjoy them at peak flavor.
What is the best way to mail decorated sugar cookies?
Pair decorated sugar cookies icing-to-icing and wrap each pair snugly in plastic wrap. This back-to-back method lets the two icing surfaces protect each other and turns the pair into one solid unit. Then pack each pair in a rigid box with parchment between layers and cushion around the box in a larger outer mailer.
Can you ship cookies in a padded envelope?
Padded envelopes are not a good choice for cake or fragile cookies. Postal sorting machines bend and flex padded envelopes, and the cookies inside almost always arrive broken. Always use a rigid box inside a sturdy outer box with cushioning, even for short domestic shipments.
How do you keep cookies fresh during shipping in summer?
Ship early in the week so packages don’t sit in a hot warehouse over a weekend, and add a PERISHABLE or KEEP FROM HEAT label. For chocolate or buttercream, tuck a small cold pack at the bottom of the box (wrapped so it doesn’t touch the cookies directly). Ship Priority Mail or UPS 2-Day when possible, and avoid mailing soft frostings on the hottest days.
How much does it cost to ship a box of cookies?
A small domestic shipment of a dozen cookies typically runs from a few dollars for a USPS Priority Mail flat-rate box up to higher rates for UPS or FedEx 2-Day. Costs depend on box size, weight, distance, and how fast you need it to arrive. Get current rates directly from USPS, UPS, or FedEx since they change throughout the year.
What is the cheapest way to ship cookies across the country?
The cheapest reliable option is usually a USPS Priority Mail flat-rate box, since the postage is the same no matter how far the package travels. Pack your cookies to fit the smallest flat-rate box you can, since heavier and larger boxes jump to the next price tier. For lighter shipments under one pound, USPS First-Class Package Service is often the lowest cost option.
That’s the whole routine. Cool, wrap, lock into a rigid box, cushion every gap, do the shake test, ship early in the week, and your cookies will arrive looking almost as good as when they came out of the oven. The first batch takes a little longer to set up, but once your supplies are ready, every batch after that ships like clockwork.